When I moved into my first 350-square-foot studio, I brought 40 plants with me. Within a week, I realized a hard truth: in a tiny house or compact apartment, horizontal surfaces are for living, not just for pots. If you place a plant on the floor, you lose foot traffic space. If you place it on the counter, you lose prep space.
The solution isn’t to get rid of the plants; it’s to change the axis.
Vertical gardening in small spaces involves utilizing wall height, ceiling suspension, and tension-based structures to grow plants without sacrificing floor area. For spaces under 600 sq ft, the most efficient methods are wall-mounted pocket systems, tension rod shelving, and rail-hanging planters. Costs range from a $40 DIY pipe rail to $500+ for automated living walls.
In this guide, we aren’t just talking about hanging a spider plant in the corner. We are looking at architectural, space-saving systems that add life to your home without stealing your square footage. Whether you are in a rental apartment or a custom tiny house, we need to talk about weight loads, moisture barriers, and lighting in tight quarters.
The Physics of Vertical Gardening: Weight & Walls
Before installing a vertical garden, calculate the total weight. Potting soil weighs roughly 40-50 lbs per cubic foot when dry, but nearly double that when saturated with water. For a 4×4 foot green wall, you could be adding 100+ lbs of load. Always use anchors rated for 50 lbs minimum in drywall, or locate studs for heavier installations.
protecting Your Structure
When you live in a tiny house on wheels or a rental unit, drilling holes is often stressful. If you are building a custom space, you might have reinforced backing in the walls. But for most of us, we are dealing with standard drywall.
I learned this the hard way when a heavy terracotta pot pulled a standard anchor right out of my apartment wall. Here is the rule of thumb I use now:
- < 5 lbs: Standard picture hooks or adhesive strips (risky for humidity).
- 5-20 lbs: Toggle bolts or threaded drywall anchors.
- 20+ lbs: You must hit a stud or use a floor-to-ceiling tension system.
If you are currently planning your build, review your tiny house wall materials to see if you can add blocking (wood bracing) behind the drywall where you plan to hang plants. This allows you to screw heavy planters directly into wood rather than relying on hollow-wall anchors.
Moisture Control
Plants transpire. In a 400 sq ft space, a large vertical garden can significantly raise humidity. This is great for your skin in winter, but risky for your walls.
- Airflow: Never mount a felt pocket system directly against drywall without a moisture barrier (like a sheet of plastic or rubber) behind it.
- Paint: Ensure the wall behind your garden is painted with a satin or semi-gloss finish, which resists moisture better than flat paint. You can learn more about paint finishes for small spaces to choose the right barrier.
Rental-Friendly Systems (No Drilling Required)
For renters unable to drill, the best vertical gardening solutions are tension rod shelf systems (utilizing floor and ceiling pressure), ladder shelves (leaning design), and over-the-door organizers. These systems typically cost between $50 and $150 and leave zero damage upon removal.
The Tension Rod Hack
This is my favorite solution for spaces between 400-800 sq ft because it utilizes vertical volume without touching the walls.
- Industrial Tension Rods: Buy heavy-duty tension rods designed for room dividers (usually rated for 30-50 lbs).
- S-Hooks and Rails: Span a rod vertically from floor to ceiling, or horizontally inside a window frame.
- The Benefit: You can hang 3-4 tiers of herbs or trailing pothos directly in the window, maximizing light without losing the windowsill storage.
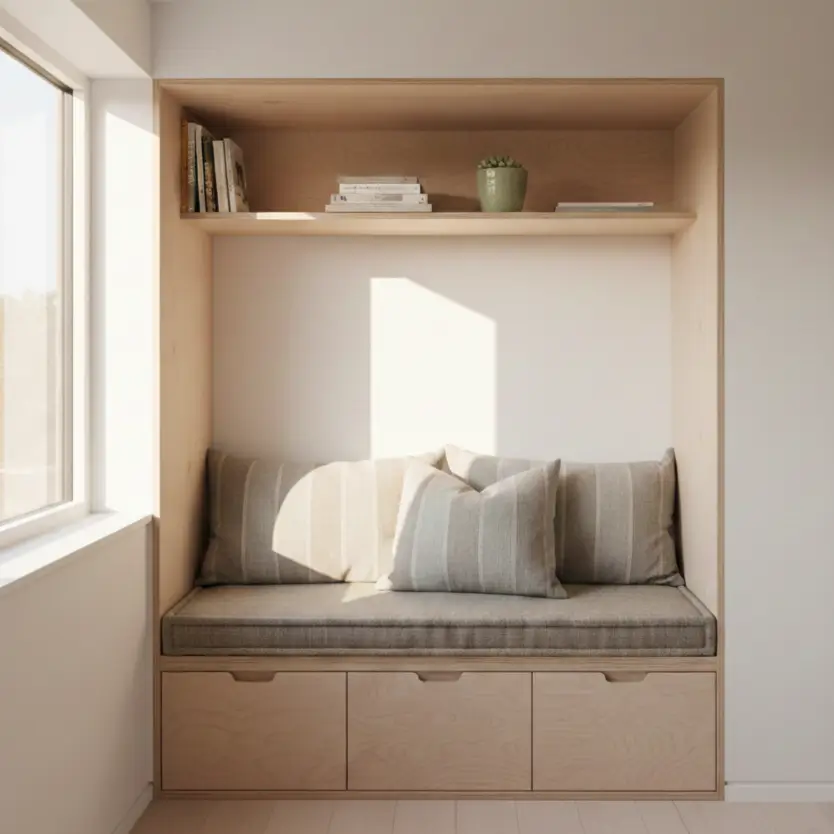
The Freestanding Ladder
A leaning ladder shelf is a classic wood furniture for small spaces solution. It draws the eye upward, making ceilings feel higher.
- Footprint: A typical ladder shelf only uses about 18″ x 24″ of floor space but provides 6-8 linear feet of shelf space.
- Styling: Place heaviest pots on the bottom rung and lighter, trailing plants on top to maintain stability.
The Edible Wall: Growing Food in Tiny Kitchens
To grow food vertically indoors, you need 6-8 hours of direct light or supplementary grow lights. The most efficient crops for small vertical systems are leafy greens (lettuce, spinach), herbs (basil, cilantro), and compact strawberries. Avoid deep-root vegetables like carrots. A 2×3 foot wall panel can yield 1-2 salads per week.
The “Kitchen Yield” Setup
In a tiny house kitchen, counter space is gold. You can’t waste it on basil pots. I recommend a rail system mounted on the backsplash or the side of a cabinet.
- The IKEA Hack: Use a simple kitchen rail (like the FINTORP or HULTARP).
- Containers: Hang small buckets or baskets.
- Drainage: This is critical. Since you can’t have water dripping on your tiny house kitchen fixtures, use the “pot-in-pot” method. Keep the plant in a plastic nursery pot, and place that inside the decorative hanging bucket (which has no holes). Take the inner pot out to water it at the sink, let it drain, then return it.
For a deeper dive into layout, check our guide on tiny house kitchen design, specifically looking for under-cabinet lighting zones that could double as grow light locations.
Light: The Biggest Small-Space Challenge
Most small apartments and tiny houses lack sufficient natural light for dense vertical gardens. Low-light plants (Snake plant, ZZ plant, Pothos) require 10-25 foot-candles of light. Edible plants require 200+. If you are more than 3 feet from a window, you likely need a full-spectrum LED grow light (10-20 watts per square foot of garden).
Integrating Grow Lights Aesthetically
Nobody wants their living room to look like a science lab with purple lights. Modern LEDs are available in “warm white” tones that look like normal decor.
- Clamp Lights: easy to move, great for renters.
- Strip Lights: Can be hidden under shelves in a vertical bookcase system.
- Pendant Grow Lights: Replace a standard hardwired fixture with a grow bulb. See our tiny house lighting solutions for wiring ideas.
Low Light Champions
If you don’t want to mess with electricity, stick to low light plant solutions. I’ve successfully kept a vertical wall of Pothos alive in a bathroom with only a tiny frosted window.
DIY Project: The Copper Pipe Hanging Garden
This DIY project costs approximately $45-$60 and takes about 2 hours. It creates a modern, minimalist hanging rail suspended from the ceiling, perfect for hanging macramé or hook-based planters above a sofa or kitchen island.
Materials Needed:
- 1/2 inch Copper pipe (Type M is fine) – 5 to 8 feet long
- Two copper caps
- Rope or leather strap
- Two ceiling hooks (swag hooks) rated for 50lbs
The Process:
- Measure: Determine the length. Leave at least 12 inches of clearance from side walls.
- Drill: Drill holes through the copper pipe about 1 inch from each end.
- Thread: Run your rope or leather through the holes and knot securely.
- Mount: Install ceiling hooks into joists (critical!). If you can’t find a joist, use toggle bolts, but limit weight to 15 lbs total.
- Hang: Adjust the rope length so the bar is level.
This approach utilizes “dead space” near the ceiling, drawing the eye up and making the room feel larger, a key tenet of tiny house decorating basics.
Pocket Systems vs. Rigid Planters
Felt Pockets are lightweight, breathable, and inexpensive, but they dry out quickly and can leak. Rigid Plastic Planters (like WallyGro) are heavier and more expensive ($20-$40 per pod) but retain water better and are easier to rearrange. For indoor small spaces, rigid planters are generally safer for walls.
| Feature | Felt Pockets (Florafelt/DIY) | Rigid Planters (WallyGro/Lechuza) | Small Space Impact |
| Weight (Dry) | Ultra-light (<1 lb) | Moderate (1-3 lbs) | Felt is better for weak walls |
| Watering | Drips easily; dries fast | Self-watering reservoirs common | Rigid prevents floor damage |
| Space Profile | Protrudes 2-4 inches | Protrudes 6-8 inches | Felt saves ~4 inches of depth |
| Cost | $ | $$$ | Felt is better for large coverage |
| Best For | Large “Living Walls” | Individual accents/Renters |
If you choose a rigid system, you can often coordinate the plastic color with your tiny house color selection to make the planters “disappear” into the wall, putting full focus on the greenery.
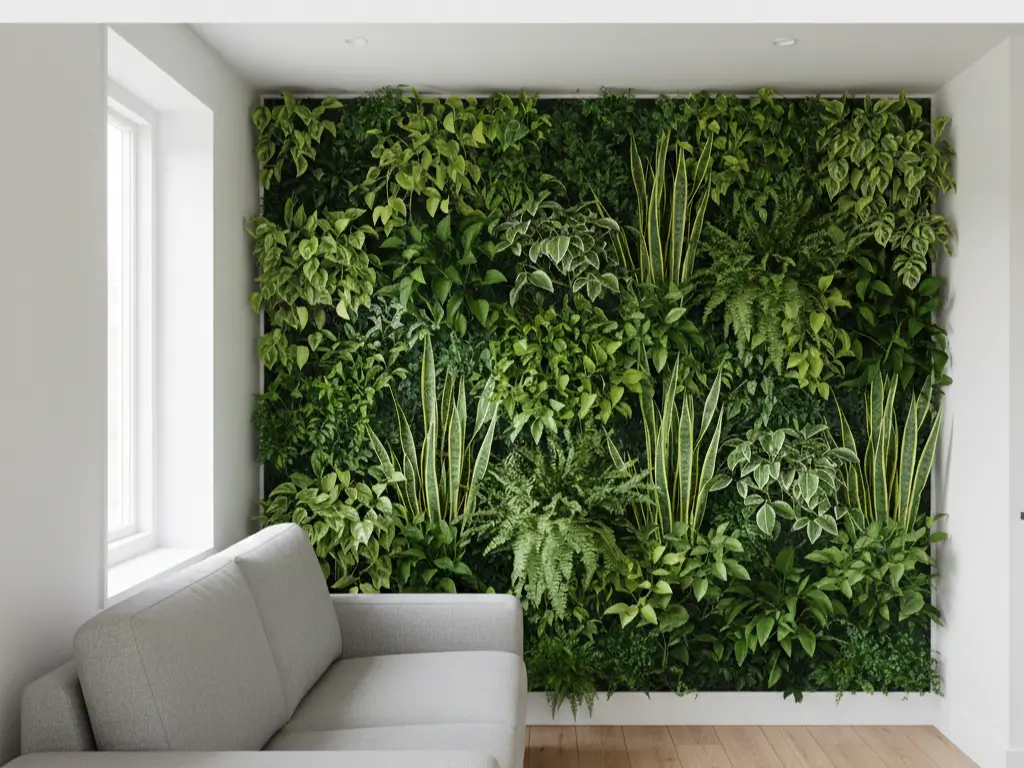
Biophilic Design & Mental Health
It is not just about aesthetics. In a tiny home, you are often working, sleeping, and eating in the same room. This can lead to cabin fever.
Biophilic design suggests that connecting with nature reduces stress. A vertical garden acts as a visual break. If you work from home, position your vertical garden behind your monitor. It provides a “soft focus” point for your eyes to rest on, reducing digital strain.
Check out our article on biophilic design tiny homes to understand how plant placement impacts mood and productivity, especially for neurodivergent tiny house design, where sensory regulation is key.
Final Thoughts
The biggest mistake I see in small spaces is trying to build a massive “Pinterest-perfect” green wall on day one.
- Start with 3 vertical elements. Maybe a hanging pot and two wall-mounted planters.
- Test the light. See if they survive a month.
- Check the moisture. Is the wall behind them dry?
- Expand.
Vertical gardening is the ultimate hack for tiny house minimalist living, it allows you to be a maximalist with nature while remaining a minimalist with floor space.
- Measure your available vertical wall space (width x height).
- Identify your studs using a magnetic stud finder.
- Select one rental-friendly system to try this weekend.
Ready to explore more about optimizing your space? Read our guide on tiny house storage solutions for more ways to use your walls effectively.