When you are designing a standard 2,500-square-foot home, walls are just partitions. But when you step into a 250-square-foot tiny house on wheels (THOW), your walls serve a triple duty. They define your aesthetic, they contribute to the structural rigidity of a moving vehicle, and, critically, they eat into your weight limit and interior width.
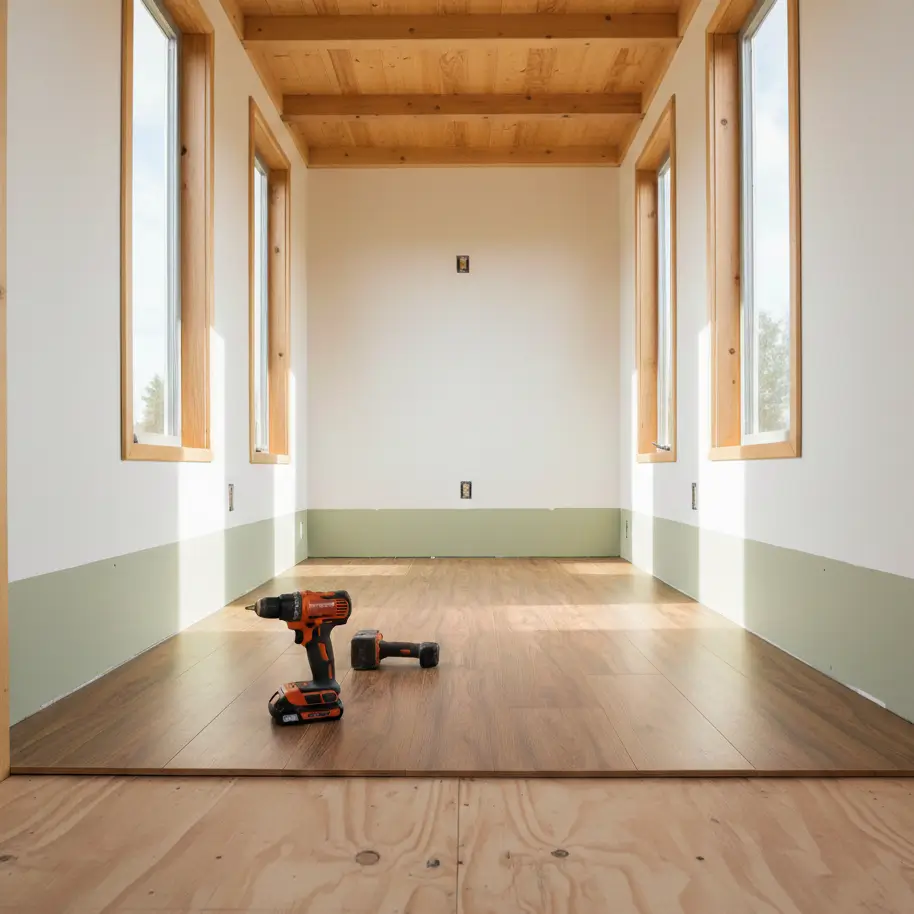
Every inch counts. Standard 1/2-inch drywall might seem cheap, but in a tiny house, it’s heavy, prone to cracking during transport, and steals valuable interior space.
The best tiny house wall materials prioritize high flexibility and low weight. Top contenders include 1/4-inch plywood (lightest, budget-friendly), tongue and groove pine (durable, classic aesthetic), and PVC interlocking panels (waterproof for bathrooms). Avoid standard drywall for mobile builds due to cracking risks; instead, look for flexible wood veneers or structural panels that withstand road vibration.
In my experience designing layouts for spaces under 400 square feet, the “Weight-to-Width” ratio is the metric that matters most. A wall material that looks beautiful but adds 800 lbs to your trailer hitch is a liability. This guide breaks down materials that save weight, withstand the road, and make your small space feel like home.
Why Standard Drywall Usually Fails in Tiny Homes
Standard drywall is generally poor for mobile tiny houses because it is heavy (approx. 1.6 lbs per sq ft) and brittle. Road vibration causes seams to crack and screws to pop. For a 200 sq ft tiny house, drywall can add over 1,000 lbs of dead weight compared to plywood alternatives.
The Vibration Factor
If you are building on a foundation, drywall is fine. But if your house has wheels, it will experience earthquake-level forces every time you tow it down the highway. Drywall is rigid; road travel is dynamic. The result is almost always spiderweb cracking at the corners of windows and doors.
The Weight Math
Let’s look at the numbers. A standard 4×8 sheet of 1/2-inch drywall weighs about 50 lbs. A 24-foot tiny house might require 40 to 50 sheets. That’s nearly 2,500 lbs of just wall covering.
- Drywall: ~2,500 lbs total
- 1/4″ Plywood: ~900 lbs total
- Difference: 1,600 lbs
That 1,600 lbs could be your entire water storage capacity, your appliances, and your personal belongings combined.
If you are committed to a smooth, painted look similar to drywall, you will need to explore specific techniques like using ¼-inch plywood with filled seams or fiberglass-reinforced panels. For more on the structural constraints of mobile builds, check our guide on tiny house on wheels specifications.
Top Wood Options: The Gold Standard for Durability
Wood is the preferred choice for tiny house wall materials because it is flexible (won’t crack on the road), holds fasteners for mounting shelves, and adds insulation value. Popular choices include Tongue and Groove (T&G) Pine, shiplap, and utility plywood. Prices range from $0.50 to $4.00 per sq ft.
1. Tongue and Groove (T&G) Pine
This is the classic “cabin” look. T&G boards interlock, which allows them to move slightly with humidity changes and road vibration without opening gaps.
- Thickness: Usually 5/16″ or 1/2″
- Weight: Moderate light
- Cost: Mid-range ($1.50 – $3.00/sq ft)
- Pro: Can be installed vertically to make low ceilings feel higher.
When installing T&G, you need to think about how you’ll treat it. A clear coat keeps it natural, but whitewashing can help reflect light in a small space. For detailed finishing advice, look at wood treatment and finishing.
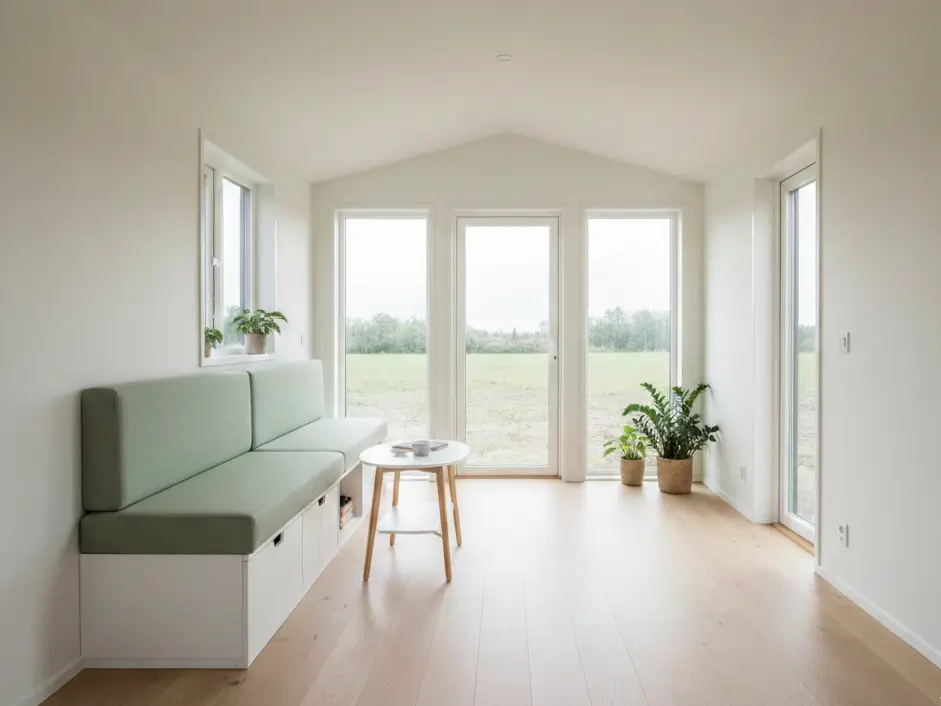
2. Interior Shiplap
Shiplap offers a cleaner, more modern farmhouse aesthetic than T&G. Real shiplap has a rabbet (groove) cut into the edges so they overlap.
- Warning: Many people use heavy MDF shiplap meant for regular homes. Avoid this. It swells with moisture. Look for real cedar or thin pine shiplap.
- Space Impact: Horizontal lines make a narrow tiny house feel wider.
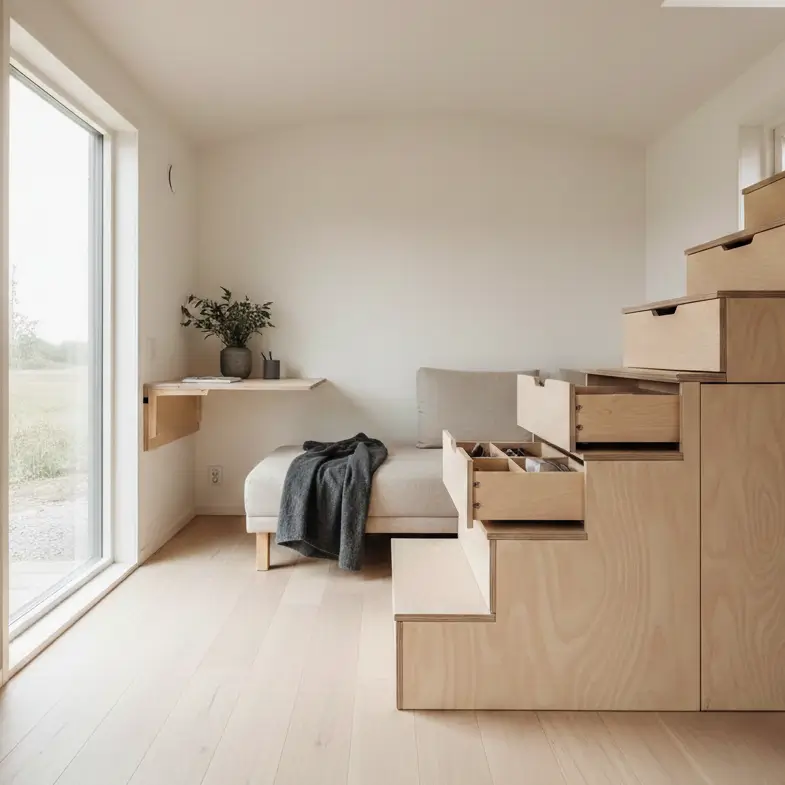
3. Utility Plywood / Birch Plywood
For the minimalist living enthusiast or budget builder, high-quality plywood is a secret weapon. You can use 1/4-inch birch plywood, sand it down, and clear coat it for a Scandi-modern look.
- Thickness: 1/4″ (saves 1/2″ of interior width across the house)
- Weight: Very Light
- Cost: Budget ($0.60 – $1.20/sq ft)
If you hate the “wood box” look, paint the plywood white. However, the seams will eventually show. Embrace the seams by using batten strips to create a board-and-batten look, or leave a purposeful 1/8″ gap between sheets for a shadow-line architectural detail.
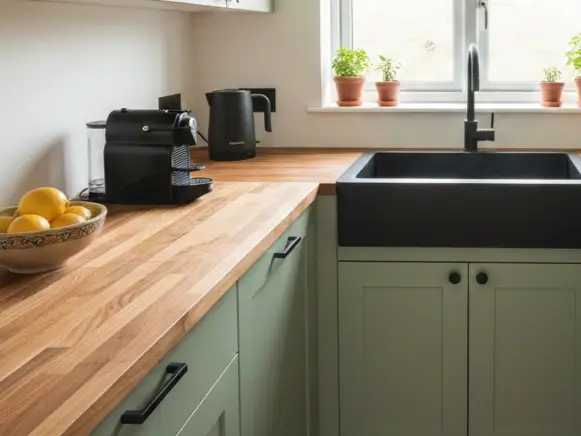
Waterproof Solutions for Tiny Kitchens & Baths
Moisture control is critical in small volumes. For wet zones (kitchen backsplashes and bathrooms), avoid porous wood. Use FRP (Fiberglass Reinforced Panels), PVC interlocking panels, or lightweight corrugated metal. These materials are 100% waterproof, mold-resistant, and wipeable. Cost: $2.00 – $5.00 per sq ft.
The Moisture Trap
In a space under 400 sq ft, showering and cooking generate massive humidity. If your walls absorb that moisture, you invite mold. I strongly recommend against using standard wood in the shower area unless it is expertly sealed with marine-grade varnish.
Instead, consider PVC Interlocking Panels. They look like wood or tile but are hollow, making them featherlight. They are practically indestructible against water.
Corrugated Metal
For an industrial vibe, galvanized steel roofing panels are cheap, lightweight, and fire-resistant.
- Application: Great for a wainscot (lower half of the wall) or a shower surround.
- Caution: Metal reflects sound. In a tiny space, a full metal room will echo loudly. Balance it with softer materials like rugs or upholstered furniture.
If you are planning your plumbing layout around these walls, ensure you consult our tiny house plumbing systems guide to see how pipe thickness interacts with thin wall materials.
Weight, Cost, and Difficulty
When choosing tiny house wall materials, compare the “Installed Weight” per square foot. Plywood is the lightest (0.7 lbs/sq ft), while T&G Pine is heavier (1.2 lbs/sq ft). Cost varies significantly: DIY Plywood is ~$25/sheet, while pre-finished Cedar can exceed $60/bundle.
| Material | Thickness | Weight (approx) | Cost Tier | DIY Difficulty | Durability (Road) |
| 1/4″ Sanded Plywood | 0.25 in | ~0.7 lbs/sq ft | $ (Low) | Medium | High |
| T&G Pine | 0.31 – 0.5 in | ~1.1 lbs/sq ft | $$ (Mid) | Low | High |
| Real Cedar Planks | 0.25 – 0.375 in | ~0.9 lbs/sq ft | $$$ (High) | Low | High |
| Ultralight Drywall | 0.5 in | ~1.3 lbs/sq ft | $ (Low) | High (mudding) | Low (cracks) |
| PVC Panels | 0.25 – 0.5 in | ~0.6 lbs/sq ft | $$ (Mid) | Low | Extreme |
| FRP Panels | 0.09 in | ~0.5 lbs/sq ft | $$ (Mid) | Medium | Extreme |
The “Inch-Loss” Analysis
In a tiny house that is only 8’6″ wide externally, you have about 7’6″ of interior width after insulation and framing.
- Using 1/2″ material on both sides loses 1 inch of width.
- Using 1/4″ material on both sides saves you 1/2 inch.
It sounds small, but when fitting a standard mattress or a shower pan, that half-inch can be the difference between “fits perfectly” and “doesn’t fit.”
If you are using thinner materials, you must ensure your insulation is secure. Review our tiny house insulation guide to prevent insulation from bulging out and warping your thin plywood walls.
Creative Composites: Cork, Felt, and Peel-and-Stick
Alternative wall coverings like cork sheets (1/4″) and felt acoustic panels add texture, sound dampening, and insulation without bulk. Peel-and-stick wood veneers offer the look of hardwood without the weight (0.2 lbs/sq ft) but require a perfectly smooth substrate to adhere correctly.
Cork Board
Cork is sustainable, naturally antimicrobial, and acts as extra insulation. It’s soft, which means you won’t hurt yourself bumping into walls in a tight hallway. It is aesthetically specific (very 70s or very modern, depending on styling), but functionally excellent for tiny homes.
Acoustic Felt
Small spaces get loud. If you work from home, the echo of a phone call can be annoying. Acoustic felt panels (often made from recycled plastic bottles) can be glued directly to the studs or over a thin plywood substrate. This is a prime consideration if you are exploring tiny house work from home setups.
Installation Tips for Mobile Structures
When installing walls in a mobile tiny house, use construction adhesive (like Liquid Nails) combined with mechanical fasteners (nails/screws). Leave a 1/8-inch expansion gap at the floor and ceiling to allow the house to flex during transport. Avoid rigid grout lines; use flexible caulk instead.
1. Glue and Screw
Don’t rely on nails alone. Road vibration will work them loose over time. Apply a bead of flexible construction adhesive to every stud before nailing up your plywood or T&G. This creates a monolithic structure that adds rigidity to the whole frame.
2. The Thermal Break
If you are using metal studs, do not screw wall cladding directly to them without a thermal break (like foam tape or wood furring strips). Metal conducts cold, and you will end up with “ghost lines” of condensation on your walls where the studs are.
3. Plan for Mounting
Before you close up the walls, photograph everything. You need to know exactly where the blocking is for mounting your heavy items later.
- TV Mounts
- Kitchen Cabinets (tiny house kitchen design)
- Fold-down tables
- Floating Shelves
If you forget to add blocking (pieces of wood between studs) for these heavy items, you won’t be able to hang them on thin 1/4″ plywood walls later.
4. Painting and Finishing
Painting in a tight space is tricky due to fumes. Use low VOC paint. If using wood, prime both the front and the back of the boards before installation. This balances the moisture absorption and prevents the wood from cupping or warping over time.
Conclusion
Choosing the right wall material for your tiny house is a balancing act between weight, durability, and aesthetics.
- For the lightest build: Go with 1/4″ birch plywood or thin cedar planking.
- For the most durable/waterproof: Use PVC interlocking panels or FRP in wet zones.
- For the best resale value: T&G Pine or white-washed shiplap remains the most popular aesthetic for buyers.
Don’t let the walls close in on you, literally. By choosing thinner, lighter materials, you save fuel when towing and gain precious inches where you sleep and eat.
- Measure your wall height x width to get total square footage.
- Consult your trailer’s GVWR.
- Get physical pieces of PVC, ply, and cedar to see how they feel and scratch.
For more on maximizing every inch of your build, explore our guide on tiny house storage solutions to see how your walls can double as organization systems.