There is a stubborn myth that tiny living is only for the able-bodied, agile, and young, those who can climb ladders to sleeping lofts or navigate narrow hallways.
That myth ends here.
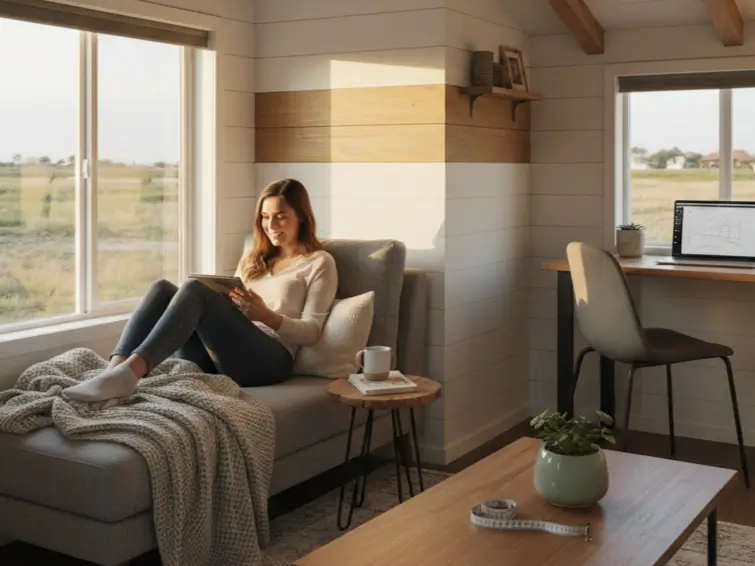
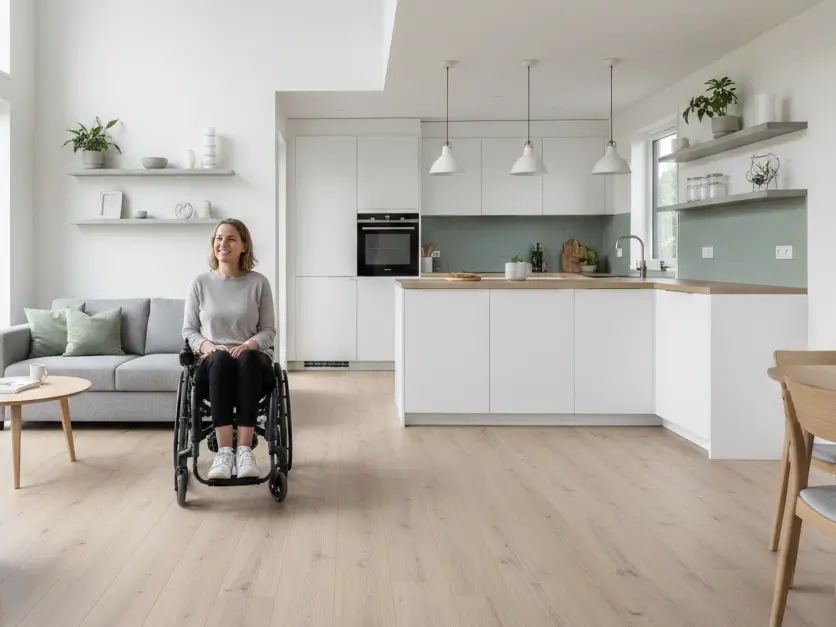
As an Adaptive Living Expert who has consulted on spaces as small as 250 square feet, I’ve seen firsthand how small spaces can actually be better for accessibility than large homes. In a tiny house, everything is within reach. Maintenance is minimal. But to make it work, you have to design with intention.
Tiny house accessibility design relies on single-floor layouts, open-plan “linear” flow rather than 360-degree turning radiuses, and multi-functional adaptive furniture. Key specs include minimum 32-inch clear door widths, knee clearance under sinks (27″ high x 30″ wide), and zero-threshold entries.
Whether you are designing for aging in place, a wheelchair user, or neurodivergent sensory needs, the goal isn’t just “access”, it’s autonomy. From a $50 lever handle upgrade to a $3,000 hydraulic lift investment, accessible design makes a home livable for everyone.
How to Navigate Turning Radiuses in Narrow Tiny Homes?
Standard ADA guidelines require a 60-inch (5 ft) turning radius, which consumes massive space in a tiny home. The solution is the T-Turn. By utilizing 36-inch wide hallways opening into a T-intersection (like a kitchen opening to a living room), a wheelchair user can execute a three-point turn in significantly less square footage.
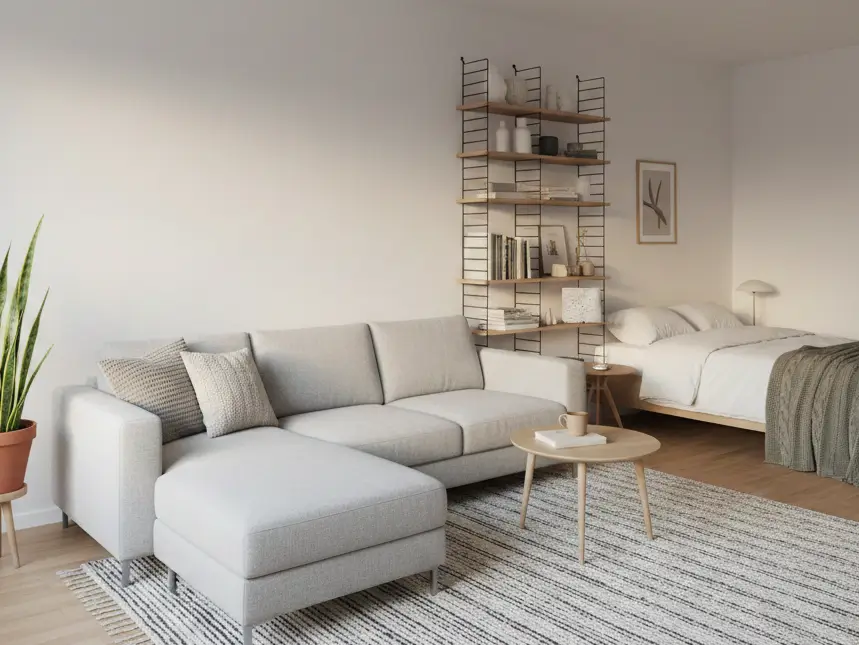
Linear Living vs. Radius Living
In a standard 2,500 square foot home, you have room for hallways. In a tiny house (often only 8.5 feet wide), hallways are wasted space.
For accessibility, the open floor plan is non-negotiable.
- Eliminate Hallways: Design the main living area to flow directly into the kitchen and bedroom.
- The 32-Inch Rule: All doorways must provide a minimum clear width of 32 inches (813 mm). Note that a 32-inch door slab usually only gives you 30 inches of clearance because of the hinges. You typically need a 36-inch door slab to get true accessible clearance.
- Pocket Doors: Swing doors eat up floor space and are difficult to maneuver around in a wheelchair. Heavy-duty pocket doors or barn doors are superior space-savers.
If you are currently drafting your blueprints, check out our guide on tiny house layout and floor plans to see how to eliminate dead zones.
Flooring Matters
Carpet is the enemy of wheels and walkers. It increases friction and retains allergens. For small spaces, you want continuous, hard-surface flooring with high slip resistance (R10 rating or higher).
Luxury Vinyl Plank (LVP) is often the gold standard here because it is waterproof, durable, and smooth enough for easy rolling but textured enough for grip. Learn more about tiny house flooring options that withstand heavy traffic.
Best Accessible Kitchen Design for Small Spaces?
Accessible small kitchens utilize variable counter heights and toe-kick drawers. A standard 36-inch counter is too high for seated work. Install a section of countertop at 28-34 inches high with open space underneath (knee clearance: 27″ H x 30″ W x 19″ D) for seated prep.
The “Triangle” becomes a “Line”
In a tiny house galley kitchen, the traditional “work triangle” becomes a linear workflow. This is actually an advantage for accessibility because you can slide laterally from the fridge to the sink to the stove without turning.
Key Modifications for Small Kitchens:
- Pull-Down Shelving: Upper cabinets are useless if you can’t reach them. Install pull-down shelf hardware (like Rev-A-Shelf) that brings the contents down to eye level.
- Drawer Dishwashers: Instead of a drop-down door that blocks the aisle, use a drawer dishwasher. It requires less bending and keeps the walkway clear.
- Side-Opening Ovens: Standard oven doors force you to lean over a hot surface. Side-opening models allow you to get close safely.
If you are struggling to fit appliances, review our breakdown of tiny house kitchen fixtures for compact, high-performance options.
How to Design a Wheelchair Accessible Tiny House Bathroom?
The most efficient solution is a Wet Room. By waterproofing the entire floor and eliminating the shower curb, you turn the whole bathroom into a usable turning circle. Use a wall-hung toilet to maximize floor space and a floating vanity to allow knee clearance.
Zero-Entry Thresholds
A curbless shower is essential. It removes the tripping hazard and allows a shower chair to roll directly under the water. To make this work in a tiny house, you need to recess the subfloor or use a specialized pan system (like Schluter-Kerdi) to create the slope without raising the floor height.
Reinforced Walls for Grab Bars
Don’t rely on suction cups. During the framing phase of your build, install plywood blocking between the studs around the toilet and shower area. This allows you to screw grab bars into the wall anywhere, rather than hunting for a stud later.
Pro-Tip: Modern grab bars come in matte black or brushed nickel and can double as towel rails, avoiding the “hospital look.”
For more on plumbing specifically for these setups, read our tiny house plumbing systems guide.
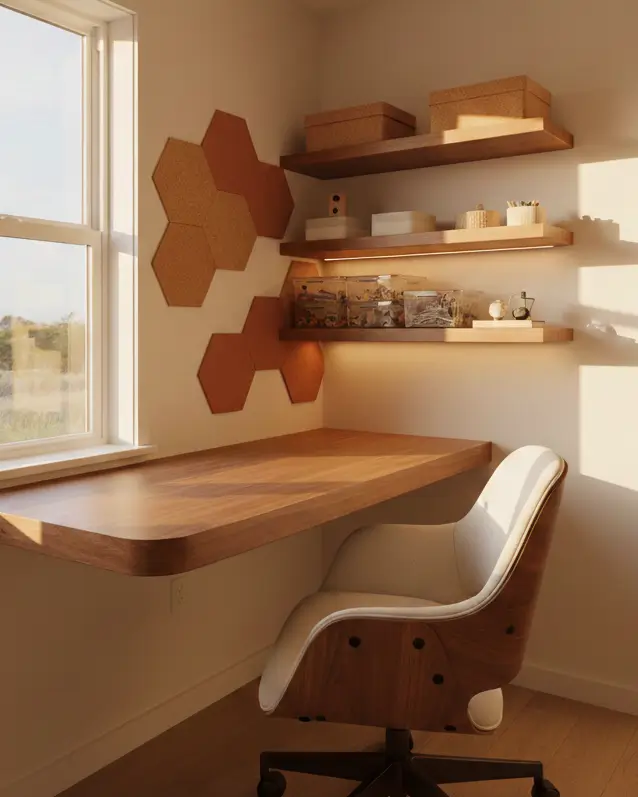
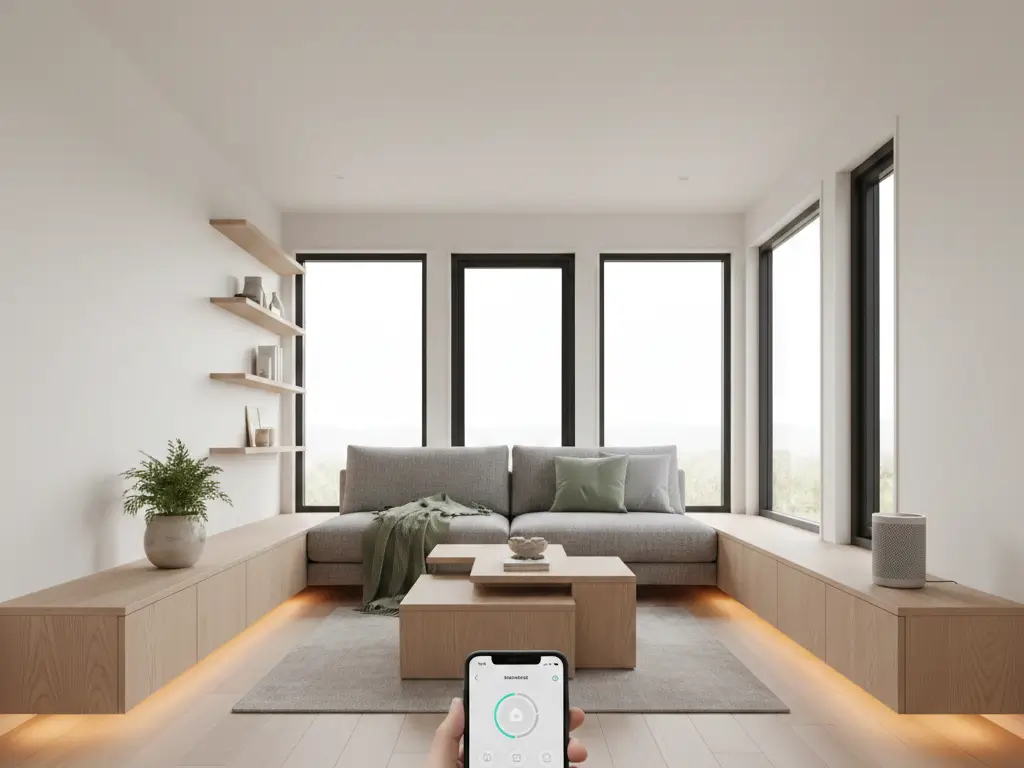
Smart Home Technology for Accessibility
Smart tech acts as a virtual aid, reducing physical strain. Voice-controlled lighting, automated blinds, and smart locks (keyless entry) allow residents to control their environment without physical dexterity or mobility. Cost: Approx. $500 for a basic setup (Hub, 4 bulbs, smart lock).
Voice Control vs. Switches
In a tiny house loft or bedroom, getting up to turn off a light can be a safety risk. Voice control (Alexa, Google Home, or Apple HomeKit) solves this.
However, physical switches still matter. Standard toggle switches can be hard to grip. replace them with large rocker switches or tap switches. Place them lower on the wall (36-42 inches from the floor) so they are accessible from a seated position.
This integrates perfectly with a tiny house smart home ecosystem to monitor temperature and security.
Ramp vs. Platform Lift for Tiny Houses on Wheels
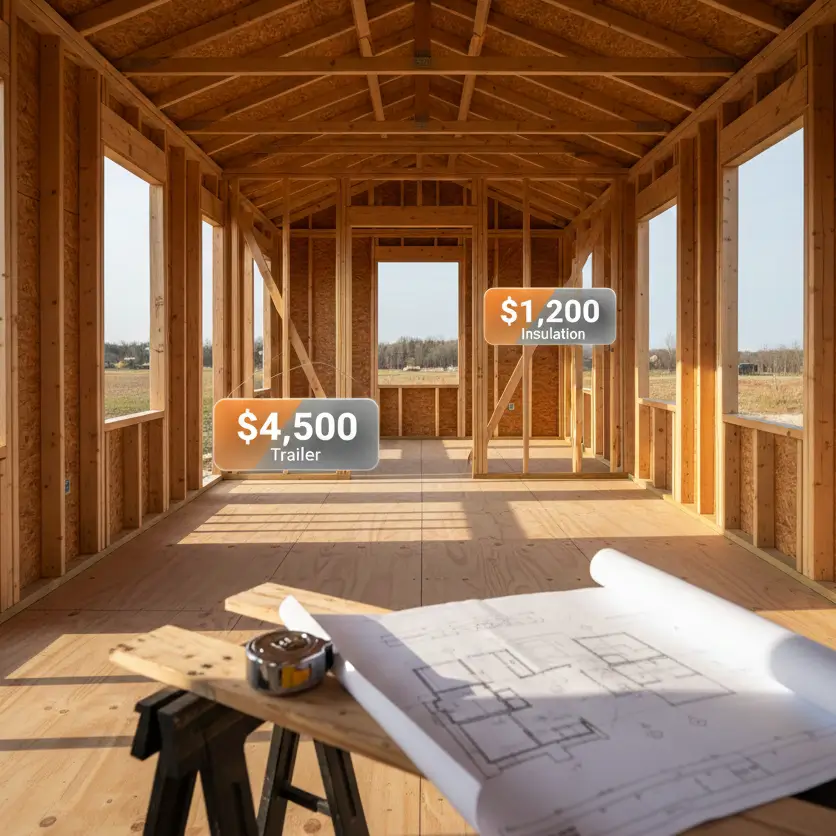
Ramps are reliable and cheap but require massive space (1 foot of length for every 1 inch of rise). A tiny house on wheels (THOW) is often 24+ inches off the ground, requiring a 24-foot ramp. Platform Lifts are compact but expensive ($2,000+) and require power.
| Feature | Aluminum Ramp | Wooden Ramp (DIY) | Hydraulic Platform Lift |
| Cost | $400 – $900 | $200 – $500 | $2,500 – $5,000+ |
| Space Needed | High (20ft+) | High (20ft+) | Low (4ft x 5ft footprint) |
| Maintenance | Low | Medium (Sealing) | High (Mechanical) |
| Portability | High (Foldable) | Low (Heavy) | Medium (Bolted on) |
| Tiny House Fit | Good for stationary | Best for aesthetics | Best for travel |
The “Deck” Solution
For semi-permanent locations, building a large deck at the same level as the door is the best solution. It expands your living space and allows you to hide a long ramp run along the side of the house.
If you are planning this, you must consider the weight and structural balance. Check our guide on tiny house on wheels specifications before bolting heavy lifts to your trailer frame.
Neurodivergent Considerations: Sensory Design
Accessibility isn’t just about mobility. For neurodivergent individuals (ADHD, Autism, Sensory Processing sensitivities), a tiny house can be a sanctuary or a nightmare depending on the design.
Sensory-Friendly Design Elements
Small spaces amplify sound and smell. Use sound-dampening materials like cork flooring or acoustic panels. Implement dimmable lighting (2700K-3000K warm white) to reduce visual overstimulation. Create “retreat zones” even in 300 sq ft.
- Acoustics: Tiny houses can be echo chambers. Soft textiles and tiny house insulation play a huge role in dampening noise.
- Visual Noise: Open storage looks cluttered. Use closed cabinetry to reduce visual stress. This aligns with tiny house minimalist living principles, keeping surfaces clear to calm the mind.
- Lighting: Avoid harsh overhead LEDs. Use layered lighting with dimmers. See our tiny house lighting solutions for fixture ideas that reduce glare.
We have a deeper dive specifically on neurodivergent tiny house design if this is a priority for you.
Costs and Budgeting
Let’s be real about the money. While tiny houses are generally cheaper, adaptive equipment is pricey.
- The “Universal” Premium: Expect to pay 10-15% more for specialized fixtures (grab bars, comfort-height toilets, lowered switch placement labor).
- DIY Savings: You can save significantly by installing things like grab bars, lever handles, and smart bulbs yourself.
- Grants: In the US, grants are available for home modifications for seniors and veterans.
Always buffer your tiny house budget planning to account for these specific hardware needs.
Conclusion
Designing a tiny house for accessibility is a game of inches. It forces you to be more creative, more efficient, and more thoughtful than a standard builder.
By prioritizing a curbless wet room, ensuring 32-inch clearances, and embracing smart technology, you aren’t just building a “accessible” house. You are building a “forever” home, one that works for you whether you are 25 or 85.
- Measure your current mobility aids. Know the exact width of your wheelchair or walker.
- Audit your floor plan. Circle every doorway and hallway. Do they meet the 32-inch clear width test?
- Start small. Swap round doorknobs for levers today. It’s a $20 fix that changes everything.
For more inspiration on making your space work for your unique life, visit Veniola.com.