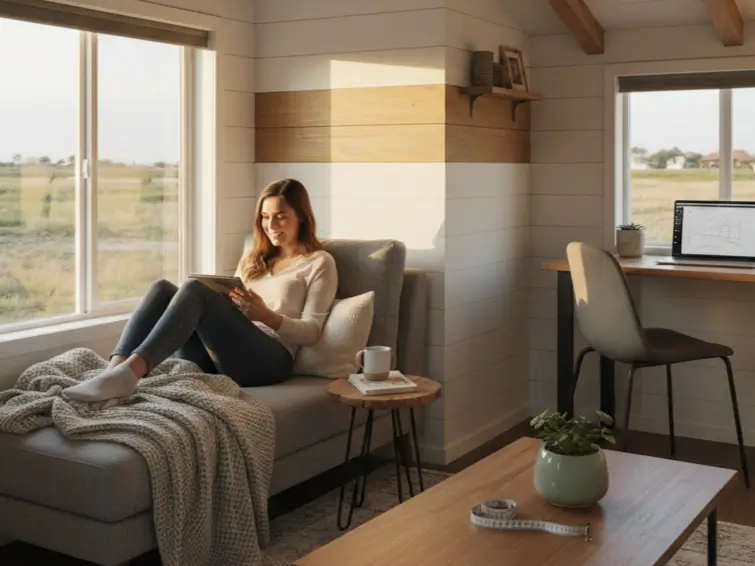
The dream is seductive: financial freedom, a reduced carbon footprint, and a life decluttered of excess stuff. But after the polished Instagram photos fade, the reality of living in 400 square feet sets in.
I’ve seen it happen dozens of times. A hopeful DIYer spends $25,000 on materials, only to realize six months later that they can’t sit up in bed without hitting their head, or that their house smells like a locker room because they skipped mechanical ventilation.
In a standard 2,000-square-foot home, a design mistake is an annoyance. In a tiny house, a design mistake is a lifestyle failure.
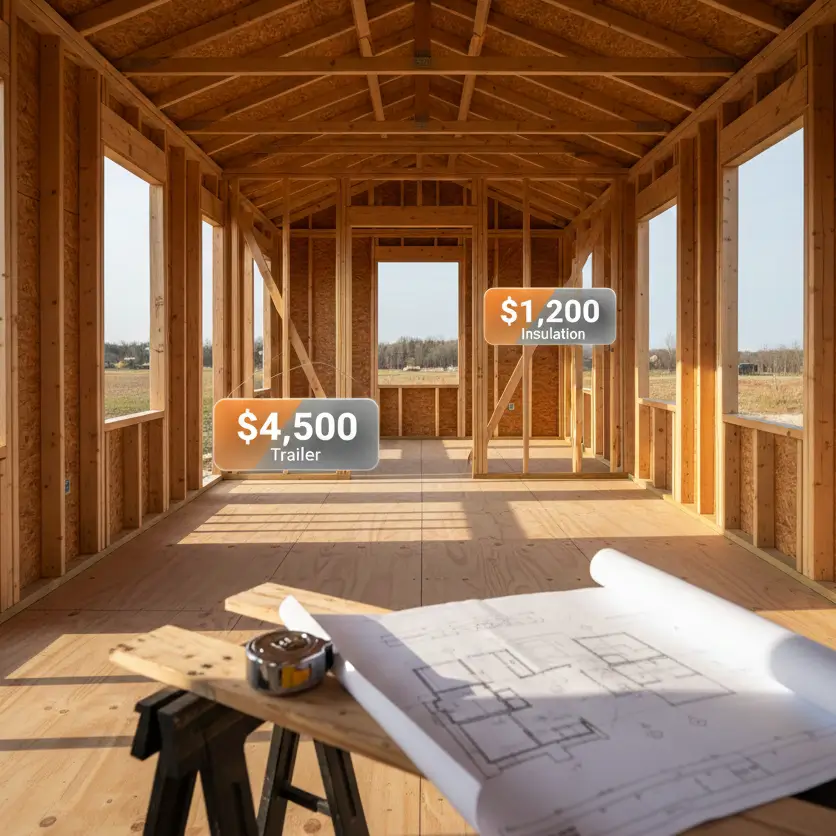
If you are planning a build or a move, you need to know where the friction points are. We aren’t talking about picking the wrong throw pillows; we are talking about structural and layout regrets that can cost thousands to fix. From $500 ventilation errors to $5,000 trailer balancing disasters, here are the biggest regrets tiny house dwellers face, and specifically how you can avoid them.
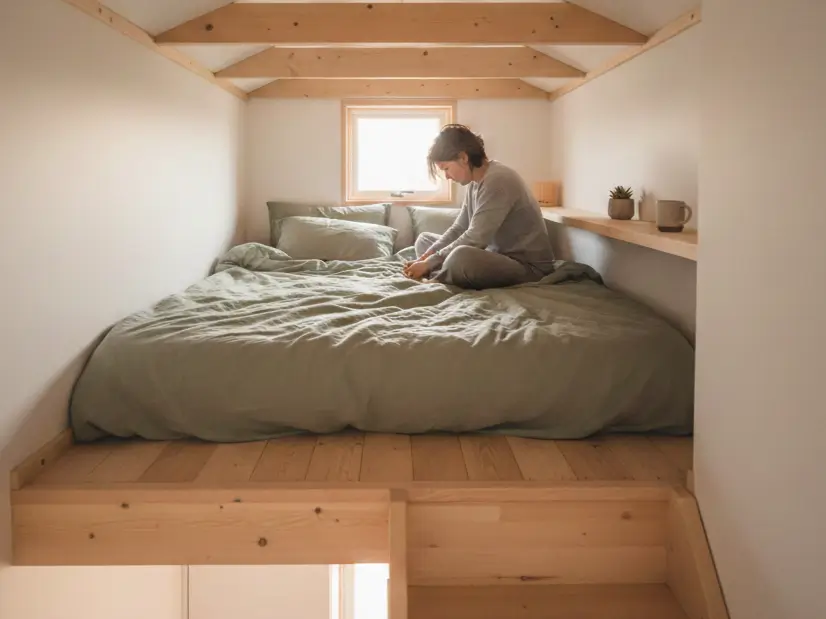
The Sleeping Loft: Heat, Headroom, and Ladders
The most common tiny house regret is the sleeping loft. Heat rises, making lofts 10-15°F hotter than the ground floor. Additionally, limited vertical clearance (often under 40 inches) makes changing sheets or intimacy difficult.
The Heat Factor
In a space with 11-foot ceilings, the temperature differential is real. I’ve measured ground floor temperatures at a comfortable 72°F while the loft hit a stifling 85°F. If you don’t plan for this, your sleep quality will suffer.
The Fix:
- Install a skylight that opens: This acts as a chimney, venting hot air out passively.
- Mini-split placement: Ensure your heating and cooling unit is mounted high enough to throw cool air across the loft, or use a ceiling fan specifically rated for low clearances.
The Ladder Fatigue
Climbing a ladder at 2 PM is fine. Climbing down a ladder at 3 AM to use the bathroom is dangerous and annoying. Many dwellers regret not sacrificing floor space for stairs with storage built-in.
Small Space Rule of Thumb: If you are building a loft, aim for a minimum of 42 inches of headspace at the peak. If you can’t achieve that, reconsider a ground-floor sleeping layout (like a Murphy bed or elevator bed).
- See more: Tiny House Bedroom Design Ideas
- See more: Tiny House Heating & Cooling Systems
Ignoring Mechanical Ventilation (The Mold Trap)
Tiny homes are airtight boxes. Without active ventilation, moisture from breathing, cooking, and showering gets trapped, leading to mold within months. Opening a window is rarely enough in spaces under 600 sq ft.
If you boil a pot of pasta in a tiny house, the humidity can spike from 40% to 90% in ten minutes. In a regular house, that moisture disperses. In a tiny house, it condenses on your windows, behind your mattress, and inside your closets.
Many DIYers regret skipping a Heat Recovery Ventilator (HRV) or Energy Recovery Ventilator (ERV) to save $500-$800. This is a massive mistake. These units cycle fresh air in and stale air out without losing your heat.
Signs you have a ventilation problem:
- Condensation on windows every morning.
- A musty smell in clothes stored against outer walls.
- Visible mold in corners near the ceiling.
The Budget Impact: Retrofitting a ventilation system requires cutting through finished walls and siding. Do it during the rough-in phase.
- Related Guide: Tiny House Insulation & Moisture Guide
The “Cute Kitchen” Syndrome
Installing a “bar sink” (12-15 inches wide) to save counter space is a major regret. You cannot wash a standard dinner plate (11 inches) or a pot flat in a bar sink. Prioritize a deep, standard-width sink (22-24 inches) even in a tiny kitchen.
Counter Depth and Appliance Clash
Standard kitchen counters are 24-25 inches deep. In an effort to save space, some builders reduce this to 20 inches. The problem? Standard cooktops and mini-fridges often require 22+ inches of depth.
I once worked with a client who installed 18-inch deep counters to widen the walkway. They ended up having to custom-order expensive RV appliances because standard compact apartment models stuck out 4 inches past the cabinetry, ruining the clean lines and blocking traffic flow.
The “Open Shelving” Regret
Open shelves look airy and beautiful in photos. In a tiny house on wheels (THOW), everything on those shelves becomes a projectile during transit. Even in a stationary small apartment, open shelves accumulate grease and dust rapidly because the stove is likely only 4 feet away.
Recommendation: Use closed upper cabinets or secure shelving with substantial lips if you plan to move the house.
- Deep Dive: Tiny House Kitchen Design & Fixtures
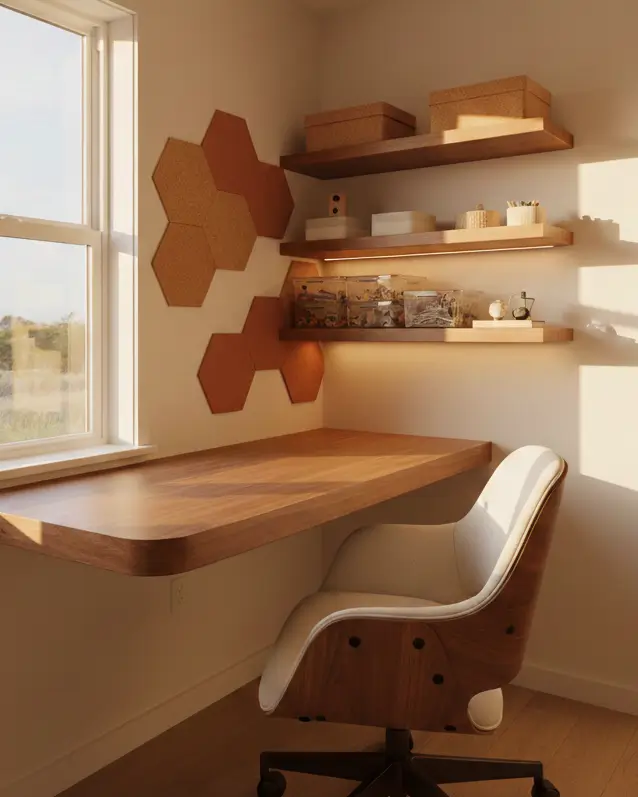
Forgetting Storage for the “Ugly Stuff”
Most floor plans account for clothes and dishes but fail to designate space for utility items: vacuum cleaners, brooms, laundry hampers, and trash cans. This leads to visual clutter that makes a small space feel even smaller.
The Utility Checklist:
Before finalizing your layout, physically map out where these specific items will live:
- The Vacuum: Even a stick vacuum needs a charging nook (approx. 12″ x 10″ footprint).
- The Laundry Hamper: A week’s worth of dirty clothes for two people takes up about 3-4 cubic feet.
- The Trash/Recycle: An under-sink unit often doesn’t fit if plumbing traps are in the way.
- Documents: Where do you keep your passport, vehicle title, and insurance papers?
The Solution: creating a “utility sliver.” A tall, narrow cabinet (just 6-8 inches wide) can house brooms, swiffers, and ironing boards.
- Organization Tips: Tiny House Storage Solutions
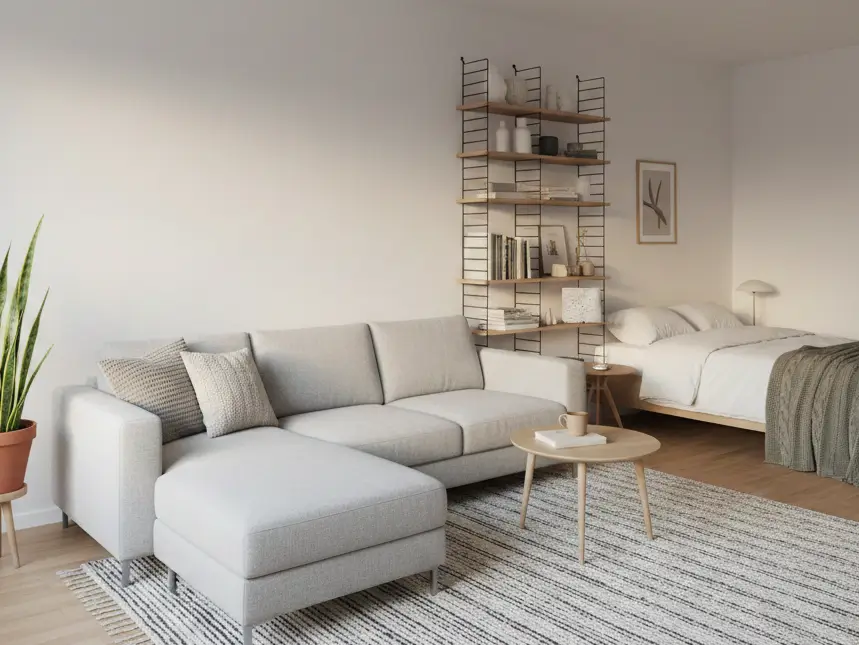
Layout Bottlenecks & Traffic Flow
A hallway or walkway in a tiny house should never be less than 28 inches wide, with 32-36 inches being ideal. Narrowing walkways to maximize furniture size creates “pinch points” where two people cannot pass each other.
The Bathroom Door Conflict
A classic regret is using a standard swing door for the bathroom. In a 5×8 bathroom, the door swing consumes nearly 9 square feet of usable space, that’s huge!
Better Options:
- Pocket Doors: Best for space saving, but require thicker walls (harder in tiny builds).
- Barn Doors: Easy to install, but they offer poor acoustic privacy (sound and smells travel).
- Bi-fold Doors: A decent compromise that saves swing space but seals better than a barn door.
The “Galley” Mistake
If you design a galley kitchen, ensure the aisle is wide enough for the dishwasher or oven door to open fully while you are standing in front of it. I’ve seen layouts where you have to stand to the side to open the oven because the aisle is only 30 inches wide and the oven door is 20 inches tall.
- Planning Guide: Tiny House Layout & Floor Plan Strategies
Underestimating Weight Distribution (THOWs Only)
For Tiny Houses on Wheels, failing to calculate tongue weight is dangerous. A house that is too heavy in the rear will cause the trailer to sway uncontrollably at highway speeds (fishtailing).
The 60/40 Rule:
Ideally, about 60% of the weight should be forward of the trailer axles.
Common Mistakes:
- Placing the kitchen (heavy appliances, plumbing, cabinetry) and the bathroom at the very rear of the trailer.
- Using heavy materials like granite countertops or drywall instead of lighter alternatives like butcher block or pine tongue-and-groove.
- Building without consulting the Gross Vehicle Weight Rating (GVWR) of the trailer axles.
Cost of Regret: A trailer that isn’t road-safe may require tearing out internal walls to redistribute weight, or upgrading axles, a specialized repair that can cost $3,000+.
- Technical Specs: Tiny House on Wheels Specifications
- Material Choice: Tiny House Wall Materials
DIY vs. Hiring a Builder
DIY builds save labor costs but often extend timelines by 1-2 years. Professional builds ensure code compliance and speed but cost 2-3x more upfront. The biggest regret is underestimating the complexity of electrical and plumbing systems.
| Factor | DIY Build Regrets | Professional Build Regrets | Small Space Reality |
| Budget | Usually goes 30-50% over initial estimate due to mistakes. | High upfront cost ($60k-$120k+). | DIY isn’t always cheaper if you ruin materials. |
| Time | “3 months” turns into 2 years of weekends. | Waitlists can be 6-12 months. | Living in a construction zone in a small space is stressful. |
| Resale | Harder to sell or insure without NOAH/RVIA certification. | Depreciation is similar to RVs/vehicles. | Certified builds hold value better. |
If you are DIYing, hire professionals for the “shell” (framing/weatherproofing) and the systems (electric/plumbing). Do the finish work (flooring, trim, painting) yourself to save money.
- Get Started: Tiny House Budget Planning
- Legal Check: Tiny House Legal & Zoning Guide
Final Thoughts
Regret in a tiny house usually comes from trying to cram a standard suburban lifestyle into 300 square feet. It doesn’t work. The happiest small-space dwellers are the ones who design for how they actually live, not how they want to look on social media.
- Don’t guess. Tape out your floor plan on a driveway or large room. Walk through it.
- Build a mock-up of your loft height using cardboard. Can you sit up?
- Review your ventilation plan. If you don’t have an exhaust fan in the bathroom and kitchen, add them now.
Living small forces you to confront your habits. When you design with intention, prioritizing airflow, sleep comfort, and utility storage, you build a home that feels like a sanctuary, not a cage.
For more detailed guides on getting the systems right, visit veniola.com.