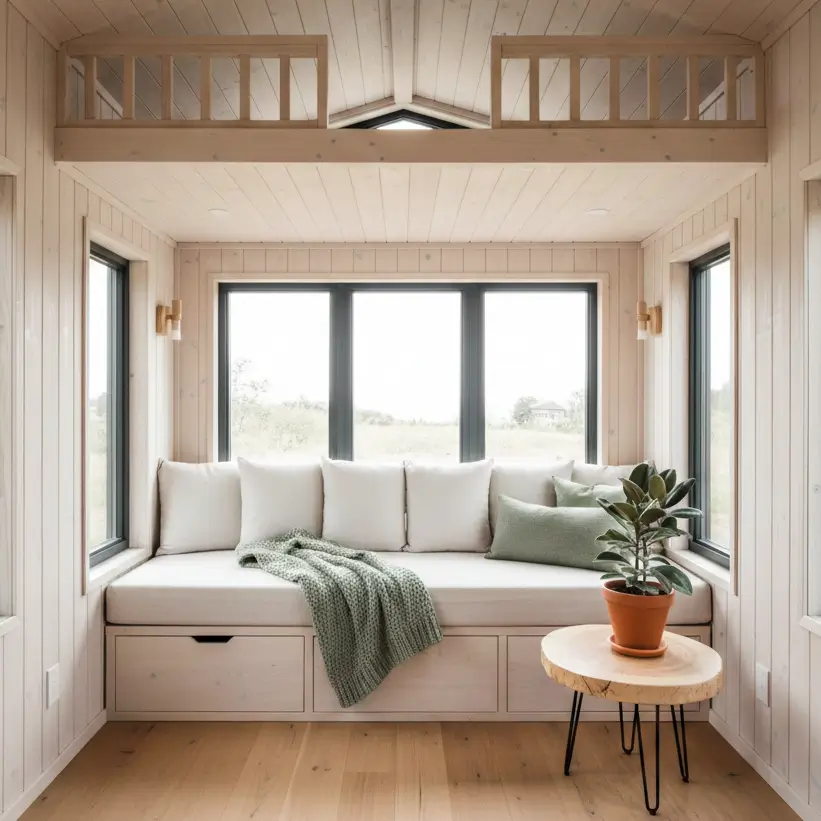
When I first stepped into a 200-square-foot tiny house in mid-February, I didn’t notice the layout or the decor. I noticed that despite the heater blasting, the floor was freezing. That is the harsh reality of small space living: you have less air volume to heat, but you are much more exposed to the elements on all sides.
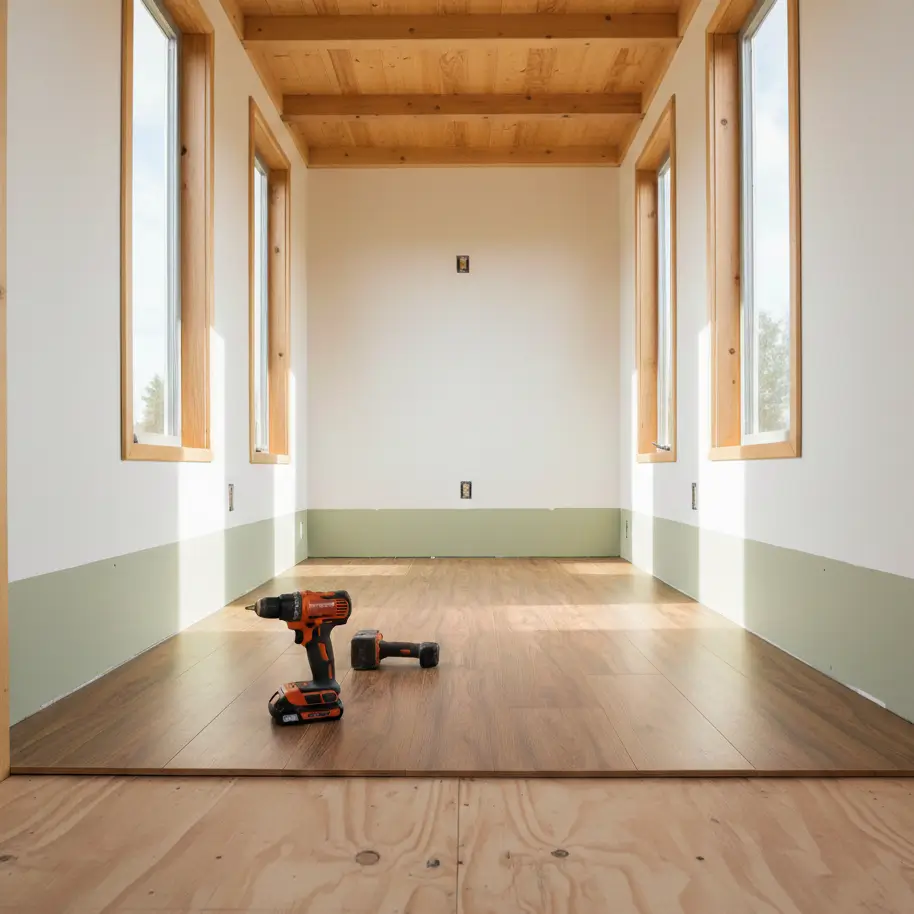
Here is the core challenge: In a standard home, you might have 6-inch or even 10-inch thick walls. In a tiny house on wheels (THOW), you are legally restricted to a road width of 8.5 feet (102 inches). If you build thick walls for insulation, you are stealing precious inches from your living room width.
For most tiny houses, Closed Cell Spray Foam offers the highest R-value per inch (R-6.5), adding structural rigidity and acting as a vapor barrier. However, for DIYers prioritizing sustainability and moisture management, Havelock Sheep’s Wool is the top choice, despite a lower R-value (R-3.6 per inch).
This guide isn’t just about keeping warm; it’s about balancing budget, moisture control, and that critical interior width. Whether you are building a $50,000 rig or renovating a vintage camper on a $500 budget, insulation is the one layer you cannot easily change once the walls are closed.
How Much Insulation Do You Need for a Tiny House?
Target an R-value of R-13 to R-21 for walls (standard 2×4 framing) and R-25 to R-30 for roofs/ceilings. Floors require at least R-19 to prevent the “cold trailer effect.” These targets vary based on your primary climate zone (Zone 1-7).
When we talk about insulation, we talk about R-value, the material’s resistance to conductive heat flow. The higher the number, the better it keeps heat in (or out).
In a tiny house, you are fighting a math problem. Most tiny homes are framed with 2×4 lumber, which provides a cavity depth of only 3.5 inches.
- Fiberglass batts in a 3.5-inch cavity = ~R-13.
- Closed cell spray foam in a 3.5-inch cavity = ~R-23.
That is a nearly 100% increase in efficiency without making the wall any thicker. If you plan to park your home in climates like Colorado or Vermont, that difference determines whether your pipes freeze or not.
Before choosing your material, you must understand your Building Envelope. This includes your wall materials, windows, and doors. If you install high-end insulation but use single-pane windows, you are throwing money away.
Relevant Guide: Tiny House Wall Materials
Best Insulation Types for Tiny Homes (<400 Sq Ft)
- Best Overall Performance: Closed Cell Spray Foam ($3-$5/sq ft).
- Best Sustainable/DIY: Sheep’s Wool ($2.00-$2.75/sq ft).
- Best Budget DIY: Rigid Foam Board (XPS) ($1.50/sq ft).
- Avoid: Fiberglass batts (prone to mold in small, humid spaces).
1. Closed Cell Spray Foam
This is often considered the “gold standard” for THOWs.
- Pros: Highest R-value per inch (6.0-7.0). It acts as a glue, adding up to 30% structural strength to your frame (crucial for houses that move down the highway). It creates a perfect air seal.
- Cons: Expensive. Requires professional installation. High chemical off-gassing during cure time.
- Space Impact: You can achieve R-21 in a standard 2×4 wall, saving you from needing 2×6 framing.
2. Sheep’s Wool (Havelock Wool)
I’m seeing a massive shift toward wool in the sustainable community.
- Pros: It manages moisture naturally. Wool can absorb 35% of its weight in moisture without losing R-value, a massive benefit in tiny homes where condensation is a major issue. It’s safe to touch, non-toxic, and sound-deadening.
- Cons: Lower R-value (R-3.6 per inch). More expensive than standard batts.
- Space Impact: You will get about R-13 in a 2×4 wall. You may need to supplement with rigid foam on the exterior to break thermal bridges.
Relevant Guide: Tiny House Sustainability
3. Rigid Foam Board (XPS/EPS)
Great for floors and DIY walls.
- Pros: High R-value (R-5 per inch for XPS). affordable, lightweight, water-resistant.
- Cons: Hard to cut perfectly; gaps must be sealed with canned foam (Great Stuff). Can squeak if not glued properly.
- Space Impact: Ideally used for flooring systems or as continuous exterior insulation sheathing.
Comparison Table: 3.5-inch Wall Cavity Performance
| Material | R-Value Per Inch | Total R-Value (3.5″ Cavity) | DIY Friendly? | Moisture Handling |
| Fiberglass | 3.1 – 3.4 | R-11 to R-13 | Yes | Poor (Mold Risk) |
| Rockwool | 4.0 – 4.2 | R-15 | Yes | Good (Hydrophobic) |
| Sheep’s Wool | 3.6 | R-13 | Yes | Excellent |
| Spray Foam | 6.5 – 7.0 | R-23 | No | Excellent (Barrier) |
| XPS Foam | 5.0 | R-17.5 | Yes | Moderate |
Preventing Condensation and Mold in Tiny Houses
Tiny houses accumulate moisture faster than standard homes because breathing, cooking, and showering happen in a smaller volume (approx 3,000 cubic feet vs. 20,000+). Use a smart vapor retarder (like Intello Plus) rather than a completely impermeable plastic barrier if using wool or Rockwool, allowing walls to dry out.
In a 300-square-foot space, two people and a dog can generate 2-3 gallons of water vapor per day just by existing. If that moisture gets into your insulation and hits the cold outer metal or wood sheathing, it condenses. Over time, this rots your trailer from the inside out.
The Strategy:
- If using Spray Foam: It acts as its own vapor barrier. No extra plastic needed.
- If using Wool/Rockwool: You must install a vapor barrier on the warm side (interior) of the insulation.
- Ventilation: No insulation saves you if you don’t ventilate. Install high-quality exhaust fans in the kitchen and bathroom.
Relevant Guide: Tiny House Heating & Cooling
Floor, Ceiling, and Wheel Well Insulation
Floors lose heat rapidly; use rigid foam (XPS) within the trailer frame (min R-19). Ceilings face the sun; use high-density insulation to prevent overheating. Wheel wells represent a thermal weak point; box them out with rigid foam and seal gaps aggressively.
The Floor (The Ice Block Effect)
Your tiny house sits on a metal trailer chassis. Metal is a thermal bridge, it conducts cold instantly. If you just shove fiberglass between the trailer joists, it will sag, create air pockets, and hold road moisture.
- Best Practice: Cut Rigid Foam (XPS) to fit tight between the metal joists. Glue it in place. Seal edges with “Great Stuff” foam. This creates a solid, rot-resistant subfloor layer.
- Measurement Note: Standard trailer joists are often 24 inches on center, but check for cross-members. You will do a lot of custom cutting.
Relevant Guide: Tiny House Flooring Installation
The Thermal Bridge Breaker
Because wood studs conduct cold (R-1 per inch) better than insulation, every stud is a “bridge” for heat loss.
- Solution: Install “thermal break” strips (thin foam or cork) on the face of the studs before hanging your interior wall materials. It adds 1/4 inch to wall thickness but significantly improves comfort.
Relevant Guide: Wood Materials for Tiny Houses
DIY vs. Pro Insulation Costs for a 24ft Tiny House
For a standard 24ft x 8.5ft tiny house (~180 sq ft floor, ~700 sq ft wall/ceiling surface):
- DIY Rockwool: ~$600 – $800
- DIY Sheep’s Wool: ~$1,600 – $2,000
- Pro Closed Cell Spray Foam: ~$2,500 – $4,000
While spray foam is the most expensive upfront, I urge you to consider the “cost of comfort.” If you save $1,500 on insulation but spend $50 extra per month heating a drafty trailer, you lose that savings in 2.5 years. Plus, spray foam adds structural integrity that helps prevent drywall cracks during transport.
Relevant Guide: Tiny House Budget Planning
A Warning on “DIY Spray Foam” Kits
You can buy “Froth-Pak” kits to spray foam yourself.
- Risk: If you don’t mix the chemicals at the exact right temperature and ratio, the foam won’t cure properly. It can remain gooey, off-gas permanently, or shrink. For the volume of a whole house, hiring a pro with a heated truck is usually safer and often similar in price once you buy 5-6 kits.
Step-by-Step Installation for Small Frames
Ensure all electrical and plumbing rough-ins are complete and tested before insulating. For wool or batts, cut 1/2 inch wider than the bay for a friction fit. Do not compress insulation behind pipes or wires; split the batt to go around them.
- Rough-In Check: Once insulation is in, moving an outlet is a nightmare. Verify your Tiny House Electrical Systems and Plumbing Systems are 100% done.
- Seal the Gaps: Before insulating, use caulk or canned foam to seal every hole where wires penetrate the exterior sheath. Air sealing is actually more important than R-value.
- The Wheel Wells: These steel curves are condensation magnets. Glue rigid foam over them, then cover with your subfloor.
- Safety: If using Rockwool or Fiberglass, wear a respirator, long sleeves, and goggles. The fibers are irritants.
Making the Right Choice
If you are building a stationary Accessory Dwelling Unit (ADU) on a foundation, you have more flexibility, you can use Rockwool or even recycled denim to save money.
However, if you are building a Tiny House on Wheels (THOW) that will travel:
- My Recommendation: Budget for Closed Cell Spray Foam. The structural rigidity it adds to the trailer frame is invaluable, and the high R-value maximizes your narrow interior width.
- The Sustainable Alternative: If you are chemically sensitive or plastic-averse, choose Havelock Wool, but frame your trailer with advanced framing techniques to minimize thermal bridging, and invest in a top-tier smart vapor retarder.
Insulation isn’t sexy. You cover it up and never see it again. But on a Tuesday night in January, when you’re sitting comfortably in your 300-square-foot sanctuary while the wind howls outside, you’ll know exactly where your money went.
- Calculate your total wall, ceiling, and floor square footage.
- Get three quotes for spray foam to establish a baseline.
- Check the “Wall Materials” guide below to see what covers your insulation.
For more details on finishing your build, visit veniola.com.