When you live in a standard 2,000-square-foot home, a poorly placed window is just a dark corner. In a 250-square-foot tiny house on wheels (THOW), a poorly placed window determines whether you feel like you’re living in a closet or a sanctuary.
I learned this the hard way during my first build. I prioritized aesthetics over orientation, resulting in a sleeping loft that reached 95°F by 10 AM because of a massive, unshaded south-facing skylight. Windows and doors in small spaces aren’t just about the view; they are your primary climate control system and the biggest factor in how “big” your space feels.
For tiny houses and small spaces, prioritize tempered glass (safety glass) for all windows if mobile, and aim for a glazing ratio of 15-20% of your floor area. Use pocket or barn doors to save 9 sq ft of swing space per door. Ensure at least one window in the loft meets egress codes (min 5.7 sq ft opening) for fire safety.
From $150 budget sliders to $1,200 custom architectural glass, this guide breaks down exactly how to choose openings that expand your footprint without ruining your insulation.
The Geometry of Space: Doors That Don’t Steal Footage
What are the best space-saving doors for tiny houses? In spaces under 400 sq ft, avoid traditional swing doors which consume roughly 9 to 12 square feet of usable floor space per door. The best alternatives are sliding barn doors (requires wall space), pocket doors (requires framing depth), or bi-fold doors (ideal for closets/laundry).
The “Dead Space” Calculation
A standard 32-inch interior door requires a clear arc of about 30 to 34 inches to open fully. In a tiny house layout, that “swing zone” often overlaps with where you need to stand to use the kitchen sink or access the bathroom.
When planning your tiny house layout floor plan, I always recommend conducting a “collision test.” Tape out the swing radius on the floor. Does the bathroom door hit your knees while you’re on the toilet? Does the bedroom door block the closet?
Top Solutions for Tight Quarters
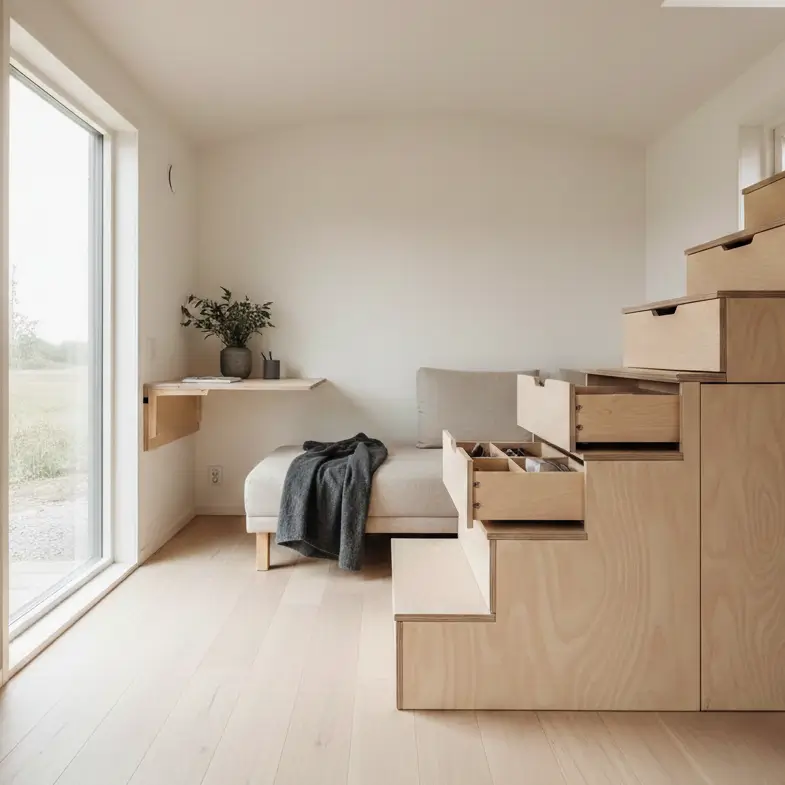
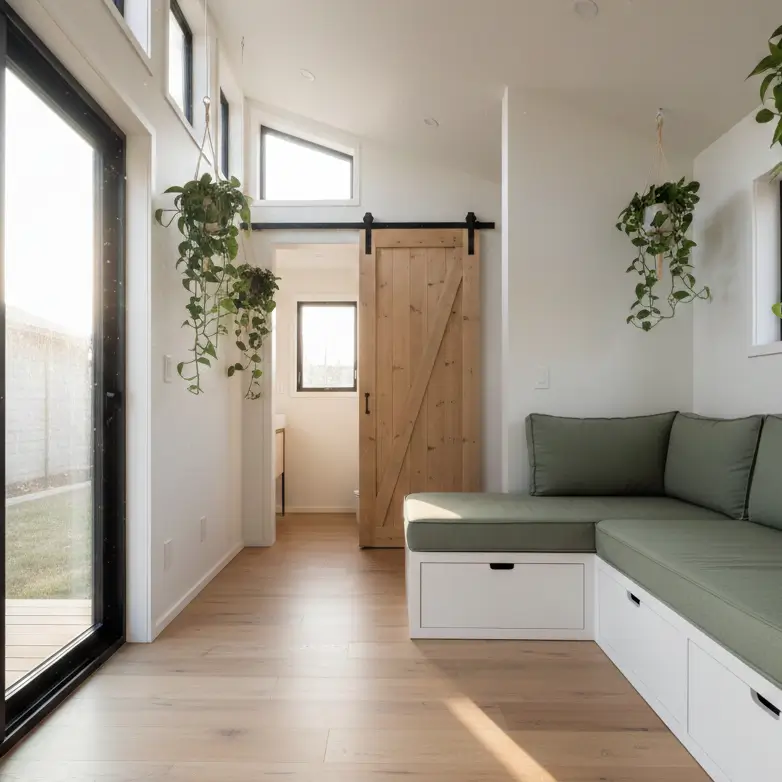
- Pocket Doors: The gold standard for efficiency. The door slides inside the wall cavity.
- Pro: Zero floor space usage.
- Con: Difficult to repair if the track jumps; requires building the wall specifically for it (usually 2×4 framing minimum).
- Barn Doors: Surface-mounted sliders.
- Pro: Easier DIY installation; adds rustic or modern aesthetic character.
- Con: You cannot place furniture or hang art on the wall section where the door slides. They also offer less soundproofing for tiny house bathroom design.
- Bi-Fold Doors: These fold in half as they open.
- Pro: Good for closets or laundry nooks; cuts swing radius by 50%.
- Con: Can pinch fingers; hardware often feels flimsy in budget models.
Windows on Wheels: Vibration and Safety
Do tiny houses need special windows? Yes. If your tiny house is built on a trailer, you must use tempered glass (safety glass). Standard annealed residential glass shatters into dangerous shards during road vibration or flexing. Tempered glass crumbles into dull cubes. Additionally, windows must withstand 60mph+ wind loads while towing.
The Tempered Glass Rule
If you are browsing the clearance aisle at a big-box store, be careful. Many standard vinyl windows use annealed glass. For a stationary foundation home, that’s fine. For a THOW, it’s a safety hazard.
When checking tiny house on wheels specifications, look for the “SG” or “Tempered” etch in the corner of the glass pane. While tempered windows can cost 20-40% more, they are non-negotiable for road safety.
Framing for Movement
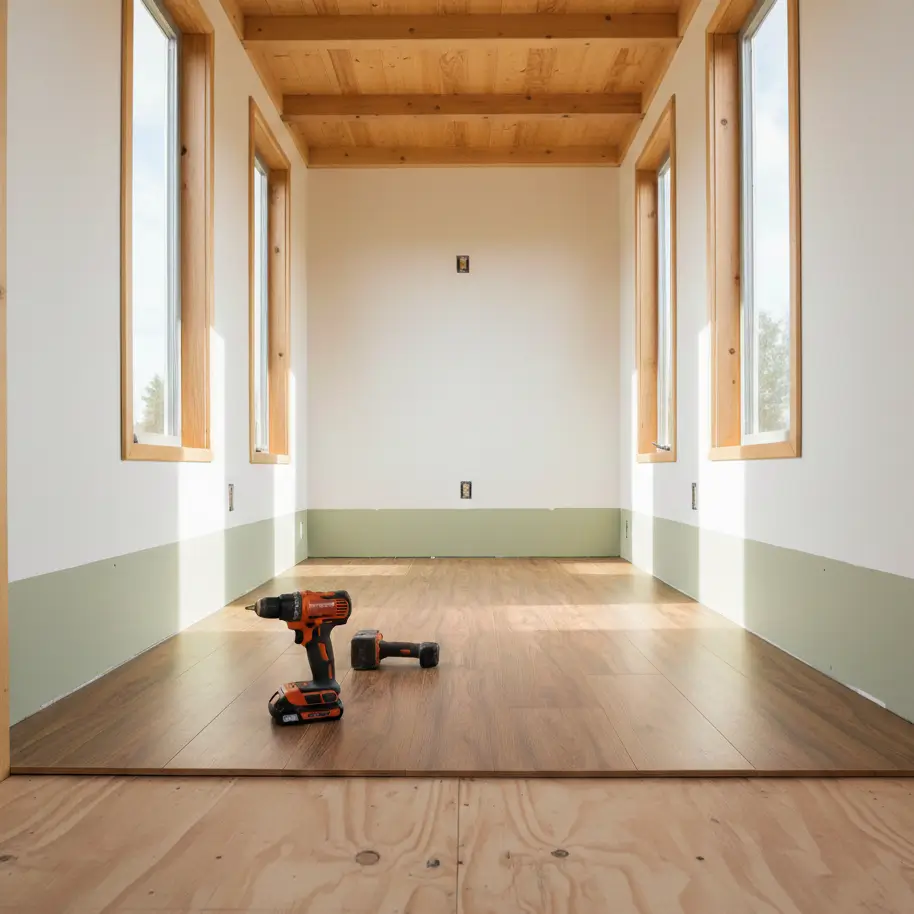
A tiny house moves. It flexes when you tow it and settles when you park it. If you frame your window openings too tight, the glass will crack under stress.
- Rough Opening (RO): Always leave a 1/2 inch gap around the entire window frame perimeter.
- Shims: Place shims only at fastener locations to avoid bowing the frame.
- Spray Foam: Use minimal-expanding foam specifically for windows/doors. High-expansion foam can warp vinyl frames and jam the sash.
Egress: The One Window You Must Get Right
What are tiny house egress window requirements? International Residential Code (IRC) Appendix Q specifically for tiny houses requires at least one emergency exit in sleeping lofts. The window must have a minimum opening area of 5.7 sq ft (or 5.0 sq ft for ground floors), a minimum opening height of 24 inches, and a minimum opening width of 20 inches. The sill height cannot be more than 44 inches off the floor.
Sleeping Safely
I can’t stress this enough: fire moves fast in small spaces. Your egress window isn’t just about code compliance; it’s your lifeline.
In a typical tiny house bedroom design located in a loft, this can be tricky because wall height is limited by the roofline. Casement windows (which crank out) are often superior to single-hung windows (which slide up) for egress because the entire pane opens, giving you the maximum exit area for the rough opening size.
Pro Tip: Ensure your egress window hardware is easy to operate. You don’t want to be fumbling with complex latches in an emergency.
Thermal Performance & The Greenhouse Effect
How do windows affect tiny house heating and cooling? In <400 sq ft, glass has a massive impact on temperature. Low-quality windows create a “greenhouse effect,” overheating the space in summer. Use double-pane, Low-E (Low Emissivity) windows filled with Argon gas. Aim for a U-factor of 0.30 or lower.
The R-Value Reality Check
Walls in a tiny house usually have an insulation value of R-13 to R-23, depending on your tiny house insulation guide. A single-pane window has an R-value of roughly R-1. Even a good double-pane window is only around R-3 to R-4.
Every window is a hole in your thermal envelope.
- Summer: Solar heat gain through glass can overwhelm a small A/C unit in minutes.
- Winter: Cold drafts from glass cause condensation, leading to mold, a major issue discussed in tiny house plumbing systems regarding moisture management.
Strategic Placement for Passive Solar
- South-Facing: Great for winter heat, but requires overhangs or awnings to block high summer sun.
- North-Facing: Provides consistent, even light without heat gain.
- West-Facing: Avoid large windows here if possible; late afternoon sun is brutal and hard to shade.
Design & Aesthetics: Making Small Feel Big
Tiny House Window Placement Ideas for Depth
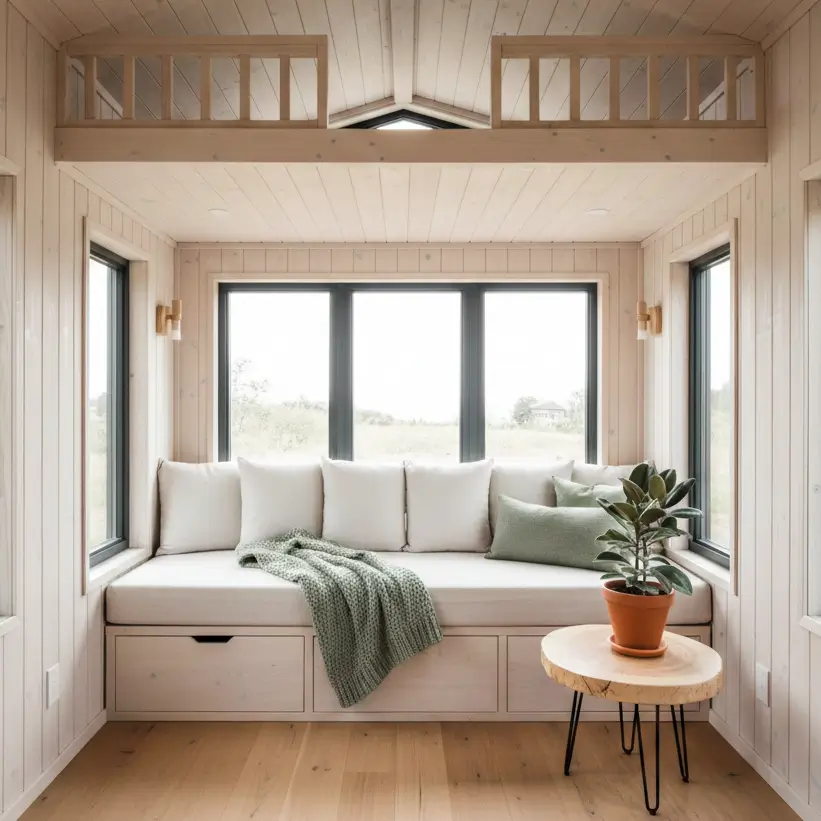
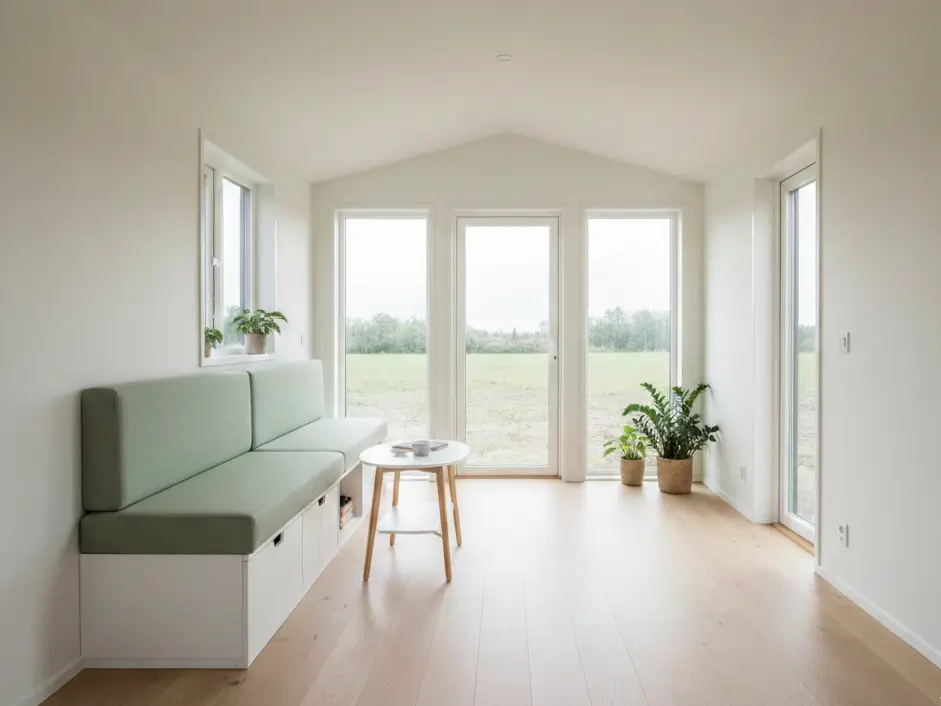
To create a sense of space, align windows on opposite walls to create “sightlines” that extend the eye outdoors. Use clerestory windows (high up near the roof) to let in light without sacrificing wall space for storage. Consider a skylight to add volume to low ceilings.
The Cross-Ventilation Strategy
Airflow is critical to remove moisture and cooking smells. You need an “intake” and an “exhaust.” Place operable windows on opposite sides of the house.
- Windward Side: Place lower windows here (cool air enters).
- Leeward Side: Place higher windows here (hot air exits).
This passive cooling technique reduces reliance on your tiny house heating cooling systems, saving precious electrical load.
Visual Tricks
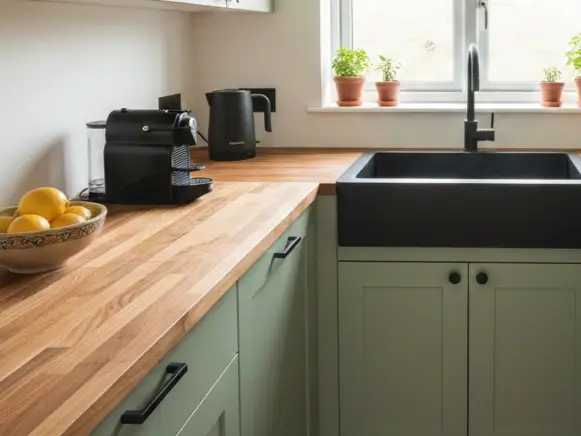
- The Kitchen Pass-Through: A bi-fold or sliding window in the tiny house kitchen design that opens to an exterior bar counter connects indoors and outdoors, effectively doubling your entertaining space.
- Floor-to-Ceiling: Even a narrow (18-inch wide) floor-to-ceiling window breaks up the boxy feel of a tiny home better than a standard square window.
Budget vs. Quality: Where to Spend
How much do tiny house windows and doors cost? Budget roughly $3,000 – $6,000 for a full package of new, tempered windows and doors for a 24ft tiny house. Reclaimed windows are cheaper ($50-$100 each) but rarely tempered or energy-efficient. Custom shapes (trapezoids for gable ends) can cost $600-$1,200 per window.
Option A: The Scavenger (Budget)
You can find amazing deals at Habitat for Humanity ReStores.
- Risk: Framing your house to fit odd-sized used windows is harder than framing for standard sizes. You also likely won’t find tempered glass.
- Best for: Stationary cabins, sheds, or diy tiny house building projects on foundations.
Option B: The Mix-and-Match (Mid-Range)
Buy standard-sized, new vinyl windows from a big-box store for the walls (ensure safety glass if towing) and splurge on one custom door.
- Best for: Most DIYers. Standard sizes (like 24×36 or 36×48) are easy to frame.
Option C: The Architectural Package (Investment)
Ordering a custom package from manufacturers specializing in tiny homes (like Anderson or Pella).
- Pro: Guaranteed fit, high specs (Low-E, Argon), and matching warranties.
- Best for: Professional builds and extreme climates.
Regardless of budget, proper flashing tape and sealant are cheap insurance. Don’t skimp on the waterproofing materials described in tiny house wall materials guides.
Final Thoughts
Windows and doors are the most expensive structural components of your tiny house shell, second only to the trailer itself. But they are also the primary interface between you and the world. In 300 square feet, you aren’t just looking at the window; you are living right next to it.
- Before cutting a single stud, stand at your parking spot and track where the sun rises and sets.
- Check if your local zoning or NOAH certification requires specific egress dimensions.
- Measure your current doors. Tape that radius on the floor of your future layout. If it overlaps a critical zone, switch to a slider.
For more details on finishing the interior around those new windows, check out our guide on tiny house decorating basics.