When I first looked at the price tag for custom tiny house cabinetry, I nearly dropped my measuring tape. A custom storage staircase alone can cost upwards of $3,000 professionally installed. For a 300-square-foot home, that’s $10 per square foot just for stairs. That didn’t sit right with my budget or my pride.
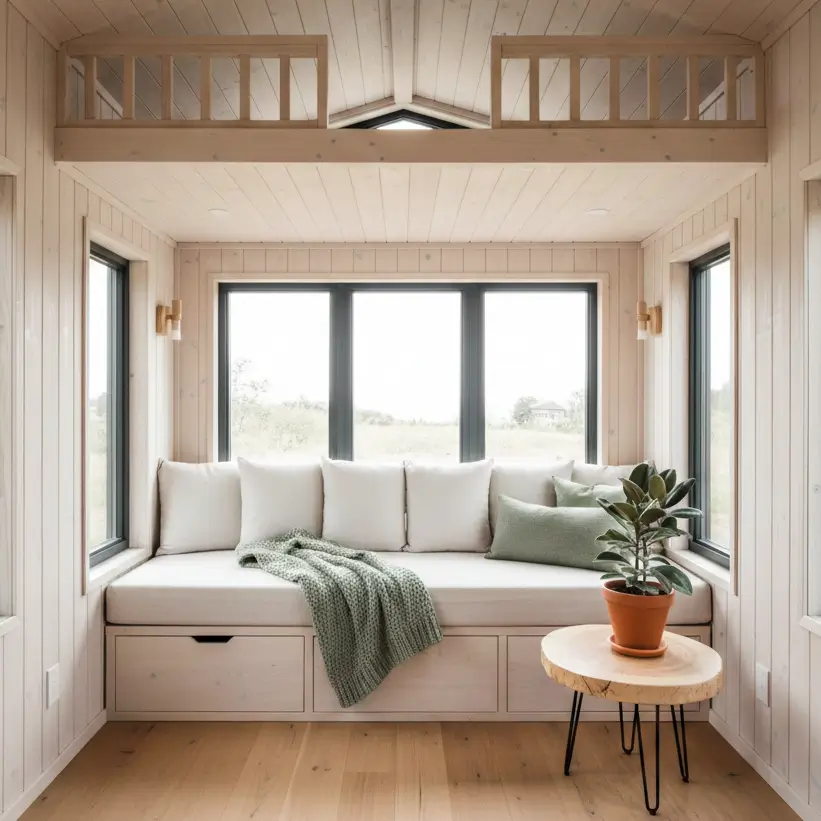
DIY tiny house building projects aren’t just about saving cash (though saving 80% is nice). It’s about geometry. Standard IKEA furniture simply doesn’t account for the wheel well of a trailer or that awkward 7-inch gap next to your fridge. To truly live comfortably in under 400 square feet, you have to stop buying furniture and start building it.
From a $150 hidden drawer system to a weekend stairway project, here are five structural changes you can build yourself. I’ve broken these down by difficulty, cost, and the exact space you’ll reclaim.
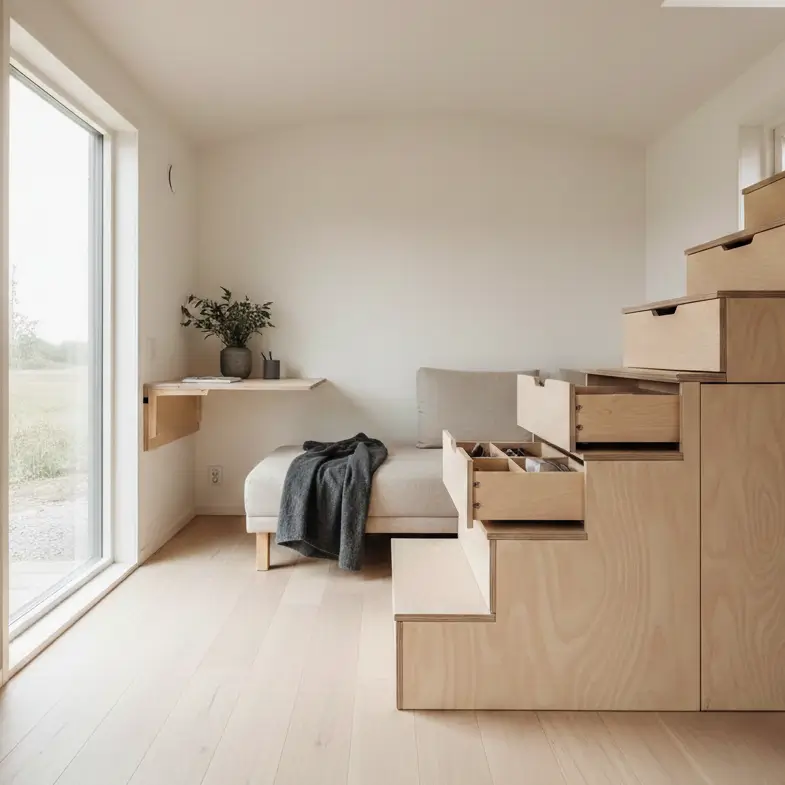
The “Tansu” Style Storage Staircase
Difficulty: High | Cost: $350-$600 | Space Gained: ~25 Cubic Feet
Building storage stairs involves constructing individual modular boxes from 3/4-inch plywood. Standard tiny house dimensions require a 10-inch tread depth and a 7.5-inch rise. Secure boxes together and to the wall studs. Use heavy-duty drawer slides rated for 100lbs+ for the internal storage.
Why This is the Holy Grail of Tiny Living
If you have a loft, a ladder is a space saver, but stairs are a lifestyle saver. I tried the ladder life for three months before my shins went on strike. The solution is the Japanese-inspired “Tansu” chest design, stairs that function as a dresser.
In a standard tiny house layout (8.5 feet wide), you typically have about 3 feet of width to play with for the staircase. By building this yourself using wood materials for tiny houses, you turn a “dead zone” into a massive wardrobe.
The Construction Logic
Don’t think of it as building “stairs.” Think of it as building 4-5 sturdy wooden boxes of varying heights.
- The Material: Use 3/4-inch Birch plywood. It’s strong, paints well, and holds screws better than MDF.
- The Dimensions:
- Box A (Bottom): 20″ wide x 10″ deep x 7.5″ high.
- Box B (Second): 20″ wide x 10″ deep x 15″ high.
- Box C (Third): 20″ wide x 10″ deep x 22.5″ high.
- Let the measurements climb by 7.5 inches each time.
- The Assembly: Use pocket hole screws and wood glue. This creates a rock-solid joint without visible screw heads.
Pro Tip: If you are building on a trailer, bolt the staircase structure to the floor and the wall studs. A tiny house on wheels experiences earthquake-level vibrations during transport.
For a deeper look at connecting these boxes securely, check our guide on wood joinery techniques.
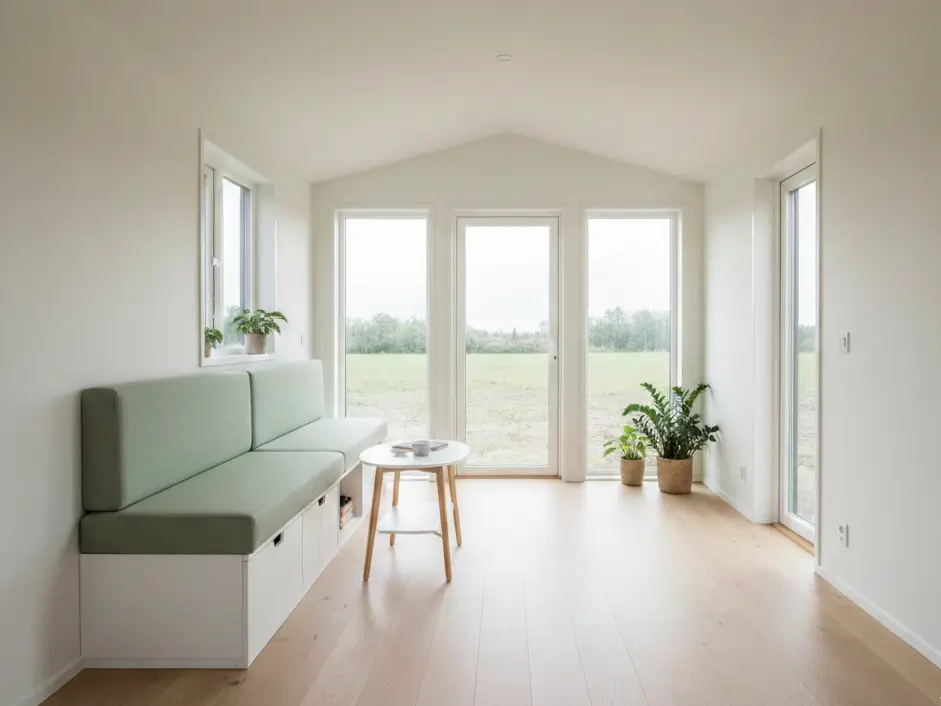
The “Zero-Footprint” Murphy Desk
Difficulty: Medium | Cost: $75-$150 | Space Gained: 6 sq ft of floor space
A DIY fold-down desk requires a piece of 3/4-inch plywood (approx. 24″ x 36″), a sturdy piano hinge (30″), and two heavy-duty folding shelf brackets (rated 100lbs+). Mount into studs at 29-30 inches from the floor for ergonomic height. Total depth when closed: 2 inches.
Why You Need This
Working from the couch destroys your back. Working from the kitchen counter destroys your dinner prep. You need a dedicated workspace, but you can’t afford to lose 6 square feet of floor space permanently.
Step-by-Step Build
I built my first fold-down desk using scrap wood, and it sagged immediately. The secret is in the hardware.
- The Surface: Cut a piece of hardwood plywood or solid pine project panel to 24 inches deep by 36 inches wide. Sand the edges until they are butter-smooth to avoid snagging your sweaters.
- The Mechanism: Do not use standard door hinges. Use a continuous piano hinge for the connection to the wall cleat. This distributes the weight across the entire width.
- The Support: Buy locking folding brackets. I recommend brackets rated for at least 150 lbs. You might lean on this desk more than you think.
If you plan to work from home in a tiny house, positioning is key. Ideally, mount this near a window for natural light, but ensure the swing radius doesn’t hit your kitchen cabinets.
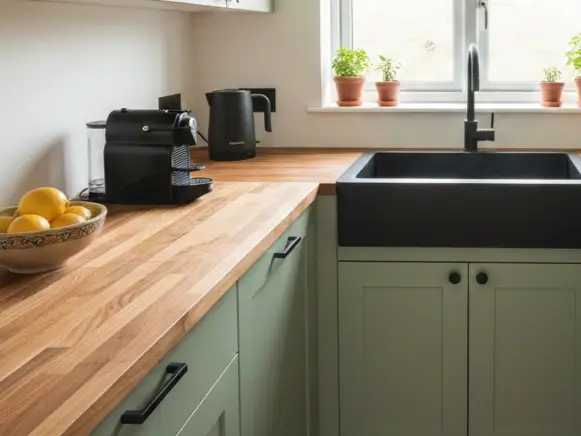
Toe-Kick (Plinth) Drawers
Difficulty: Medium | Cost: $40 per drawer | Space Gained: 3-4 Cubic Feet per cabinet
Toe-kick drawers utilize the 4-inch gap beneath standard kitchen cabinets. You build a shallow drawer box (3.5″ high) mounted on side-mount slides attached to the cabinet legs or base platform. Attach the original toe-kick board to the front of the drawer for a hidden look.
The Hidden 10%
In a standard kitchen, the bottom 4 inches of cabinetry is just air and dust bunnies. In a 10-foot galley kitchen, that’s nearly 4 cubic feet of wasted space, enough for 12 baking sheets, stepping stools, or emergency canned goods.
Building The Box
This requires precision. You are working with tight tolerances.
- Clearance: If your toe kick height is 4 inches, your drawer box exterior height should be max 3.25 inches.
- Glides: Use side-mount ball-bearing slides. They take up 1/2 inch on each side, so your drawer box must be 1 inch narrower than the opening between cabinet legs.
- The Face: This is the clever part. Cut your baseboard trim and attach it directly to the drawer front. When closed, it looks like a standard motionless baseboard.
Before installing, review our tiny house kitchen design guide to see where these drawers might interfere with plumbing or electrical lines.
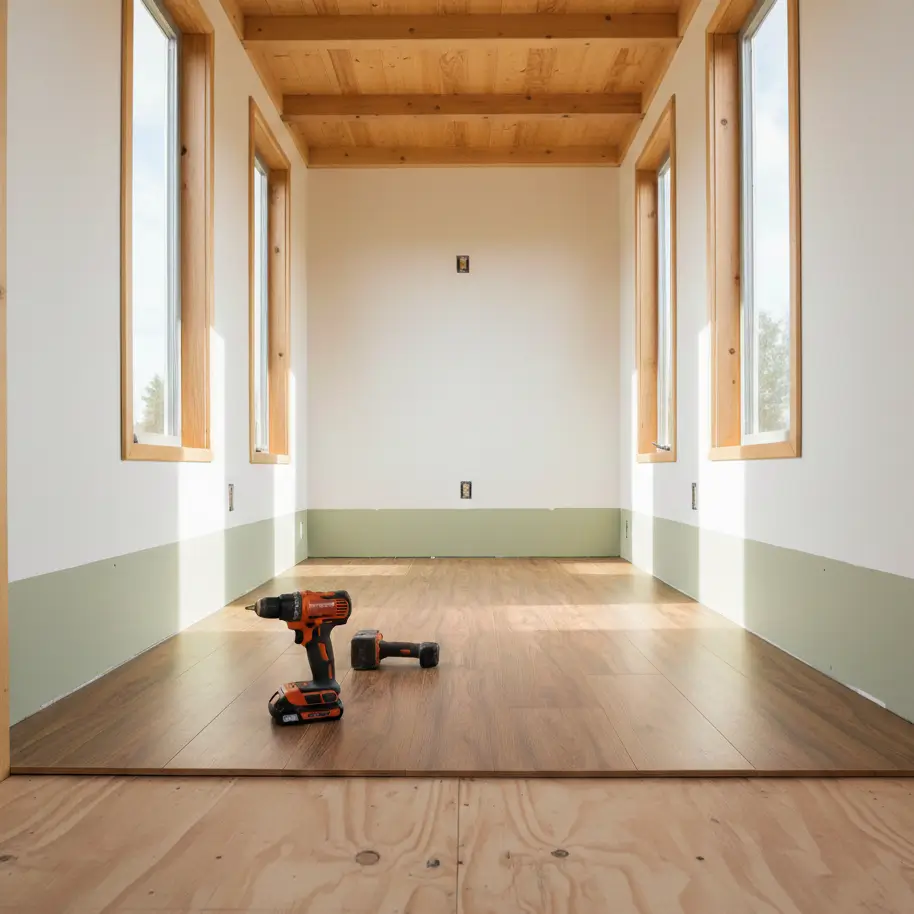
Between-Stud Storage Recesses
Difficulty: Low | Cost: $30 per unit | Space Gained: Varies (Zero footprint)
Utilize the 3.5-inch depth inside your walls. Locate non-load-bearing studs (typically 16″ on center). Cut the drywall/paneling, frame the box with 1×4 pine, and add shelves. Perfect for spices, toiletries, or books without intruding into the room.
Vertical Thinking
I once struggled to fit a spice rack in a 60-square-foot kitchen. Then I realized the wall itself was hollow. By cutting into the wall cavity, I created 4 linear feet of shelving without taking up a single inch of floor space.
Safety First
Before you cut, use a stud finder that detects electricity. In tiny houses, tiny house plumbing systems and electrical wires are often routed through studs.
- Find the Studs: Mark the inside edges of two adjacent studs.
- Cut the Hole: Use a drywall saw or oscillating multi-tool.
- Insert the Box: Build a simple box from 1×4 lumber that slides snugly into the hole. Secure it with trim screws into the studs.
- Finish: Frame it with molding to hide the rough edges.
Once built, you’ll need to protect the wood. Check out our recommendations for painting wood guides to ensure your new built-in handles moisture, especially if it’s in a bathroom.
The Structural Loft Platform
Difficulty: High | Cost: $200-$400 | Space Gained: Defines the Bedroom
Instead of a simple plywood sheet, build a loft platform using 2×4 framing (or 2×6 for spans over 8 feet). Integrate LED channel lighting into the underside to light the room below. Face the edge with hardwood for a finished look. Ensure 30-36 inches of headroom above the mattress.
More Than Just a Floor
In many DIY builds, the loft floor is just the ceiling of the kitchen. But if you treat it as a design element, it works harder. By framing with 2x4s on edge, you create a 3.5-inch cavity.
- Soundproofing: Fill that cavity with rock wool to dampen sound between the sleeping area and the living area.
- Lighting: Route wiring for recessed puck lights that illuminate your kitchen counter below.
- Aesthetics: The underside of your loft is the “ceiling” you’ll look at all day. Don’t leave it as raw plywood.
Review tiny house bedroom design principles to ensure you aren’t making the platform too thick, which eats into your precious headroom. Every inch counts when you’re sitting up in bed.
DIY vs. Prefab Tiny House Projects
Is it worth the sawdust? Here is the breakdown based on a standard 24-foot tiny house build.
| Project Type | DIY Cost (Est.) | Professional Cost (Est.) | Savings | Complexity | Time Investment |
| Storage Stairs | $450 | $2,800+ | 84% | High | 3-4 Days |
| Murphy Desk | $120 | $600 | 80% | Medium | 4 Hours |
| Toe-Kick Drawer | $40/unit | $250/unit | 84% | Medium | 2 Hours |
| Stud Shelving | $30 | $150 | 80% | Low | 2 Hours |
Note: DIY costs include materials (lumber, hardware, screws) but assume you own basic tools like a drill and circular saw. Professional costs include labor and overhead.
Finishing Touches: Paint and Protection
Once you’ve built these projects, you can’t just leave them raw (unless you love splinters). In a small space, air quality is critical. You are sleeping inches away from these materials.
- Paints: Always opt for low-VOC paint for tiny houses. Standard paints off-gas chemicals that can cause headaches in tight, poorly ventilated areas.
- Durability: For the stairs and desk, use a high-quality enamel or urethane. These surfaces take a beating. Read our guide on paint finishes for small spaces to choose between satin (easier to clean) and matte (hides imperfections).
- Budget: You don’t need 5 gallons. Check our paint budget cost analysis to see how buying quarts or sample pots might suffice for these smaller accent projects.
Final Thoughts: Start with One Box
If the idea of building a whole staircase scares you, start with a single toe-kick drawer. The principles of measuring, cutting square, and installing slides are exactly the same.
DIY tiny house building projects are the most effective way to customize your home because you know exactly what you need to store. Maybe you don’t need a spice rack; maybe you need a recessed nook for video game controllers. When you hold the saw, you make the rules.
Ready to plan your budget for these renovations? Our tiny house budget planning guide breaks down how to allocate funds for materials versus tools.
Go measure that gap under your cabinets. I bet there’s a project waiting there right now.