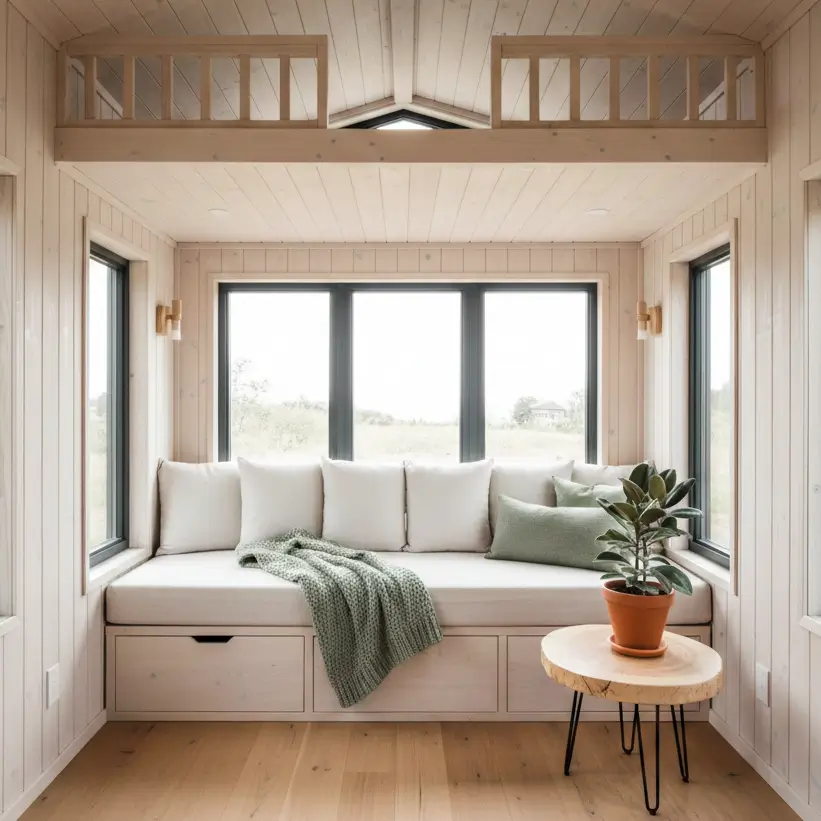
There is a specific phenomenon that happens in a tiny house loft in July. You are sweating through your sheets while the floor downstairs is arguably comfortable. Conversely, in January, your feet might be freezing while the heat hovers uselessly near the ceiling.
Heating and cooling a structure under 600 square feet isn’t just about scaling down a standard HVAC system. It is about managing airflow in a confined envelope. When you live in a tight space, moisture from breathing, cooking, and showering has nowhere to go, turning your home into a greenhouse if you aren’t careful.
I have seen beautiful DIY builds ruined by mold because the heating system didn’t account for dehumidification, and I’ve seen owners spend $3,000 on a system that was actually too powerful, causing it to break down prematurely.
Whether you are building a custom THOW (Tiny House on Wheels) or retrofitting a small apartment, the goal is thermal comfort without sacrificing precious wall space.
Budget Indicator:
- Budget/Temporary: $150–$500 (Space heaters, window ACs)
- Mid-Range: $500–$1,500 (Wood stoves, through-wall units)
- Investment: $1,500–$3,500 (High-efficiency Mini-Splits)
How to Calculate BTUs for Tiny Volumes
For standard insulated rooms, multiply your square footage by 20 to get the required BTUs (British Thermal Units). However, for tiny houses with lofts or large windows, calculate by volume. A 300 sq ft tiny house typically needs 6,000 to 9,000 BTUs. If you have poor insulation (R-13 or lower), multiply sq ft by 30-40.
The “Oversizing” Mistake
In a standard 2,000 sq ft home, you rarely worry about a heater being too powerful. In a 250 sq ft tiny house, an oversized unit is a disaster. If you install a 18,000 BTU unit in a space that only needs 9,000, the unit will “short cycle.”
Short cycling means the unit blasts the room with cold or hot air, reaches the target temperature in 3 minutes, and shuts off. The result?
- High Humidity: The AC doesn’t run long enough to pull moisture out of the air.
- Wear and Tear: Constant starting and stopping wears out the compressor.
- Temperature Swings: You go from freezing to sweating rapidly.
The Envelope Factor
Your tiny house insulation guide is the most critical part of your heating strategy. If you are using Spray Foam (closed cell), your envelope is incredibly tight. You need less heating power but more mechanical ventilation to cycle fresh air.
If you are renovating a vintage trailer or a shed with leaky windows, you essentially need to double your BTU calculation to combat the thermal loss.
Mini-Splits: The Gold Standard for Small Spaces
Ductless mini-split heat pumps are the most popular choice for tiny homes. They offer both heating and cooling in one unit, operate quietly (as low as 19 dB), and are highly efficient. A 9,000 BTU or 12,000 BTU unit typically costs $800 to $2,000 plus installation.
Why They Work for Tiny Living
A mini-split consists of two parts: a condenser that sits on the tongue of your trailer or outside your apartment wall, and a head unit mounted high on an interior wall.
I recommend them for 80% of small space dwellers because:
- Zoning: You can direct airflow to the loft or the main living area.
- Efficiency: They can be 300% efficient (moving heat rather than creating it).
- Dehumidification: Most have a “Dry Mode” which is essential for bathroom paint moisture solutions and preventing mold.
DIY vs. Professional Installation
Brands like MrCool DIY have revolutionized this for the budget-conscious. They come with pre-charged lines, meaning you don’t need a certified HVAC technician to handle refrigerants. This can save you $1,000+ in labor. However, you need to be comfortable drilling a 3-inch hole through your wall and handling electrical connections.
If you are connecting to tiny house electrical systems, remember that most mini-splits require a dedicated 15A or 20A circuit. Check if you need 110V or 220V before buying; 110V is easier for standard hookups, while 220V is more common for higher BTU units.
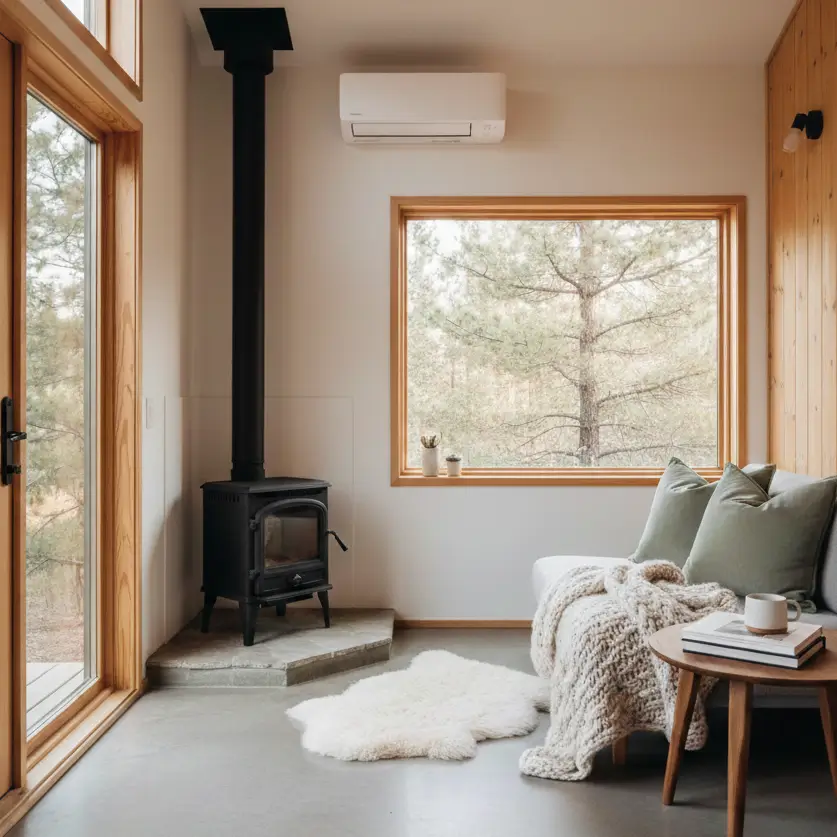
Off-Grid Heating: Wood Stoves and Propane
For off-grid setups, electric heat is often too power-hungry for solar banks. Small wood stoves (like the Cubic Mini) or propane marine heaters (like Dickinson) are preferred. They produce “dry heat,” which helps combat condensation, but require clearance zones of 12-20 inches for safety.
The Romantic vs. The Reality
There is nothing cozier than a wood stove in a tiny cabin. But let’s be real about the logistics. In a 200 sq ft space, a standard wood stove will cook you out in ten minutes. You need a stove specifically designed for small volumes.
Top Small Stove Contenders:
- Cubic Mini (Cub or Grizzly): Designed for boats and RVs. Very small footprint.
- Dwarf (3kW – 5kW): Slightly larger, better burn time.
Safety Considerations:
- Clearance: You must install heat shields. A stove might be 12 inches wide, but if it requires 20 inches of clearance on all sides, it eats up a massive chunk of your tiny house layout floor plan.
- Fuel Storage: Where will you store dry wood? Wet wood creates creosote and smoke.
- Insurance: Many insurers will not cover a DIY tiny house on wheels with a wood stove.
Propane Furnaces
If you don’t want to chop wood, a vented propane furnace is a solid alternative. Units like the Dickinson Newport are popular in the marine world. They sip propane and vent exhaust outside, keeping the indoor air quality safe. Unlike unvented “Buddy” heaters (which I do not recommend for primary heat due to moisture and carbon monoxide risks), vented units are safe for sleeping.
Budget Solutions: Window Units & Portables
If you have under $500, window AC units and portable heaters are the answer. While less efficient and noisier (50+ dB), they require zero permanent installation. Portable ACs take up floor space, while window units block natural light, a significant trade-off in tiny house windows and doors.
The Noise Factor
In a large house, a humming window AC is background noise. In a 150 sq ft room, it is right next to your head. If you work from home or are sensitive to noise, check the decibel ratings. Anything over 55 dB will interfere with conversation and TV watching.
Portable Oil-Filled Radiators
For heating only, a simple oil-filled electric radiator is silent and safe. They cost around $50-$80. The downside? They take up valuable floor real estate. In a tight corridor, you will stub your toe on it.
Pro Tip: If using a window AC, remove it during winter if possible. Even with insulation tape, the unit acts as a massive thermal bridge, letting freezing air seep into your tiny house bedroom design.
Cooling & Airflow Strategies for Lofts
Heat rises, making lofts 5-10 degrees hotter than the ground floor. To combat this, install opening skylights for passive venting, use oscillating fans to circulate air, and ensure your mechanical cooling source is mounted high enough to treat the loft air.
The “Stack Effect”
You can use physics to your advantage. By opening a low window on the main floor and a high window (or skylight) in the loft, you create a natural draft that pulls hot air out. This is passive cooling 101.
However, mechanical help is usually needed.
- Ceiling Fans: Only viable if you have the headroom. In most tiny lofts, a ceiling fan is a safety hazard.
- Small Circulating Fans: Small, high-velocity fans (like Vornado) placed at the edge of the loft can push cool air up or hot air down, depending on the season.
If you are still in the design phase, consider tiny house roofing options that allow for a “cool roof” coating (white or reflective) to reduce solar heat gain by up to 15%.
Which System Fits Your Build?
| Feature | Mini-Split | Wood Stove | Propane Furnace | Window/Portable |
| Cost | High ($1k-$3k) | Med ($800-$1.5k) | Med ($1k-$2k) | Low ($150-$500) |
| Space Used | Wall Space | Floor + Clearance | Wall/Floor | Window/Floor |
| Efficiency | Very High | Low | Medium | Low |
| Power Source | Electric (Grid) | Biomass | Propane/12V | Electric |
| Noise | Quiet | Silent | Quiet Fan | Loud |
| Best For | Grid-tied/High Solar | Off-Grid/Ambiance | Off-Grid/Marine | Renters/Budget |
Humidity: The Silent Tiny House Killer
Whatever system you choose, you must manage humidity. A family of two generates roughly 2-3 gallons of water vapor daily just by breathing, cooking, and showering.
In a small volume, this raises relative humidity to 70%+ very quickly, leading to mold behind your tiny house wall materials and cabinetry.
- Electric Heat: Dries the air somewhat.
- Wood Heat: Dries the air significantly (often too much, requiring a steamer pot).
- Propane (Unvented): Adds moisture (Avoid this!).
- Propane (Vented): Neutral/Drying.
If you use a system that doesn’t actively dehumidify (like a radiator), you typically need a separate dehumidifier. Look for a desiccant dehumidifier for cooler climates, as compressor-based ones freeze up below 60°F.
Final Thoughts
Choosing a heating and cooling system isn’t just about temperature; it’s about livability. A noisy AC unit might save you $500 today, but it might drive you crazy by August. A wood stove looks Instagram-perfect, but hauling wood in a blizzard to heat 200 square feet requires dedication.
- Calculate your Volume: Measure length × width × height.
- Check your Insulation: Is your R-value high enough to retain the heat you generate?
- Plan your Power: Can your electrical panel handle a 20-amp startup surge from an AC?
If you are ready to tackle the installation yourself, verify your electrical capacity first. For those still planning their build, integrate your HVAC choice into your framing plan now, adding blocking for a 40lb mini-split head later is a headache you don’t need.
For more on outfitting your small space, check out our guide on off-grid tiny house systems to see how your heating choice impacts your overall energy budget.