There is a common misconception that you need a sprawling sunroom to have a lush, thriving indoor garden. I used to believe this too, until I moved into a 380-square-foot studio in Portland. I quickly realized that floor space is premium real estate. A standard 12-inch ceramic pot on the floor takes up nearly a square foot of walkable area, that’s huge when you only have a few hundred to work with.
But you don’t have to choose between minimalism and a jungle vibe. The secret lies in pairing the warmth of natural wood with the vibrancy of living green, all while strictly utilizing vertical space.
The most effective wood plant styling tips for small spaces involve utilizing vertical dimension (walls and ceilings) to preserve floor area. Use floating shelves (6-8 inch depth), tension pole stands, and wall-mounted trellises. Pair light woods (ash, birch) with dark foliage for contrast, and dark woods (walnut) with variegated leaves to brighten corners.
From DIY floating shelves costing under $40 to strategic furniture placement, styling plants with wood elements grounds a small space, making it feel larger and more organic. Here is how to style wood and plants when every inch counts.
How to Pair Wood Finishes with Plant Species?
Contrast is key in small spaces. Pair pale woods (maple, birch, white oak) with deep, dark greens like Rubber Plants (Ficus elastica) or ZZ plants to create a modern, airy look. Pair dark woods (walnut, mahogany) with variegated or light green plants like Pothos N’Joy or Spider Plants to prevent the corner from looking like a dark void.
Creating Visual Depth in <600 Sq Ft
In a tiny house, visual clutter is the enemy. If you place a dark green plant on a dark walnut stand in a dimly lit corner, the plant disappears, and the space feels smaller.
I recommend the “High Contrast Method”:
- For Pine, Oak, or Birch (Light Wood): Use plants with broad, dark, waxy leaves. A Monstera Deliciosa (if you have the room) or a Burgundy Rubber Tree looks sculptural against light wood. This Scandinavian approach keeps the room feeling expansive.
- For Walnut, Teak, or Acacia (Dark Wood): You need brightness. Opt for plants with white or yellow variegation. A Golden Pothos or a Snake Plant (Dracaena trifasciata ‘Laurentii’) with yellow edges pops against the dark grain, acting almost like a lamp in a dark corner.
- For Red/Warm Woods (Cherry, Mahogany): Green complements red on the color wheel. Ferns with bright, fresh green fronds (like a Boston Fern) vibrate beautifully against warm cherry wood.
If you are building your own furniture or shelves, understanding the base material is crucial. You can learn more about selecting the right timber in our guide to wood materials for tiny houses.
What are the Best Wall-Mounted Wood Plant Solutions?
For spaces under 500 sq ft, floor stands are inefficient. Use floating wood shelves (min. 6-inch depth for small pots), pegboards with wooden dowels, or ladder shelves that lean against the wall (using 18″ of floor depth vs 30″ for tables). Vertical styling draws the eye upward, making low ceilings feel higher.
The Floating Shelf Strategy
When I redesigned a 120 sq ft tiny house living area, we removed two side tables and replaced them with three staggered floating shelves made of reclaimed cedar.
- Dimensions: 24 inches long x 6 inches deep.
- Vertical Spacing: 18 inches between shelves to allow for plant growth.
- Result: We housed 9 plants (mostly trailing varieties like Philodendron) utilizing zero floor space.
If you are renting and can’t drill holes, consider a wooden ladder shelf. It provides 4-5 tiers of storage in a footprint of about 18×14 inches. This is a classic example of vertical gardening in small spaces applied to interiors.
The Window Sill Extension
Most apartment window sills are barely 3 inches deep, too narrow for a 6-inch pot. A simple DIY hack is to attach a wider piece of wood (treated for moisture) to the existing sill using clamps or L-brackets (if allowed). This creates a “plant bar” right where the light is best.
Tip: Ensure your shelves are anchored properly. Wet soil is heavy. A 6-inch watered pot can weigh 3-5 lbs. Always drill into studs or use high-weight toggle anchors.
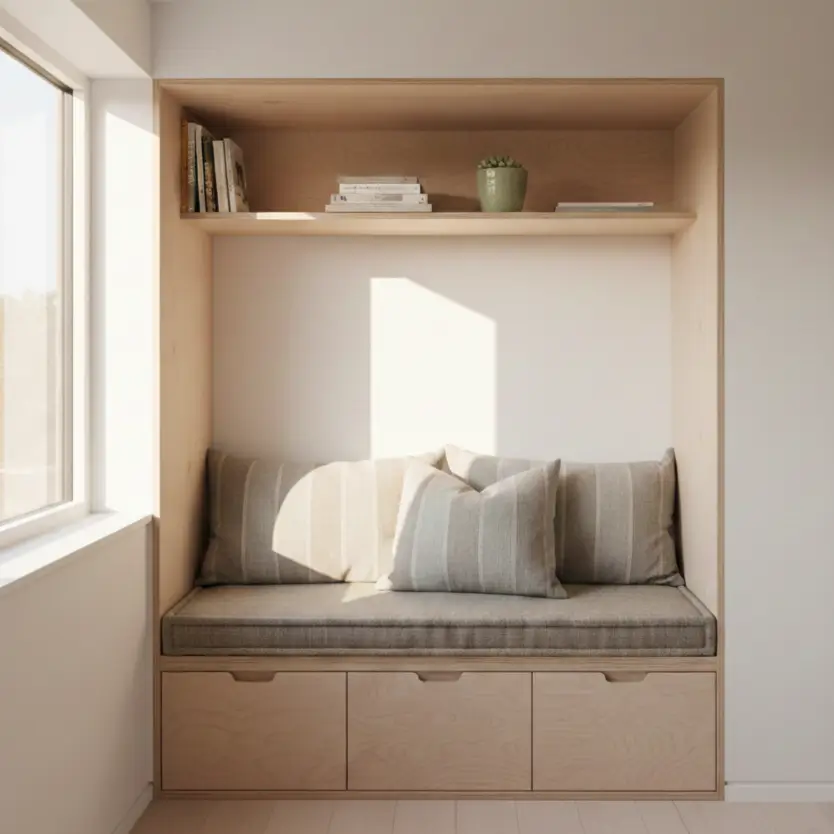
Can Furniture Double as Plant Stands in Small Apartments?
Yes. In compact living (400-800 sq ft), every piece of furniture must serve two purposes. Use a console table behind the sofa as a plant shelf, a wooden bench with storage underneath for shoes and plants on top, or a room divider shelving unit filled with plants to separate sleeping and living zones without blocking light.
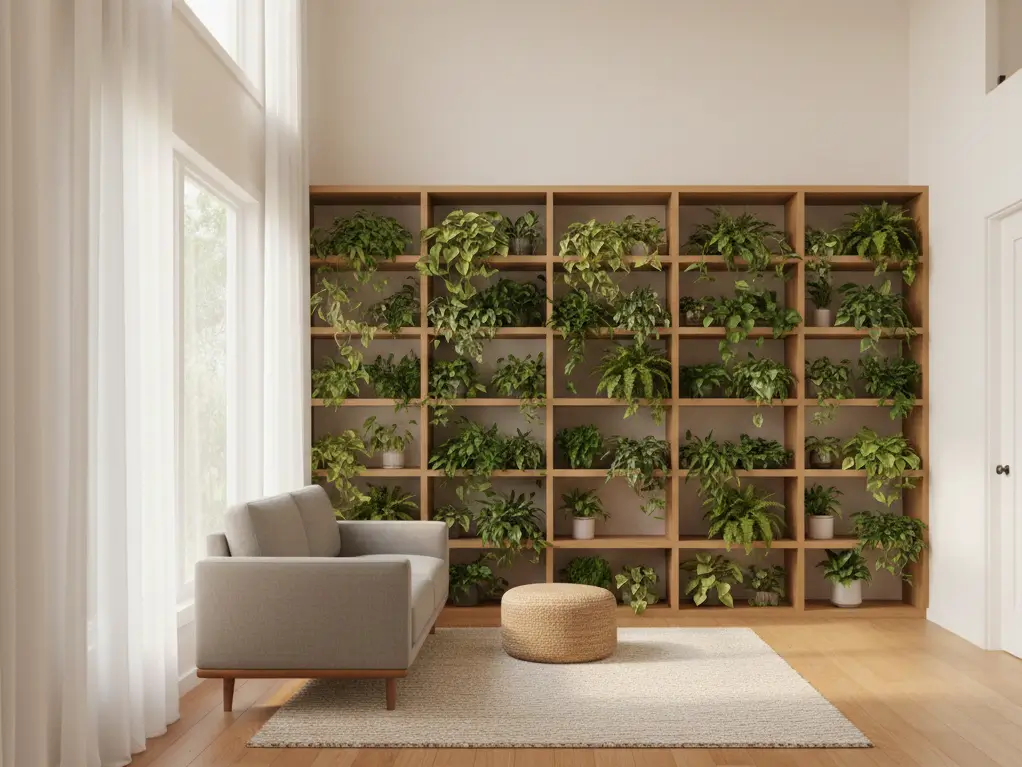
Zoning with Greenery
In a studio apartment, you often need to separate the “bedroom” from the “living room.” A solid wall makes the space feel tiny. Instead, use an open-back wooden bookshelf (like the IKEA KALLAX or a custom wood build).
- Placement: Perpendicular to the wall.
- Styling: Fill the top shelf with trailing plants (Pothos, String of Hearts) to create a “green curtain.”
- Function: This creates a visual barrier that still lets light pass through.
This aligns perfectly with biophilic design for tiny homes, which emphasizes connecting with nature to improve well-being in confined environments.
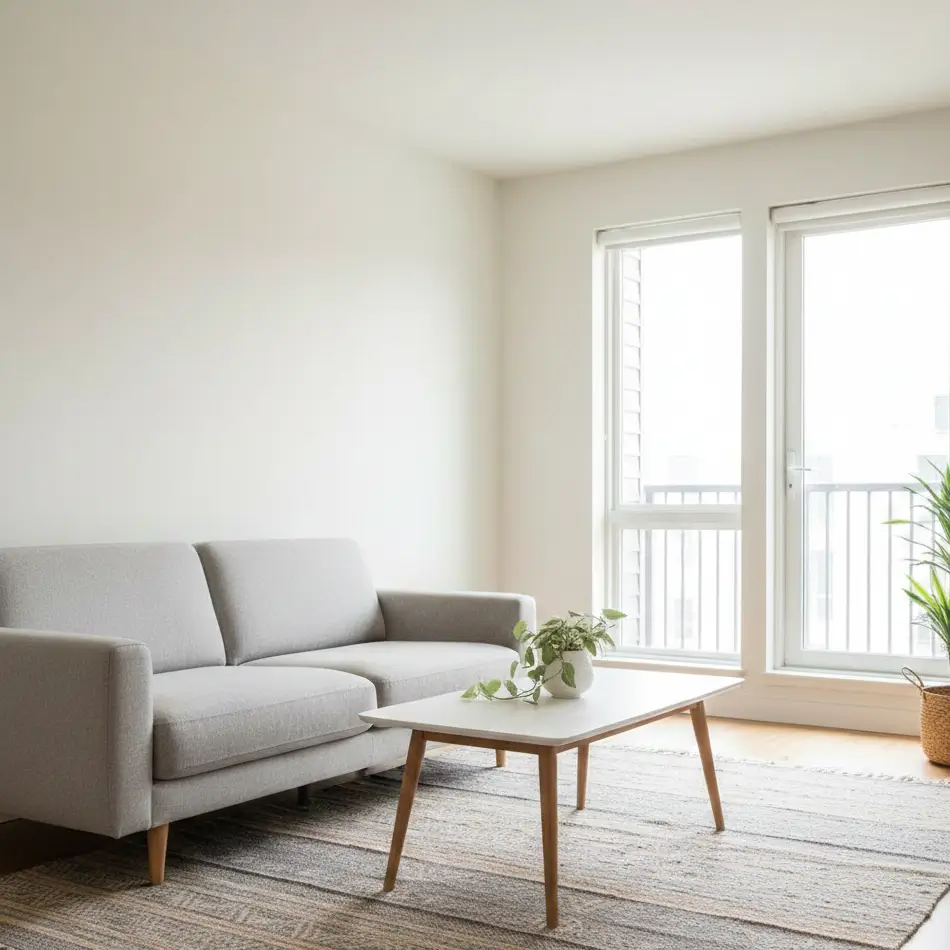
Also, consider the height of your furniture. Low-profile wood furniture (typical in mid-century modern or Japanese styles) leaves more wall space open for shelving. For more on selecting the right pieces, check our guide on wood furniture for small spaces.
How to Protect Wood Surfaces from Plant Water Damage?
Water rings and rot are the enemies of wood styling. Always use cork or felt coasters under drip trays. Seal raw wood with polyurethane or tung oil. For high-humidity areas, choose rot-resistant woods like Teak, Cedar, or Acacia. Never place a porous clay pot directly on a wood surface; condensation will pass through.
The “Saucer Plus” Rule
I learned this the hard way after ruining a vintage oak dresser. A terracotta saucer is not waterproof; it is porous. Moisture seeps through and turns the wood black.
- Barrier Layer: Use a plastic or glazed ceramic saucer.
- Airflow Layer: Place a cork pad or felt feet under the saucer to allow airflow between the ceramic and the wood.
Choosing the Right Finish
If you are DIY-ing your shelves, the finish matters.
- Oil finishes (Linseed/Tung): Look beautiful and matte but offer low water resistance. Water spots appear easily.
- Polyurethane/Varnish: Creates a hard plastic-like shell. Best for shelves that will hold plants that need frequent misting.
- Wax: Offers minimal protection against standing water.
For a deep dive into protecting your surfaces, refer to our article on wood treatment and finishing. If you already have water stains, don’t panic, there are fixes in our wood problems and solutions guide.
Does Sunlight Affect Wood Furniture and Plants Differently?
Yes. While plants crave light, UV rays can fade dark wood (walnut) to a yellowish-orange and darken light wood (cherry/pine) over time. Rotate your wood furniture and accessories every 3-6 months to ensure even aging. Use sheer curtains to diffuse harsh direct sun, which benefits both low light plant solutions and wood longevity.
The Shadow Play Aesthetic
In a tiny house, lighting is often limited. Styling plants near light sources creates dynamic shadows on wooden walls or floors.
- Morning Light (East): gentle; safe for wood and most plants.
- Afternoon Light (West/South): harsh; can scorch delicate leaves and rapidly fade wood finishes.
If you have a dark corner (common in tiny house lofts), don’t force a plant there just for styling. It will die. Instead, use a realistic fake plant or install a grow light. You can hide a grow light bulb inside a wooden sconce or pendant light to maintain the aesthetic. This ties into tiny house lighting solutions, where function meets form.
Where to Put Plants in a Tiny House on Wheels?
In a THOW (Tiny House on Wheels), stability is crucial. Secure plants with museum wax or velcro strips on shelves. Utilize loft railings for hanging planters. Place heavy pots on the floor to lower the center of gravity during travel. Avoid placing plants near heat sources like wood stoves.
The Loft Railing Opportunity
The safety railing of a sleeping loft is perfect for trailing plants. Secure wooden planter boxes to the railing. As the plants grow down, they draw the eye up, emphasizing the height of the cathedral ceiling common in tiny homes.
The Kitchen Herb Garden
Kitchen counter space is non-existent in tiny homes. Install a tension rod across the kitchen window and hang small wooden pots for herbs. This keeps the counter clear for prep work. See more ideas in tiny house kitchen design.
Also, keep in mind the humidity. Tiny houses trap moisture. Adding too many plants can raise humidity levels, potentially warping wood floors or causing mold. Monitor your humidity levels carefully. If you need help balancing moisture, read about indoor plants for small apartments which discusses transpiration rates.
Conclusion
Styling wood and plants in a small space isn’t just about decoration; it’s about creating a living ecosystem that feels warm, breathable, and organized. By sticking to vertical solutions, matching wood tones for contrast, and respecting the limits of your square footage, you can cultivate a sanctuary that feels miles away from the city outside.
Start small. Buy one floating shelf, one high-contrast plant, and see how the room changes.
- Measure your available vertical space (walls, window headers, sides of cabinets).
- Identify your lighting (North, South, East, West).
- Choose one wood tone that complements your current furniture.
- Browse our guide on plant placement and arrangement for specific layout grids.
For more inspiration on crafting your compact dream home, visit Veniola.com.