You’ve likely heard that plants make a small room feel bigger. But if you’ve ever tripped over a terracotta pot in a 400-square-foot tiny house or realized your Monstera is blocking the only pathway to the bathroom, you know that advice comes with a caveat. In small space living, every square inch of floor is premium real estate.
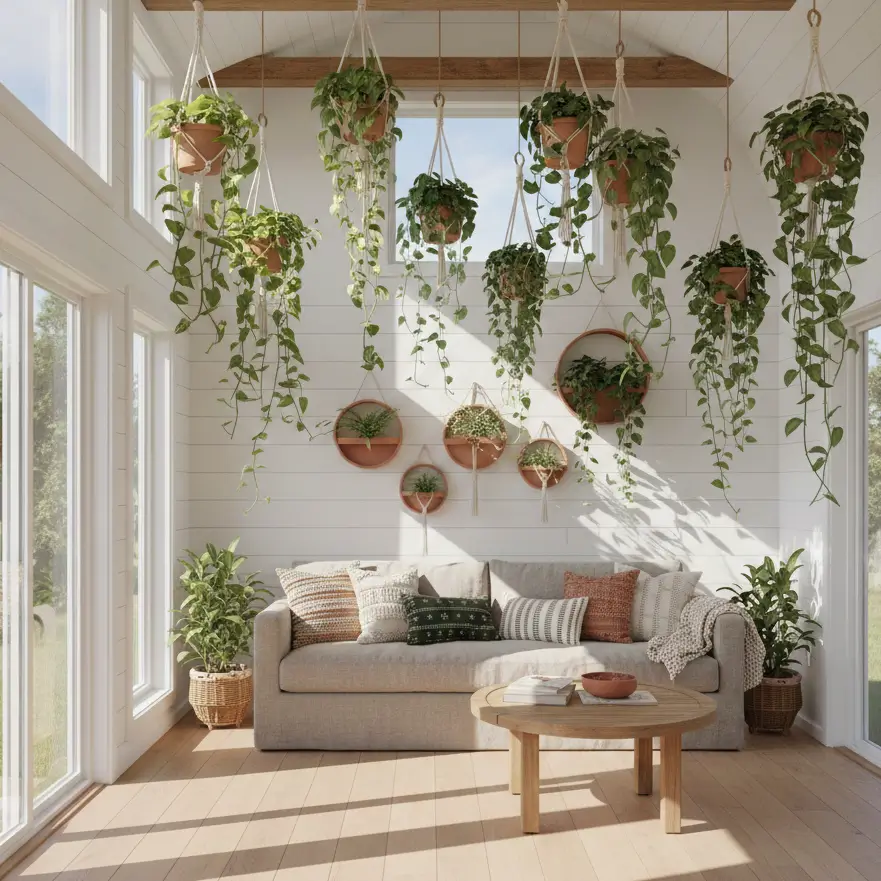
Effective plant placement arrangement in small spaces relies on the “Zero-Floor-Print” rule. Focus on the vertical volume of the room (6 feet and up), utilize tension rods in window frames, anchor hanging planters into structural studs, and use plants as soft visual dividers between zones rather than cluttering walkways.
When I first moved into my 450-square-foot apartment, I brought 30 plants with me. Within a week, my “urban jungle” felt more like an obstacle course. I realized that in compact living, you can’t just place a plant where it looks good; you have to place it where it survives without suffocating you. From DIY window shelves costing under $40 to investing in strategic grow lights, this guide covers how to arrange greenery without sacrificing your living space.
The “Zero-Floor-Print” Philosophy: Vertical Logic
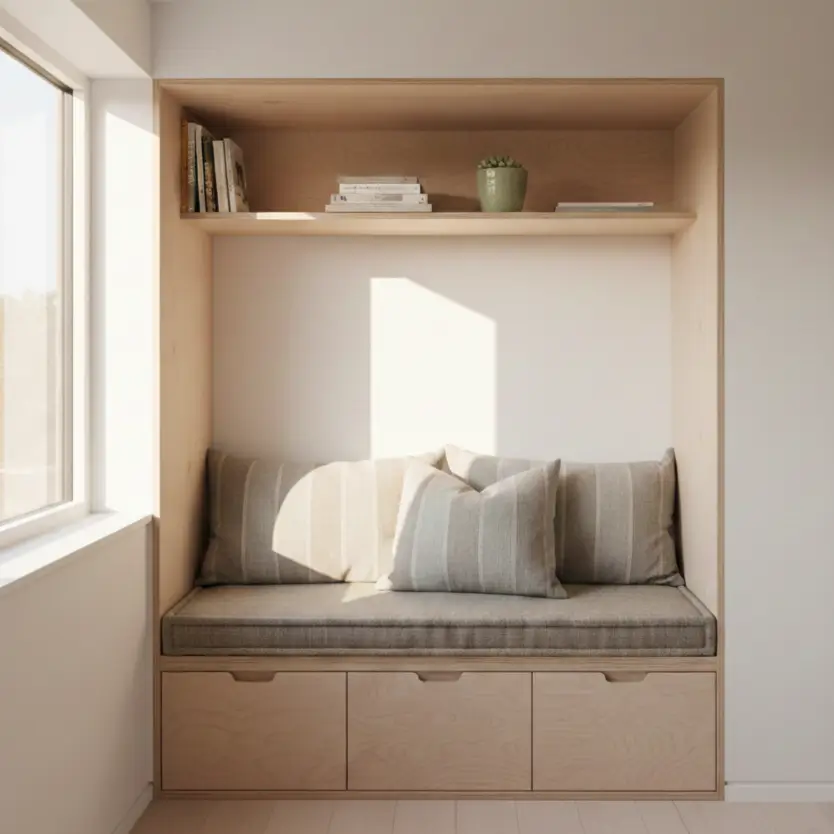
The Zero-Floor-Print philosophy dictates that in spaces under 500 sq ft, no plant pot larger than 6 inches in diameter should touch the ground. Instead, utilize vertical gardening techniques: wall-mounted rings, ceiling hooks anchored to joists, and over-cabinet placement to draw the eye upward, increasing perceived ceiling height.
Why Floor Space is the Enemy
In a standard 2,000-square-foot home, a Fiddle Leaf Fig in the corner is a statement piece. In a tiny house on wheels, that same corner might be your closet, your ladder access, or your dining nook.
When analyzing plant placement arrangement, think in cubic feet, not square feet.
- The “Dead Zone” (0-2 ft): Keep this clear for walking, vacuuming, and furniture pull-outs.
- The “Living Zone” (2-5 ft): Tabletop and shelf height. Use sparingly for small 4-inch pots.
- The “Volume Zone” (5 ft+): This is your prime real estate. Trailing plants like Pothos or Philodendron micans draw the eye up, making low ceilings feel loftier.
If you are dealing with particularly tight quarters, check out our guide on vertical gardening in small spaces for specific hardware recommendations.
Structural Considerations for Hanging
Before you start drilling holes for your hanging arrangement, you need to know your walls. In tiny houses, wall materials can vary from drywall to plywood paneling.
- Drywall: Requires toggle bolts for anything over 10 lbs.
- Wood Paneling/Shiplap: Can often hold screw hooks directly, but stud finding is safer.
- Weight Math: A 10-inch ceramic pot with wet soil can weigh 20-30 lbs.
For more on the bones of your structure, review our guide on tiny house wall materials to ensure your greenery doesn’t pull down your paneling.
Light Mapping: Placing Plants Where They Will Actually Live
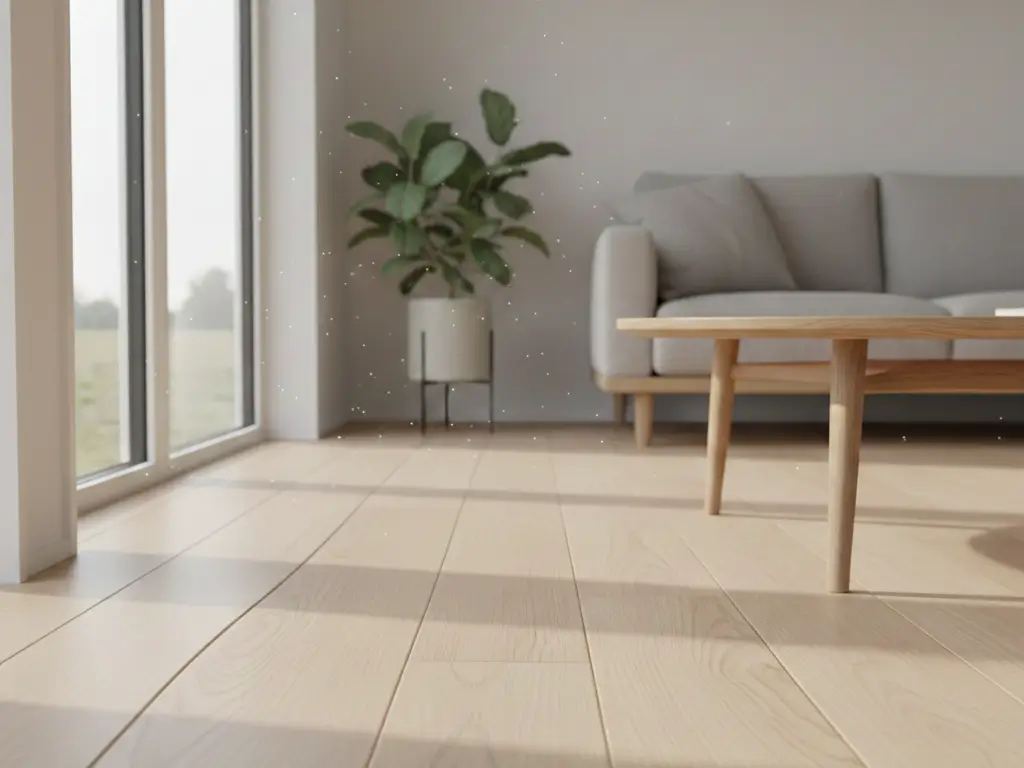
Light mapping involves observing how sunlight moves through your small space throughout the day. In narrow apartments, light drops off rapidly, usually by 50% for every 3 feet you move away from a window. Arrange high-light succulents on sills, and low-light tolerators (Snake Plants, ZZ Plants) in the interior corners or bathrooms.
The 3-Foot Rule
In a small apartment, we often assume the whole room is “bright.” It isn’t.
- Window Zone (0-2 ft): High light. Cacti, Succulents, Herbs.
- Transition Zone (2-5 ft): Medium light. Monstera, Philodendrons.
- Shadow Zone (5 ft+): Low light. Snake Plants, ZZ Plants, Pothos.
If your tiny house has few windows, you aren’t doomed to plastic plants. You just need to be realistic. A succulent placed on a bookshelf 8 feet from the window will etiolate (stretch) and die. For dark corners, consult our list of low light plant solutions.
Using Mirrors to double Light
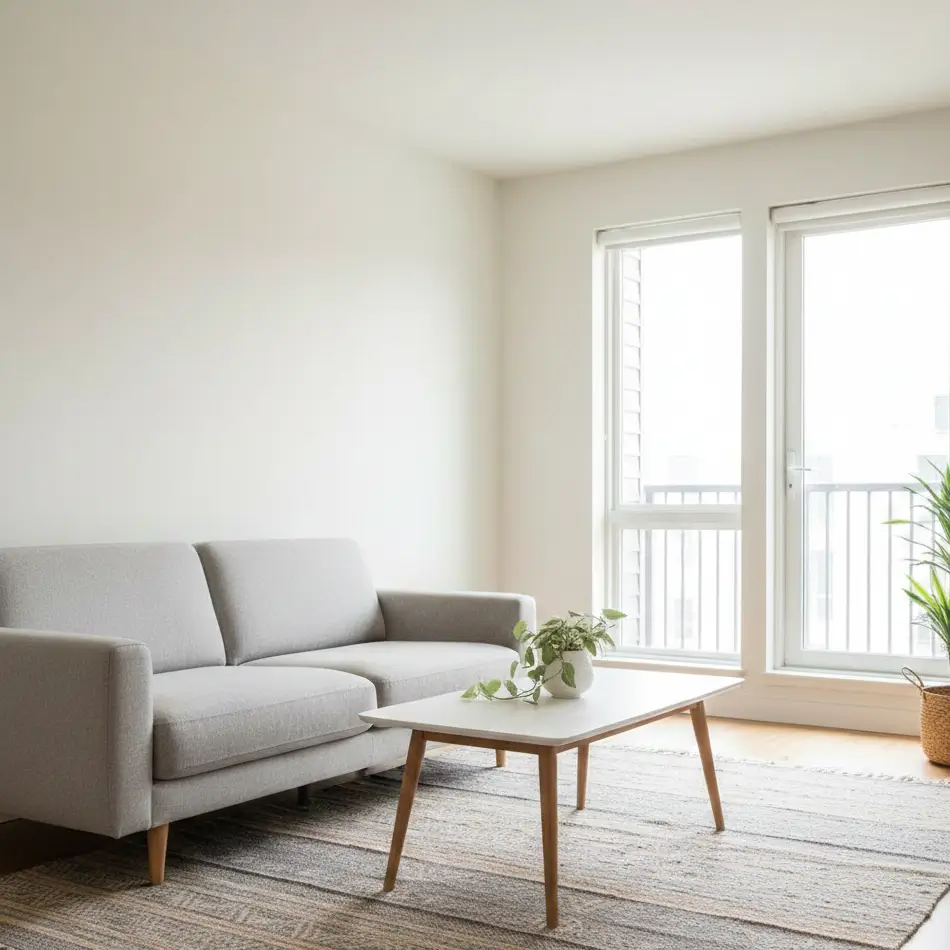
A classic designer trick that works twofold in small spaces: place a mirror opposite your window. It bounces light into dark corners and reflects your plants, making it look like you have twice the greenery. This creates a lush aesthetic without taking up extra physical space.
Functional Zoning: Plants as Dividers
In open-concept tiny homes or studio apartments, use plant placement arrangement to define zones without blocking light. An open shelving unit filled with plants acts as a “green wall” between a sleeping area and a workspace. This provides psychological separation while maintaining airflow and visual depth.
The “Green Screen” Technique
Instead of a solid wall or a heavy curtain, use a tension rod or a garment rack filled with hanging plants. This is particularly effective for:
- Work-from-Home Nooks: Separates your desk from your bed.
- Tiny House Lofts: Adds privacy to the sleeping loft railing without closing it off completely.
If you are setting up a workspace, combining biophilic design with ergonomics is crucial. See how to integrate this into a tiny house work from home setup.
Shelf Depth Matters
When using a bookshelf as a room divider, choose a unit that is 10-12 inches deep. This accommodates most standard pot sizes (4-8 inches) without encroaching too much on your floor plan.
- Top Shelves: Trailing plants (String of Pearls, Hoyas).
- Middle Shelves: Bushy plants (Calathea, Ferns) to create visual blockage/privacy.
- Bottom Shelves: Storage baskets (keep plants off the bottom to avoid kicks).
For more on styling wooden elements, read about wood plant styling tips.
The “High-Traffic” Hazard Guide: Pets and Pathways
In spaces under 400 sq ft, “high traffic” means almost everywhere. Keep fragile or toxic plants out of the “Tail Zone” (0-3 ft high) if you have pets. Secure pots with museum wax on narrow ledges and avoid placing trailing plants where they can catch on shoulders or backpacks in narrow hallways.
Calculating Clearance
I learned this the hard way: if you hang a plant in a hallway, the bottom of the pot needs to be at least 7 feet off the ground (standard door height is 6’8″).
- Hallways: Use flush-mount wall planters rather than hanging baskets.
- Kitchens: Keep counter space clear. Use under-cabinet hooks or magnetic planters on the fridge.
- Bathroom: High humidity lovers like ferns do well here, but keep them off the toilet tank. Try a suction-cup shower shelf.
For specific advice on cohabitating with furry friends in tight quarters, check our guide to tiny house with pets.
Toxic Plant Awareness
In a small space, your pet is never far from a plant. Lilies, Sago Palms, and certain Ivies are highly toxic. If you must have them, they need to be on the highest shelves, inaccessible even to jumpers.
- Safe Bets: Spider Plant, Calathea, Boston Fern.
- Risky: Dieffenbachia, Aloe, Jade.
Always cross-reference your plant care fundamentals with pet safety.
DIY Tension Rods vs. Wall Mounting
For renters, tension rod systems installed in window frames allow for 3-4 hanging plants with zero wall damage. For tiny house owners, permanent wall-mounted rings or rail systems offer more stability for heavy pots during transit (if on wheels) and free up window glass for view and light.
| Feature | Tension Rod System | Wall-Mounted Rings | Impact on Small Space |
| Installation | No tools required | Drill + Anchors needed | Tension rods are renter-friendly; Wall mounts save window views. |
| Weight Limit | 10-15 lbs usually | 20-50 lbs (stud dependent) | Wall mounts allow for larger, statement plants. |
| Footprint | Zero (in window frame) | Zero (on wall) | Both excellent for the “Zero-Floor-Print” rule. |
| Cost | $15 – $40 | $10 – $25 per ring | Both are budget-friendly. |
| Best For | Rentals & Apartments | Tiny Houses on Wheels | Rods for flexibility; Rings for permanence. |
The Tiny House Transit Factor
If you live in a tiny house on wheels, plant placement arrangement gets complicated. Plants must be secured for travel.
- Wall Mounts: Can be designed with locking mechanisms or bungee cords.
- Shelves: Needs a “lip” or rail to prevent sliding.
- The “Travel Bin”: Most mobile dwellers take plants down and pack them in the shower or sink during transit.
Biophilic Design & Mental Health
Biophilic design isn’t just about aesthetics; it’s a tool for mental expansion in confined spaces. Studies show that visual connection to nature reduces cortisol. In a 300 sq ft home, placing plants in your direct line of sight (near monitors, opposite the sofa) helps reduce the feeling of confinement and “cabin fever.”
Creating Depth with Texture
Don’t just buy 10 of the same plant. Varying leaf textures and shades of green creates visual complexity, which tricks the eye into seeing more depth in the room.
- Structure: Snake Plant (vertical lines).
- Softness: Asparagus Fern (fuzzy/airy).
- Color: Rubber Tree (dark, glossy).
Integrating these elements connects to the broader concept of biophilic design in tiny homes, helping you feel connected to the outdoors even when you’re inside.
Humidity Regulation
Small spaces seal heat and moisture differently. Plants transpire, raising humidity.
- Pros: great for winter dry skin.
- Cons: excessive humidity in a tiny house can lead to mold issues.
Monitor your levels. If you notice condensation on windows, you might have too many plants or need better tiny house heating and cooling ventilation.
Final Thoughts
The goal of plant placement arrangement in a small space isn’t to cram in as much green as possible, it’s to create moments of calm.
- Move any pot under 6 inches off the floor immediately.
- Watch where the sun hits at 10 AM, 1 PM, and 4 PM.
- Install one tension rod or ceiling hook this weekend.
Living small doesn’t mean living without nature. It just means you have to be smarter about where that nature sits. By using your vertical volume and understanding light fall-off, you can breathe easy in your personal sanctuary, no matter the square footage.
For more ideas on outfitting your space, explore our guide on indoor plants for small apartments.