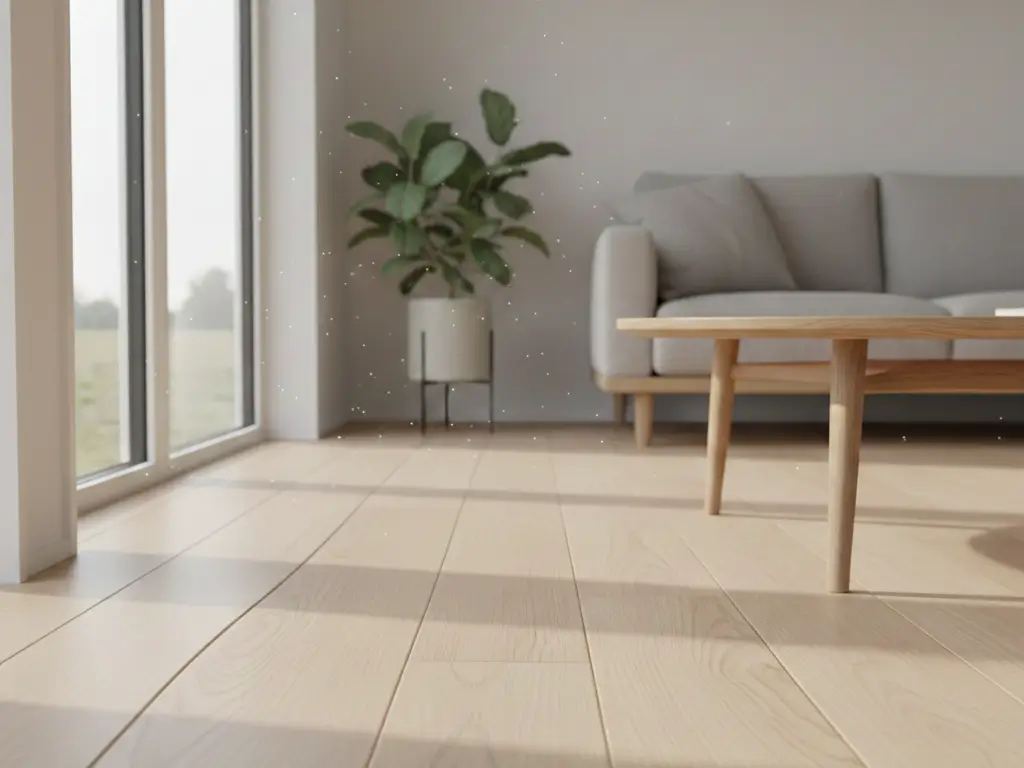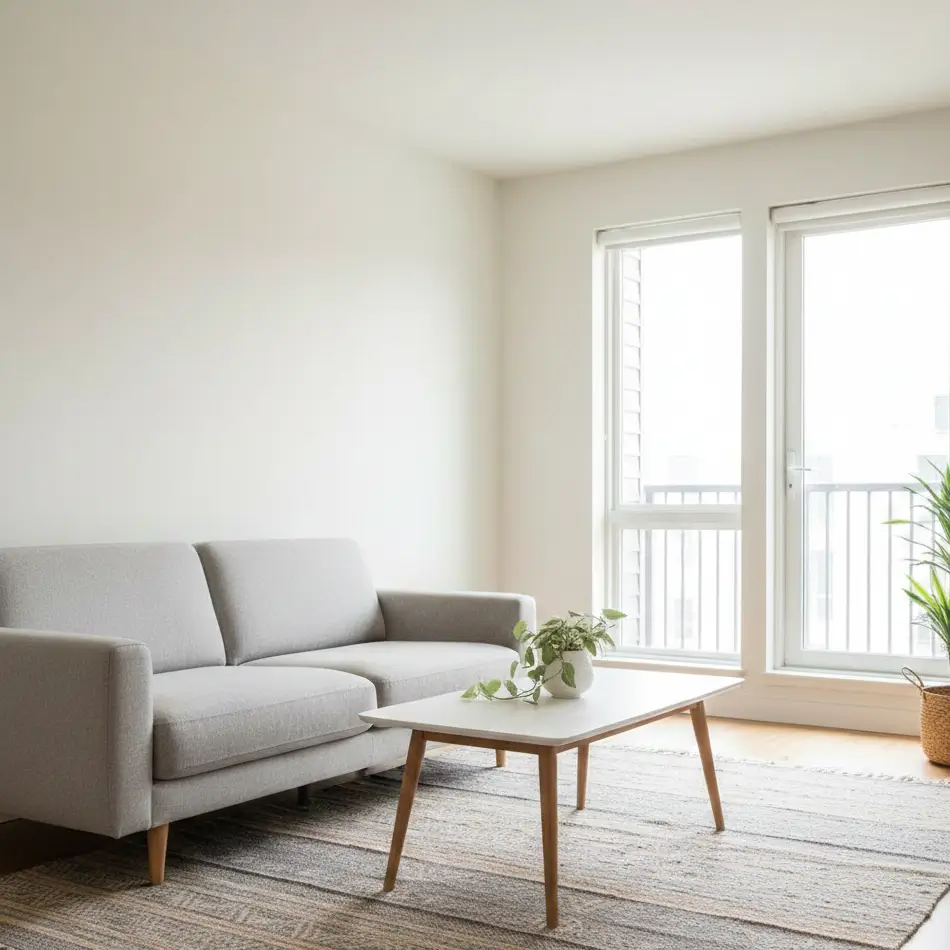
If you have ever bruised your knee on a metal L-bracket protruding from a wall-mounted desk, you know that in a tiny house, every millimeter matters. Most standard furniture construction relies on external hardware that adds bulk, visual clutter, and “dead space” that you can’t afford in a 400-square-foot footprint.
Wood joinery techniques are methods of connecting timber without relying heavily on external metal hardware. For small spaces, the best techniques are pocket holes (fast, hidden), dado joints (for recessed shelving), and half-lap joints (for low-profile framing). These methods reduce physical bulk, increase structural integrity against vibration (crucial for Tiny Houses on Wheels), and cost significantly less than designer hardware.
When I first started designing for compact living, I realized that standard carpentry advice doesn’t always apply. We aren’t just building for strength; we are building for clearance. A proper joinery technique can save you 1.5 inches of depth on a bookshelf or 2 inches of width in a hallway. That might sound negligible, but in a 5-foot wide bathroom, it’s the difference between moving freely and shuffling sideways.
From a budget perspective, mastering a few key joints changes the game. You move from buying $800 engineered particleboard furniture that degrades in two years to building custom, solid-wood pieces for under $200 in materials.
Why Joinery Matters More in Small Spaces
In spaces under 600 sq ft, joinery impacts flow and durability. Metal fasteners can loosen due to road vibration in mobile tiny homes. Wood-to-wood bonds (using glue and joinery) create a monolithic structure that absorbs stress better. Visually, hidden joinery reduces “visual noise,” making a cramped room feel larger and cleaner.
The Vibration Factor (THOW Specifics)
If you are building a Tiny House on Wheels (THOW), your home experiences earthquake-level forces every time you tow it. Nails pull out. Screws can strip. However, a properly glued wood joint fuses the fibers of the material together.
When checking tiny house on wheels specifications, you’ll see that weight distribution is critical. Heavy metal brackets and chunky bolts add up. Wood joinery utilizes the material you already have, keeping your gross vehicle weight rating (GVWR) manageable.
The “Inch-Pinching” Philosophy
Let’s look at a standard bookshelf.
- Hardware method: Shelves sit on 3/4″ cleats or brackets. You lose vertical space between shelves.
- Joinery method (Dado): The shelf slots into the vertical support. You gain 100% of the vertical clearance and the shelf actually holds the walls together.
The MVP: Pocket Hole Joinery
Pocket hole joinery involves drilling an angled hole into one board, which allows a screw to pull it tightly into another board.
- Best for: Cabinet carcasses, face frames, table aprons.
- Space Saved: Eliminates corner blocks and external brackets.
- Cost: ~$40 for a basic jig; ~$100 for a pro system.
For the DIYer, this is your bread and butter. It’s fast, strong, and forgiving. In my own 120-square-foot workshop, I rely on pocket holes because they don’t require large clamps that take up floor space while glue dries. The screw acts as the clamp.
How to Use It in Tight Spaces
- Drill the pilot: Set your jig for the wood thickness (usually 3/4″ or 1/2″ for lighter weight).
- Clamp and drive: Clamp the joint flush and drive the special washer-head screw.
- Hide it: Place the pocket holes on the outside back of cabinets or the underside of table tops so they are invisible.
Pro-Tip: If you are building wood furniture for small spaces, use 1/2″ plywood for drawers and cabinet backs joined with micro-pocket holes. This reduces weight by roughly 30% compared to standard 3/4″ builds.
Dadoes and Rabbets: The Storage Maximizers
A Dado is a trench cut across the grain of the wood; a Rabbet is a step cut along the edge.
- Best for: Shelving units, drawer bottoms, cabinet backs.
- Space Benefit: Recesses material to reduce overall footprint; eliminates shelf supports.
- Tools: Router or Table Saw (or even a circular saw with a guide).
If you are planning your tiny house kitchen design, dadoes are non-negotiable.
The Space Math
Imagine a floor-to-ceiling pantry in a tiny house kitchen.
- With Cleats: Each shelf loses roughly 1.5 inches of vertical usable space to the wooden cleat underneath it. If you have 6 shelves, you lose 9 inches of storage, that’s an entire row of canned goods gone!
- With Dadoes: The shelf slides into the cabinet wall. Zero vertical space is lost.
Structural Integrity
Glue surface area is key here. A dado captures the shelf on three sides. This mechanical lock means the shelf can support significantly more weight, heavy cast iron pots or stacks of plates, without bowing, which is a common issue discussed in tiny house storage solutions.
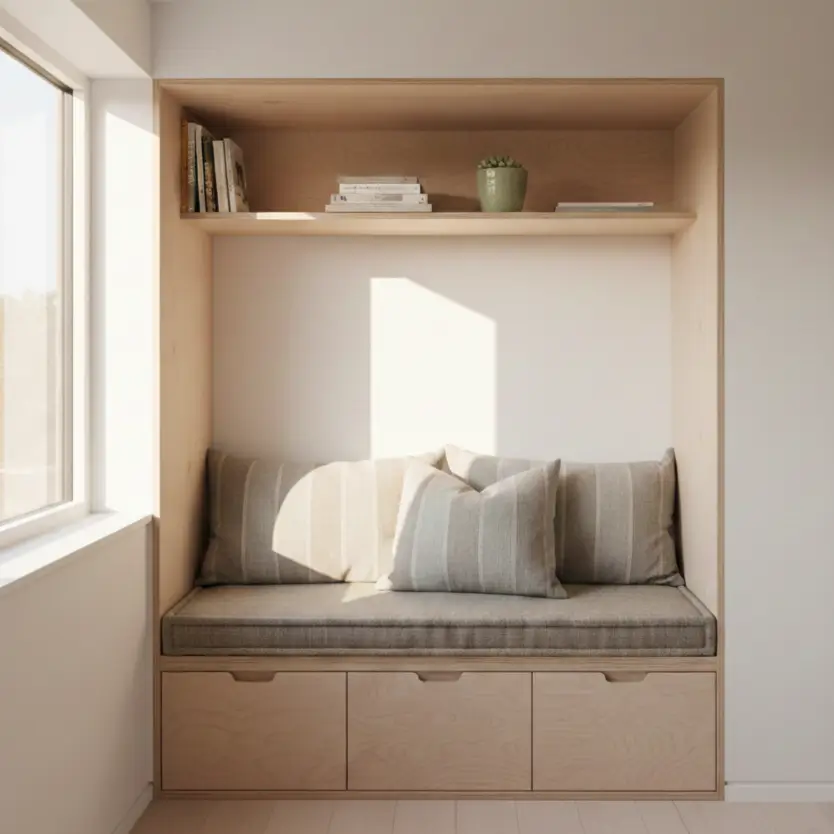
Half-Lap Joints: Framing Without the Bulk
A Half-Lap joint removes half the thickness of material from two boards so they overlap flush.
- Best for: Loft railings, bed frames, sliding doors.
- Space Benefit: Creates a flat surface with no added thickness at the joint.
- Strength: Extremely high glue surface area; resists racking (twisting).
Application: The Loft Railing
In a loft bedroom, visual obstruction makes the room feel claustrophobic. If you build a safety railing using butt joints and screws, you often need thicker posts (4x4s) to make it sturdy.
Using half-lap joints, you can build a rigid, safe railing using slim 2×2 stock. The overlapping joint is incredibly strong, keeping the visual profile sleek and open. This aligns perfectly with tiny house bedroom design principles where maximizing light flow is essential.
DIY Steps for a Half-Lap
- Mark it: Lay your two boards across each other and mark the intersection.
- Cut depth: Set your saw blade to exactly half the thickness of the wood.
- Clear waste: Make multiple cuts and chisel out the waste.
- Glue and Screw: Apply wood glue (Titebond II or III is good for moisture resistance) and screw from the back.
Biscuits and Dowels: The Invisible Aligners
Biscuits and Dowels are internal floating tenons.
- Best for: Table tops, widening boards, aligning cabinet faces.
- Space Benefit: Completely invisible; creates smooth, snag-free surfaces.
- Budget: Dowel jigs are cheap ($20-$50); Biscuit joiners are an investment ($150+).
Creating Multi-Functional Surfaces
Tiny homes rely on surfaces doing double duty, a dining table that becomes a desk, or a counter that covers a sink. To make these surfaces, you often need to glue boards together edge-to-edge.
If you just glue them, they might drift during clamping, requiring you to sand them heavily (losing thickness) to get them flat. Dowels keep the boards perfectly aligned, preserving the full thickness of your material.
If you are looking into diy tiny house building projects like a fold-down desk, using dowels ensures the writing surface is perfectly smooth without needing a planer.
Which Joint for Which Space?
Choosing the right technique depends on your tools and the specific stress the joint will handle.
| Technique | Difficulty | Tool Budget | Space Savings | Strength | Best Application |
| Pocket Hole | Low | Low ($40) | High | Medium | Face frames, Cabinet boxes |
| Dado/Rabbet | Medium | Med ($100+) | Maximum | High | Bookshelves, Drawers |
| Half-Lap | Medium | Low ($0-$50) | High | Very High | Loft beams, Railings, Frames |
| Butt Joint | Very Low | Low ($0) | Low | Low | Not recommended for THOW |
| Dowel | Medium | Low ($20) | High | Medium | Table tops, Alignment |
(Image #6: Material/Tool Comparison)
Sustainable & Healthy Joinery
When we discuss tiny house sustainability, joinery plays a massive role.
- Longevity: Furniture built with proper joinery lasts decades. Flat-pack furniture held together with cam-locks usually fails after one or two moves.
- Chemicals: By using mechanical locks (like dadoes) and wood glue, you reduce reliance on cheap adhesives often found in composite materials. If you use solid wood, you also avoid the high VOCs found in particleboard binders.
- Repairability: If a glued joint breaks, it can usually be cleaned and re-glued. If a screw strips out of particleboard, the furniture is often trash.
For the eco-conscious builder, combining solid wood joinery with wood treatment and finishing using natural oils creates a non-toxic, breathable interior environment.
The Essential Tool Kit
You don’t need a massive shop. In fact, you can do all of this in a corner of a living room or on a tailgate.
- The Drill: A cordless drill/driver combo is essential.
- The Saw: A circular saw with a straight-edge guide (you can make one) can cut dadoes and laps.
- The Jig: A Kreg Jig (or similar brand) for pocket holes.
- Clamps: You can never have too many. For joinery, you need at least two 24-inch bar clamps and two face clamps.
- Measuring: A combination square is vital for marking accurate layouts.
Before you buy expensive lumber, practice on scrap. Go to your local lumber yard and ask for “cull lumber” (damaged wood sold cheap). Practice your pocket holes and dadoes there.
If you are worried about the cost of materials, consult our guide on wood materials for tiny houses to see where you can save money without sacrificing structural safety.
Final Thoughts: Build It to Last
Standard construction methods are designed for houses that sit on foundations and have 2,500 square feet of space. They prioritize speed of assembly over space efficiency. In your tiny house or compact apartment, you have to prioritize the opposite.
By using wood joinery techniques like pocket holes and dadoes, you aren’t just connecting wood; you are engineering a home that is stronger, lighter, and surprisingly more spacious. You gain inches in your storage, stability on the road, and the deep satisfaction of running your hand over a joint that fits perfectly.
- Look for “bulky” furniture. Could a custom shelf with dado joinery replace that wobbly metal rack?
- Start with a simple box, perhaps a drawer organizer or a spice rack, using pocket holes.
- In small spaces, an 1/8th of an inch matters. Always dry-fit your joints before gluing.
For more inspiration on outfitting your build, check out our tiny house furniture guide.
Happy building, and welcome to the world of doing more with less.