There is a moment in every tiny house dweller’s life where they learn the hard way that they cannot run the toaster oven, the hair dryer, and the electric heater at the same time. In a standard 2,000-square-foot home with 200-amp service, you rarely think about “power budgeting.” But when you scale down to 300 square feet and 30 or 50 amps of service, electricity becomes a resource you have to manage actively.
Tiny house electrical systems typically rely on a hybrid AC/DC setup or a standard residential AC system connected via a shore power inlet (30A or 50A). Unlike traditional homes, planning requires a strict “load calculation” to ensure your total potential wattage doesn’t exceed your supply amperage, often requiring specialized compact breaker panels and shallow electrical boxes.
For the last decade, I’ve watched DIY builders struggle not with the wires themselves, but with the math. A proper electrical rough-in for a tiny house usually costs between $1,500 and $3,500 depending on copper prices and whether you hire a pro (which I highly recommend for the final hookup).
This guide isn’t just about stringing Romex through 2x4s. It’s about designing a system that fits your lifestyle into a much smaller power grid.
How do tiny house electrical systems differ from standard homes?
Tiny house electrical systems often combine AC (Alternating Current) for high-draw appliances like fridges and heaters with DC (Direct Current) for lighting and fans, similar to an RV. This hybrid approach requires an inverter/charger and a battery bank, measuring roughly 24″ x 18″ x 12″ for the core components, to manage power from the grid or solar panels.
When I first started looking at layouts, I realized the infrastructure eats up valuable storage space. In a standard home, the electrical panel is in a basement or garage. In a tiny house, it’s likely in your kitchen or bedroom.
The Two Common Setups
- The “Big Extension Cord” (Standard Residential):
This is the simplest method. You wire the house exactly like a standard home (120V/240V), terminating in a breaker panel. The only difference is the input: instead of a meter base, you have a heavy-duty RV-style inlet (twist-lock) on the exterior. This is best if you plan to be parked permanently with full hookups. - The Hybrid System (RV Style/Off-Grid Ready):
This setup uses 12V DC for lighting and water pumps, and 120V AC for outlets. It requires an inverter and batteries. While more expensive (adding $2,000+ to the budget), it allows you to function when the grid goes down. If you are interested in autonomy, check our guide on off-grid tiny house systems.
Measurements that matter:
- Standard Breaker Panel: 14.25″ wide (fits between standard 16″ on-center studs).
- Compact Sub-Panel: 8-9″ wide (great for tight corners but offers fewer slots).
- Wire Gauge: 14/2 for 15 amp circuits (lighting), 12/2 for 20 amp circuits (kitchen/bathroom outlets).
Should I choose 30 Amp or 50 Amp for my tiny house?
Choose 30 Amp (3,600 watts max) if you use propane for heating and cooking and have minimal appliances. Choose 50 Amp (12,000 watts max) if you plan to have an electric water heater, induction cooktop, mini-split AC, or laundry units. 50 Amp service is actually a split-phase 240V system, offering more than triple the power of 30 Amp service.
This is the most critical decision you will make. It dictates what appliances you can buy.
The 30 Amp Reality
A 30-amp connection provides a single leg of 120 volts.
- Total Wattage Available: ~3,600 Watts.
- The Lifestyle: You are likely cooking with propane. Your water heater is probably gas. You cannot run the A/C and the microwave simultaneously.
- Pros: Cheaper extension cords ($50 vs $150+), easier to find camping spots.
- Cons: Constant “energy juggling.”
The 50 Amp Luxury
A 50-amp connection provides two legs of 120 volts (50 amps each).
- Total Wattage Available: ~12,000 Watts.
- The Lifestyle: You can live “normally.” You can install an electric dryer and an induction cooktop.
- Pros: No power anxiety; runs 240V appliances.
- Cons: Heavy, expensive shore power cords; requires specific RV park sites.
When selecting your tiny house kitchen fixtures, check the wattage on every specification sheet. If an induction burner draws 1,800 watts, that’s 50% of a 30-amp house’s total capacity right there.
How to calculate electrical load for a small space?
List every electrical appliance you plan to use. Note the wattage (usually on a sticker on the back). Sum the watts of items you will use simultaneously (e.g., Heater + Lights + Laptop). Divide that total by 120 (volts) to get the Amps. If the number exceeds your service (30 or 50), you must upgrade service or switch high-draw appliances to propane.
Here is a typical “Amperage Audit” I did for a 280 sq ft tiny house on a 30-Amp budget.
| Appliance | Rated Watts | Estimated Amps (Watts/120) | Can Run Simultaneously? |
| LED Lighting (all on) | 100W | 0.8A | Yes |
| Mini-Split (Cooling) | 1,000W | 8.3A | Yes |
| Electric Kettle | 1,500W | 12.5A | Caution |
| Laptop Charger | 65W | 0.5A | Yes |
| Electric Water Heater | 4,500W | 37.5A | NO (Requires 50A) |
| Microwave | 1,000W | 8.3A | Caution |
If you have the Mini-Split (8.3A) and Lights (0.8A) on, you are using 9.1 Amps. If you turn on the Kettle (12.5A), you are at 21.6 Amps. Safe. But if you turn on the Microwave (8.3A) while the Kettle is boiling? 29.9 Amps. You are on the verge of tripping the main breaker.
To manage this better, consider your tiny house heating and cooling options carefully. A high-efficiency mini-split is a must-have for electrical systems because window units generally draw significantly more power for less cooling.
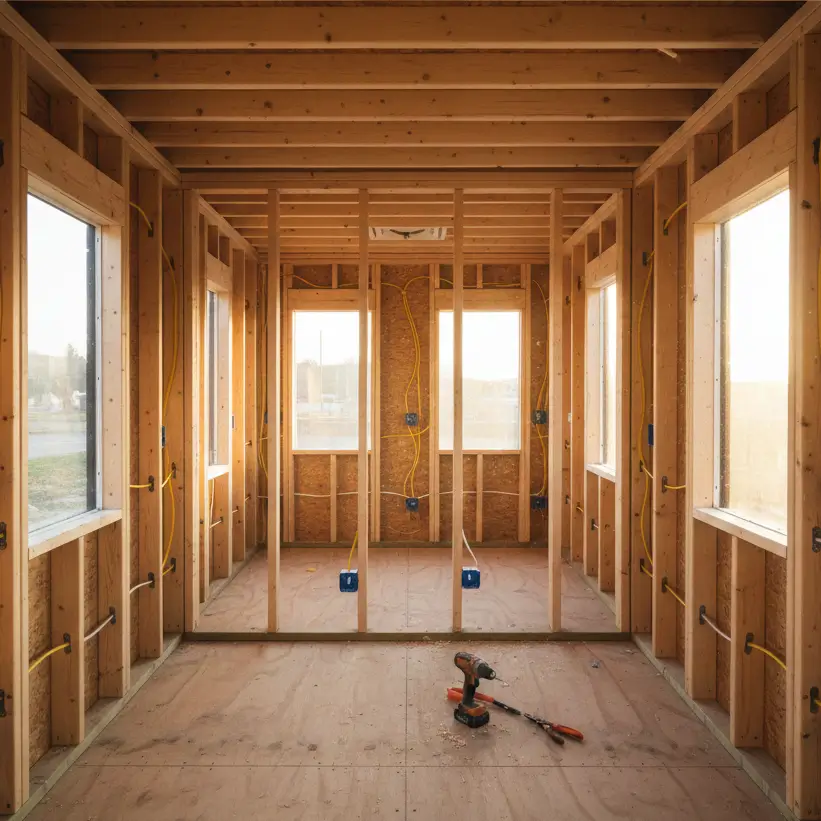
How to install wiring in tiny house walls?
Tiny houses often use 2×3 framing to save weight, leaving only 2.5 inches of depth. You must use shallow electrical boxes (1.25″ to 1.5″ depth) and install protective metal nail plates on studs to prevent screws from piercing wires. Ensure 12/2 and 14/2 Romex wire is secured within 8-12 inches of every box, following NEC code 334.30.
The Shallow Wall Problem
In a standard house with 2×4 or 2×6 walls, you have plenty of room for “volume” (the amount of wire allowed in a box). In a tiny house with thin tiny house wall materials, standard boxes often protrude into the living space.
- Solution: Use shallow “pancake” boxes or specialized shallow remodel boxes.
- Warning: Shallow boxes have strict “box fill” limits. You might only fit one switch and one wire in a box. Plan your circuits so you don’t have three wires converging in one tiny switch box.
Rough-in Tips for DIYers
- Drill Center: Always drill your wire holes in the dead center of the stud. If you are framing with 2x3s, you have very little margin for error.
- Label Everything: In a small space, wires get confusing fast. Label the Romex jacket with a Sharpie as you pull it: “Kitchen GFCI,” “Loft Lights.”
- Spray Foam Coordination: If you are using spray foam for tiny house insulation, the wiring must be 100% complete and inspected before the foam guy shows up. You cannot fish wires through cured closed-cell foam.
Where should I put the breaker panel in a tiny house?
The National Electrical Code (NEC) requires a working space of 30 inches wide by 36 inches deep in front of the panel, extending from floor to 6.5 feet high. You cannot place panels in bathrooms or clothes closets. Common compliant locations include the kitchen (away from the sink), a hallway, or open living areas, often hidden behind a hinged piece of artwork or a cabinet door that opens 90 degrees.
This is where aesthetics clash with code. No one wants a giant grey metal box ruining their tiny house style aesthetic.
Creative (and Safe) Solutions:
- The “Mudroom” Cubby: Place the panel near the door (where the heavy wire enters anyway) and build a cabinet around it. Just ensure the door opens fully and nothing is stored in front of the panel.
- The Hallway Gallery: Hang a lightweight canvas print over the panel on hinges.
- Kitchen Utility Cabinet: It can be in a kitchen, just not in a cabinet (it must be flush mounted) and not over a sink.
Refer to our tiny house layout floor plan guide to see where other builders position their utility cores to minimize wire runs. Short wire runs save money on copper and reduce voltage drop.
Are tiny house electrical systems safe?
Yes, if grounded properly. Because THOWs sit on rubber tires, they are not naturally grounded to the earth. You must wire the main panel with the ground and neutral bars separated (unless using a bonding plug at the generator). Use GFCI (Ground Fault Circuit Interrupter) outlets in kitchens/bathrooms and AFCI (Arc Fault) breakers for bedrooms to prevent fires, adhering to NEC Article 551 (RVs) or 552 (Park Trailers).
Monitoring Your Usage
Since you are working with a limited “amperage budget,” knowledge is power. I strongly recommend installing a smart energy monitor (like a Sense or Emporia Vue) inside your panel.
- Cost: ~$150-$300.
- Benefit: See real-time usage on your phone.
- Why it helps: You can set an alert if you exceed 28 amps, giving you time to turn off the heater before the main breaker trips outside in the rain.
This connects well with a broader tiny house smart home strategy, where you can automate lights to turn off when you leave, saving precious battery power in off-grid scenarios.
Conclusion
Designing tiny house electrical systems is less about unlimited power and more about intentional efficiency. It forces you to ask: Do I really need a 1,500-watt hair dryer, or will a towel do? Do I need an electric stove, or is propane a better fit for my 30-amp limit?
- Spend 30 minutes listing every electrical item you own and its wattage.
- Commit to 30A (cheaper/mobile) or 50A (comfortable/residential).
- Mark your outlet locations on your floor plan, keeping in mind tiny house furniture placement so you don’t bury an outlet behind a built-in sofa.
When you flip that first switch and the lights come on, without tripping a breaker, you’ll know the math was worth it.