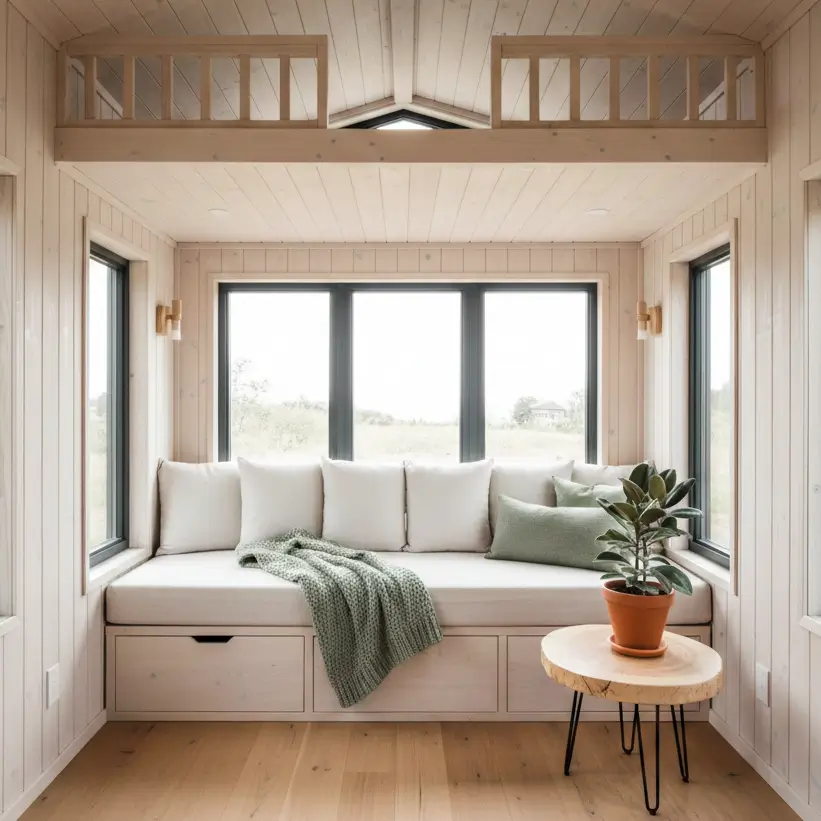
When you look at Instagram photos of tiny homes parked in pristine meadows, you rarely see the “guts” of the operation. You don’t see the massive battery bank tucked under the sofa or the complex plumbing manifold hidden behind the shower wall.
If you are planning to disconnect from the grid, the reality is stark: you become your own utility company. You are the power plant, the water treatment facility, and the sanitation department.
In my years designing for spaces under 400 square feet, the biggest challenge isn’t usually generating the power, it’s fitting the hardware into the floor plan. A standard residential off-grid system takes up a utility room the size of a small bedroom. In a tiny house, you might have a 36″ x 24″ cabinet over a wheel well.
This guide breaks down exactly how to size, select, and fit off grid tiny house systems into a compact footprint without sacrificing livability. We’re talking real dimensions, weight considerations, and budgets ranging from a scrappy $3,000 DIY setup to a robust $12,000 investment.
The “Big Three” Systems Overview
Before we drill down, here is the reality of what you need to integrate into your floor plan.
| System | Primary Components | Space Required (Approx) | Budget Range |
| Electrical | Solar panels, Inverter, Batteries, Charge Controller | Roof + 10-15 cubic ft internal | $4,000 – $10,000 |
| Water | Fresh tank, 12V Pump, Accumulator, Heater | 12-16 cubic ft (low center of gravity) | $800 – $2,500 |
| Waste | Composting toilet, Greywater plumbing | 4 sq ft floor space + under-trailer | $1,000 – $2,000 |
How Much Solar Power Do You Actually Need?
For a standard 2-person tiny house (approx. 250 sq ft) running a fridge, lights, laptops, and a water pump, a starting baseline is 600W-800W of solar panels and 300Ah-400Ah of Lithium (LiFePO4) battery storage. This setup typically requires a budget of $4,500-$6,000 and requires roughly 36-45 sq ft of roof space.
The Roof Tetris
The first physical limit you hit is the roof. A typical 24-foot tiny house has a roof area of roughly 200 sq ft. However, you have skylights, stove pipes, and plumbing vents interrupting that space.
Standard residential panels are large, roughly 65 inches by 39 inches (approx. 17.5 sq ft per panel). If you need 1200W of power (four 300W panels), you need 70 sq ft of clear, unshaded roof space.
Pro-Tip: If you have a shed-style roof, installation is easier. If you have a gable roof with dormers, you may need smaller, 100W flexible panels (approx. 40″ x 20″) to fit around obstacles, though these are often less durable.
The Battery Bank: Lead Acid vs. Lithium
In a small space, energy density is everything.
- AGM/Lead Acid: Heavy and bulky. To get 200 usable amp-hours, you need four massive 6-volt golf cart batteries. This creates a bank measuring roughly 21″ L x 11″ W x 11″ H and weighing nearly 250 lbs.
- Lithium Iron Phosphate (LiFePO4): Expensive but compact. A single 200Ah lithium battery might measure 19″ L x 7″ W x 9″ H and weigh only 50-60 lbs.
In a mobile tiny house, weight is a critical factor. Saving 200 lbs on batteries allows you to carry 24 more gallons of fresh water.
For a deeper dive into wiring these systems safely, check our guide on tiny house electrical systems.
Sizing Fresh Water Tanks for Tiny Homes
An off-grid couple typically consumes 10-15 gallons of water per day (conservative usage). For 3-4 days of autonomy, aim for a 40-50 gallon fresh water tank. A 46-gallon RV tank typically measures 35″ L x 24″ W x 16″ H and weighs over 380 lbs when full. Placement is critical for trailer balance.
Placement Strategy: Low and Central
Because water weighs 8.34 lbs per gallon, you cannot put a large tank in a loft or mounted high on a wall. It raises the center of gravity, making towing dangerous.
The “Under-Counter” Solution:
Most tiny house builders place the tank under the kitchen counter or inside a custom sofa base near the trailer axles.
- Space Cost: You lose roughly 8-10 cubic feet of storage.
- The Freeze Factor: Unlike RVs that mount tanks underneath the chassis, off-grid tiny homes in cold climates usually keep tanks inside the thermal envelope to prevent freezing. This requires sacrificing interior cabinet space.
The Pump and Accumulator
You’ll need space for the “heart” of the plumbing:
- 12V Water Pump: Approx. 8″ x 4″.
- Accumulator Tank: Approx. 5″ x 4″ cylinder (smooths out water flow so the pump doesn’t cycle rapidly).
- Filtration: A standard 2-stage canister filter requires a space roughly 12″ W x 15″ H x 6″ D.
If you are figuring out how to run pipes through 2×4 framing, review our tiny house plumbing systems guide for venting and slope requirements.
Composting Toilets and Greywater Dimensions
For off-grid setups, composting toilets are the standard. The most popular units (like Nature’s Head or Separett) require a footprint of approximately 20″ deep x 16″ wide. You must also account for a 12V ventilation fan and a vent hose exiting the wall or roof. Budget $900-$1,500 for a reliable unit.
The Blackwater Alternative
Some builders install a traditional RV flush toilet and a blackwater holding tank.
- The Problem: You now need to mount a large tank under the trailer. This requires insulation and heating pads if you are in a freezing climate.
- The Solution: A composting toilet separates liquids and solids. The solids bin usually needs emptying every 3-5 weeks for two people. The liquid bottle needs emptying every 2-3 days.
Greywater (Sinks and Showers)
Greywater handling depends heavily on local zoning. In many strict jurisdictions, you cannot dump greywater on the ground. You may need a “tote tank” on wheels (like the Barker 4-wheeler, approx 45″ L x 24″ W) that sits outside your house, which you manually tow to a dump station.
If you are building specifically for mobility, ensure your tiny house bathroom fixtures are low-flow to reduce the volume of waste you need to transport.
Designing the Utility Closet Over the Wheel Well
The most efficient location for your off-grid hub is often the “wheel well box.” In a tiny house trailer, the wheel well protrudes into the living space (approx. 32″ L x 12″ D x 10″ H). Building a cabinet around this creates a perfect utility zone that is roughly 24″ deep.
The “Mechanical Tetris” Layout
Here is a proven layout for a 30″ wide x 84″ tall utility cabinet:
- Bottom Zone (Floor to 18″): Wheel well + Batteries. The heavy lithium batteries sit on the floor in front of or beside the wheel well.
- Mid Zone (18″ to 48″): Inverter/Charger and Breaker Panel. This puts the controls at eye level and allows airflow. Crucial: Maintain 4-6 inches of clearance around the inverter for cooling.
- Top Zone (48″ to Ceiling): Water Heater. A tankless propane water heater (like the PrecisionTemp or similar RV models) mounts here, vented out the side wall.
Safety Note: Never store propane tanks inside this closet. Propane tanks must be mounted outside on the trailer tongue. For details on heating options, see tiny house heating and cooling.
The Energy Draw of Climate Control
Electric heat is generally impossible off-grid unless you have a massive solar array ($20k+). You will rely on propane, wood, or diesel. A small wood stove (like the Cubic Mini, measuring 11″ x 12″ x 10.5″) is popular but requires clearance. A diesel heater (approx. 15″ x 5.5″) is highly efficient, sipping 0.1 liters of fuel per hour.
The Air Conditioning Dilemma
Cooling is the hardest off-grid challenge. A high-efficiency Mini-Split A/C unit draws 300W-800W while running. To run A/C for 4 hours a night, you need a substantial battery bank (minimum 400Ah @ 12V).
If you plan to use A/C, you must prioritize tiny house insulation. Spray foam insulation offers the highest R-value per inch, keeping that precious cool air inside.
The Control Panel and Daily Routine
You cannot “set and forget” off-grid systems. You need a centralized monitor (like the Victron Cerbo GX or a simple battery monitor) mounted in a visible spot. This 4″ x 4″ screen is your fuel gauge.
Daily Habits in <400 Sq Ft
Living off-grid changes your behavior:
- Morning: Check battery percentage. If it’s cloudy, you might skip the electric kettle and use the propane stove.
- Afternoon: Check solar input. If batteries are full, that’s the time to charge laptops and run the vacuum.
- Evening: Monitor water levels.
This mindfulness connects you to your consumption. It aligns perfectly with the principles of tiny house sustainability.
Final Thoughts
Don’t buy a single solar panel until you have done an “Energy Audit” and a “Space Audit.”
- List every appliance you own and its wattage.
- Measure the physical dimensions of the components required to run them.
- Tape out those dimensions on your floor plan.
If the batteries don’t fit under the stairs, or the water tank pushes your trailer weight over the limit, you need to redesign. It is much cheaper to move a line on a blueprint than to move a plumbing wall in a finished house.
For more on the financial side of these systems, check our breakdown of tiny house budget planning.
Your off-grid system gives you freedom, but only if it fits your space and your lifestyle. Measure twice, purchase once.