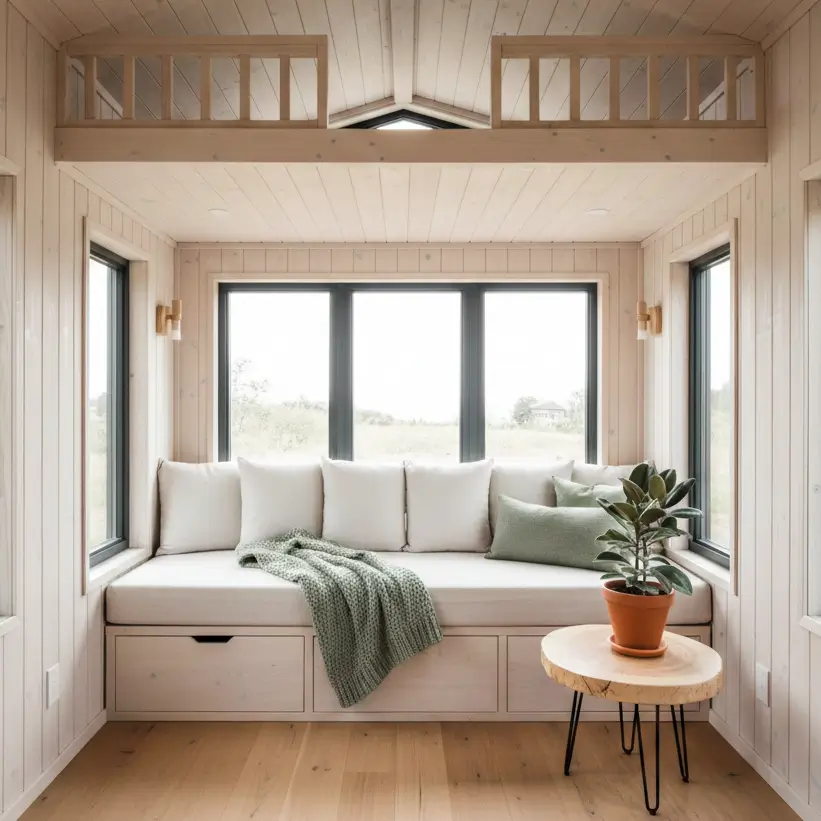
When I first sketched the layout for a 24-foot tiny house on wheels, I made a rookie mistake. I allotted 40 square feet for the bathroom, thinking, “That’s small enough.”
It wasn’t. In a house that’s only 200 square feet total, giving 20% of your floor plan to a bathroom is a luxury most of us can’t afford. The reality hit me when I tried to fit a standard 21-inch deep vanity into a space that also needed a toilet and a human being. It didn’t fit.
To fit a functional bathroom in under 35 sq ft, you need tiny house bathroom fixtures scaled for compact living. Swap standard 21-inch vanities for 12-18 inch narrow profiles, use corner sinks to utilize dead space, install 32×32 inch shower pans (or wet baths), and consider composting toilets to eliminate plumbing complexity. Expect to spend $400 for DIY setups up to $2,500 for high-end off-grid systems.
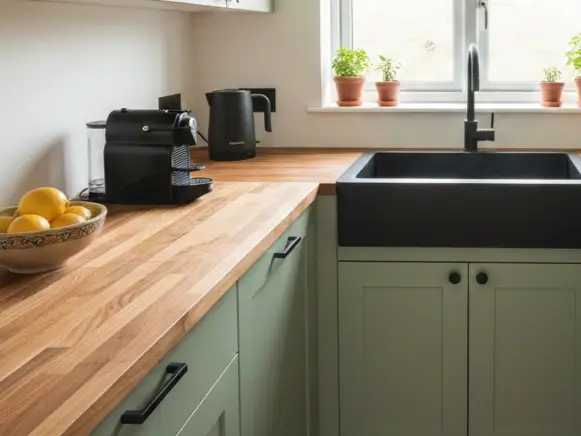
If you are building a Tiny House on Wheels (THOW), weight is just as critical as size. A cast-iron sink might look vintage, but it eats into your towing capacity. Whether you are in a studio apartment or a cabin, this guide breaks down fixtures that actually fit.
The “Inch-Pinching” Rules of Small Bathrooms
Before we buy anything, we have to talk about “clearance zones.” In a standard home, building codes often require 21 to 30 inches of clear space in front of a toilet or sink. In a tiny house or an older retrofitted apartment, you might be working with 18 inches.
Key constraints to measure twice:
- Depth: Standard counters are 21-24 inches deep. You need 12-18 inches.
- Swing: Can the shower door open without hitting the toilet? (Hint: Use sliding doors or curtains).
- Weight: Important for wheels. Acrylic beats porcelain; stainless steel beats cast iron.
If you are still finalizing your walls, check out our guide on tiny house layout floor plans to see where the plumbing wall should sit relative to the kitchen to save on pipe length.
The Throne: Toilet Options for Tight Spaces
Standard toilets require a 12-inch rough-in (distance from wall to drain center). For tiny spaces, look for 10-inch rough-in toilets or round-bowl models which save 2-3 inches of depth compared to elongated bowls. For off-grid or THOWs, composting toilets are the gold standard, requiring no black tank and offering flexible placement since they don’t need a floor drain.
Flush vs. Dry (Compost)
The biggest decision you’ll make is how you handle waste. This dictates your plumbing and your floor plan.
Standard Flush Toilets (Apartment/Foundation Friendly)
If you have sewer access, a flush toilet feels like normal life. However, “compact” models are essential.
- Round Bowl: Saves about 2 inches of depth compared to elongated bowls.
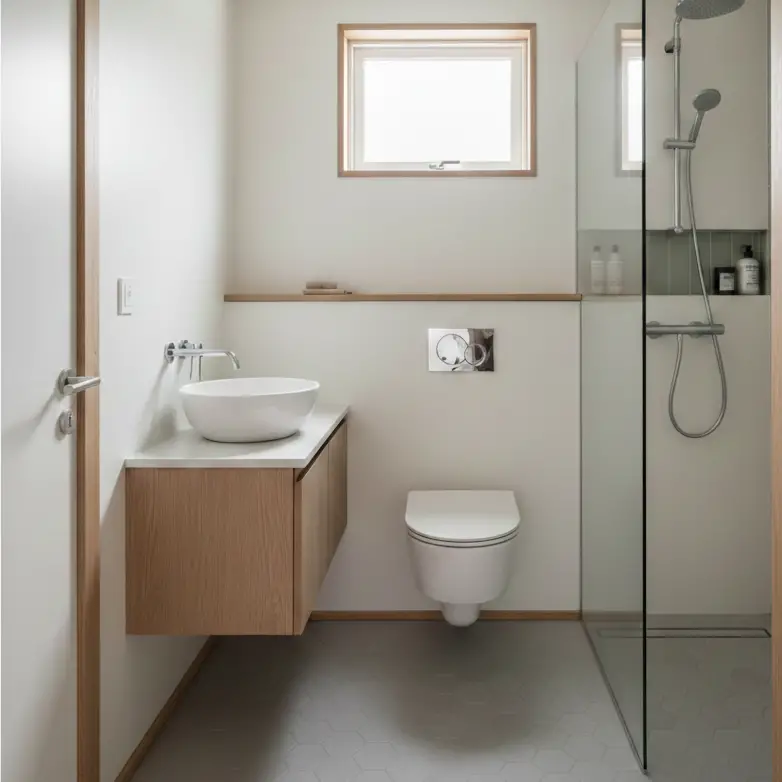
- Wall-Hung: These mount to the wall with the tank hidden inside the studs. It saves precious floor space and makes cleaning the floor easier, but it requires 2×6 wall framing (most tiny houses use 2×4).
- Corner Toilets: I’ve seen these save layouts that looked impossible. The tank is triangular, fitting snugly into a 90-degree corner.
Composting & Incinerating (THOW/Off-Grid Friendly)
In a movable tiny house, black water (sewer) tanks are heavy and messy.
- Composting Toilets: Brands like Nature’s Head or Separett are bulky in height but don’t need water. You gain freedom from plumbing lines.
- Dry Flush: Uses a cartridge system to wrap waste. Very compact, but ongoing costs for cartridges are high.
If you are going the off-grid route, you need to understand the venting requirements. See our deep dive on off-grid tiny house systems for venting diagrams.
Sinks and Vanities: Shaving Inches Off Depth
In a tiny bathroom, the sink is often the biggest space waster. Avoid pedestal sinks (no storage) and standard 21-inch cabinets. Instead, opt for wall-mounted vessel sinks (10-14 inch projection), trough sinks (narrow but wide), or corner vanities. A DIY shelf with a vessel sink often costs less ($150) and fits better than a store-bought vanity cabinet.
The “Narrow Depth” Strategy
I helped a friend renovate a 40-square-foot wet bath recently. We ripped out a standard vanity that blocked the door and replaced it with a live-edge wood slab that was only 12 inches deep. We mounted a small 10-inch diameter vessel sink on top. Suddenly, the room felt twice as big.
Top Fixture Styles for <35 Sq Ft:
- Wall-Mounted (Floating): exposes the floor, creating a visual illusion of more space. You lose cabinet storage, but you can use baskets underneath.
- Corner Sinks: These utilize the dead space where walls meet. They are fantastic for half-baths or wet baths.
- Toilet-Top Sinks: Extreme minimalist? You can buy a lid for your toilet tank that is actually a sink. Fresh water fills the tank through the faucet. It’s ultra-efficient but awkward to use for brushing teeth.
Storage Reality Check
Since you are likely losing vanity cabinet space, you need vertical storage. Mirrored medicine cabinets are non-negotiable here, recess them into the wall if you can. For more ideas on handling toiletries, look at tiny house storage solutions.
Shower Solutions: The Wet Bath vs. Stall Debate
A 32×32 inch shower pan is generally the smallest comfortable size for an adult. In spaces under 25 sq ft, a wet bath (where the toilet and shower share one waterproofed open space) is the most efficient solution. For tubs, galvanized stock tanks or Japanese soaking tubs offer deep immersion with a small footprint (40-45 inches long) compared to standard 60-inch tubs.
The Wet Bath Concept
Common in RVs and European apartments, a wet bath turns the entire room into the shower. The walls are waterproofed, and there is a drain in the center of the floor.
- Pros: You can fit a bathroom in a 3-foot by 4-foot space.
- Cons: The toilet gets wet (unless you cover it). You have to wipe down the room after showering to reduce humidity.
If you are building a wet bath, your wall materials matter immensely. Regular drywall will rot. You need FRP (Fiberglass Reinforced Plastic), tile, or specialized waterproof finishes. Check our guide on bathroom paint moisture solutions if you plan to use paint over a waterproof substrate.
The Tiny Tub
Who says you can’t soak in a tiny house?
- Stock Tanks: A 4-foot galvanized stock tank costs about $150 at a farm supply store. It’s lightweight and trendy.
- Walk-in Tubs: Often designed for accessibility, these have a small footprint but are heavy and expensive.
- RV Tubs: These are usually 36 to 48 inches long. They are shallow (step-tubs), made of lightweight plastic/fiberglass, and very affordable.
Faucets and Water Heating
Choose single-handle faucets to save counter space. For water heating, massive 40-gallon tanks are obsolete in tiny living. Tankless propane heaters (like the Rinnai or EcoSmart) are the standard, measuring roughly the size of a shoebox and mounting on the wall. They provide endless hot water but require proper venting and high amperage (electric) or gas lines.
Mixing Valves & Hardware
When every inch counts, where you mount the faucet matters.
- Wall-Mount Faucets: By putting the faucet on the wall, you can use a narrower sink because you don’t need that 4-inch deck for the hardware behind the bowl.
- Pull-Out Sprayers: In a tiny bathroom, the sink faucet often doubles as a hair-washing station or a way to fill a bucket. A pull-out head adds versatility.
The Plumbing Behind the Walls
Don’t forget that your fixtures dictate your plumbing rough-in. If you are doing this yourself, PEX piping is your best friend, it’s flexible and freeze-resistant, which is crucial for THOWs in colder climates. Ensure you read up on tiny house plumbing systems before drilling holes in your trailer chassis or subfloor.
Lighting & Ventilation: Making it Feel Bigger
Dark corners make small bathrooms feel like coffins. Use recessed LED wafer lights (which fit in shallow ceiling cavities) to save headroom. Sconce lighting at face level is better for mirrors than overhead lighting. Ventilation is mandatory: a high-CFM exhaust fan (50-80 CFM) is required to prevent mold in tight, humid volumes.
The Mirror Trick
A large mirror is the oldest trick in the book, but it works. In a 30 sq ft bathroom, taking the mirror all the way to the ceiling can visually double the space.
When selecting lights, consider the moisture rating. In a wet bath, your lights must be “wet rated,” not just “damp rated.” See tiny house lighting solutions for specific voltage recommendations, especially if you are running off a 12V DC solar system.
Material Choices: Weight vs. Durability
If you are stationary (apartment/foundation), tile is beautiful. If you are mobile, tile is heavy and cracks with road vibration.
| Material | Weight | Durability | Best For |
| Ceramic/Porcelain | Heavy | High | Foundation homes |
| Acrylic/Fiberglass | Very Light | Medium | THOWs / RVs |
| Stainless Steel | Light | High | Sinks / Modern look |
| Stone/Concrete | Very Heavy | High | Stationary only |
| Treated Wood | Medium | Medium | Vanity tops / Accents |
For walls, if you want the look of tile without the weight, consider high-quality peel-and-stick vinyl tiles or waterproof laminate sheets. I’ve used epoxy paint over laminate specifically for painting specific surfaces in bathrooms to waterproof them without adding the weight of ceramic.
Summary: The 24-Hour Action Plan
Designing a tiny bathroom is a game of millimeters. Here is how to move forward:
- Measure your “elbow room”: Tape out the floor plan. Sit on a bucket where the toilet goes. Do you have 24 inches of clearance for your knees?
- Choose your toilet first: This dictates the drain location. A composting toilet gives you flexibility; a flush toilet locks you in.
- Go narrow on the vanity: Look for sinks under 14 inches deep.
- Prioritize ventilation: Buy the best exhaust fan your budget allows.
By selecting the right tiny house bathroom fixtures, you stop fighting against the space and start working with it. You might not have a spa, but you can definitely have a sanctuary.
Need to figure out how to brighten up the rest of the space? Check out our guide on how to brighten dark apartment paint.