
There is a specific kind of panic that sets in when you open a can of oil-based paint in a 350-square-foot tiny house. The fumes hit you, and you suddenly realize you have nowhere to escape the smell because your kitchen is also your bedroom and your living room.
I learned this the hard way during my first month living in a converted van. I tried to refinish a cabinet with heavy-duty enamel, and I ended up sleeping with my head out the window.
Why does this matter? Because in compact living, acrylic paint applications are not just an artistic choice; they are a survival strategy. Acrylics are water-based, dry incredibly fast, and typically have much lower VOCs (Volatile Organic Compounds) than their oil-based cousins. When you live in a “shoebox,” you don’t have the luxury of a garage workshop. You need materials that are safe, quick, and versatile enough to stick to everything from IKEA laminate to plastic storage bins.
Acrylic paint applications in small spaces excel due to their fast drying time (20-30 minutes), water solubility for easy cleanup in tiny sinks, and adhesion to varied surfaces like plastic, wood, and metal when properly primed. They allow for quick DIY customizations of furniture and storage without requiring toxic solvents or long ventilation periods.
For the DIYer on a budget (under $100 for supplies), acrylics offer the highest return on investment for transforming a rental or tiny home.
Why Acrylics Are the Holy Grail for Tiny Living
In spaces under 600 sq ft, acrylic paints dominate because they emit fewer fumes, requiring less ventilation than oil paints. They dry to the touch in 15-20 minutes, allowing you to use your furniture the same day. Plus, cleanup requires only soap and water, eliminating the need to store flammable solvents in limited cupboard space.
The Ventilation Reality
When you are painting in a standard 2,000-square-foot home, you can paint a room and close the door. In a studio apartment or tiny house on wheels, you are breathing whatever you paint.
Most standard artist acrylics and high-quality acrylic latex house paints are significantly lower in odor. This is crucial for your health. If you are sensitive to smells or have pets, sticking to low-VOC paint options is non-negotiable. I once painted a mural behind my bed using heavy body acrylics and slept there four hours later with zero headaches. You simply cannot do that with oils or spray enamels.
The “Tiny Sink” Cleanup Factor
Have you ever tried to clean oil paint brushes in a bathroom sink that measures 12 inches across? It is a nightmare that usually ends with stained porcelain and clogged pipes.
Acrylics wash up with warm soapy water. For tiny house dwellers utilizing greywater systems, this is even more critical. You aren’t sending harsh solvents down the drain into your garden or holding tank.
- Tip: If you are off-grid, wipe your brushes on a rag first, then rinse. It saves gallons of water.
For more on safety specs, check our guide on paint safety regulations to ensure you’re buying the right non-toxic brands.
Transforming Storage: Painting Plastic & Laminate
To apply acrylic paint to plastic bins or laminate furniture (common in small spaces), you must scuff-sand with 220-grit sandpaper and apply a bonding primer (like STIX or Zinsser BIN). Apply acrylic paint in thin layers, allowing 2 hours dry time between coats. Seal with a water-based polycrylic varnish to prevent peeling.
The Storage Bin Dilemma
In my 400-square-foot apartment, I have visible storage everywhere. The problem? Clear plastic bins look cluttered, and mismatched opaque ones look chaotic.
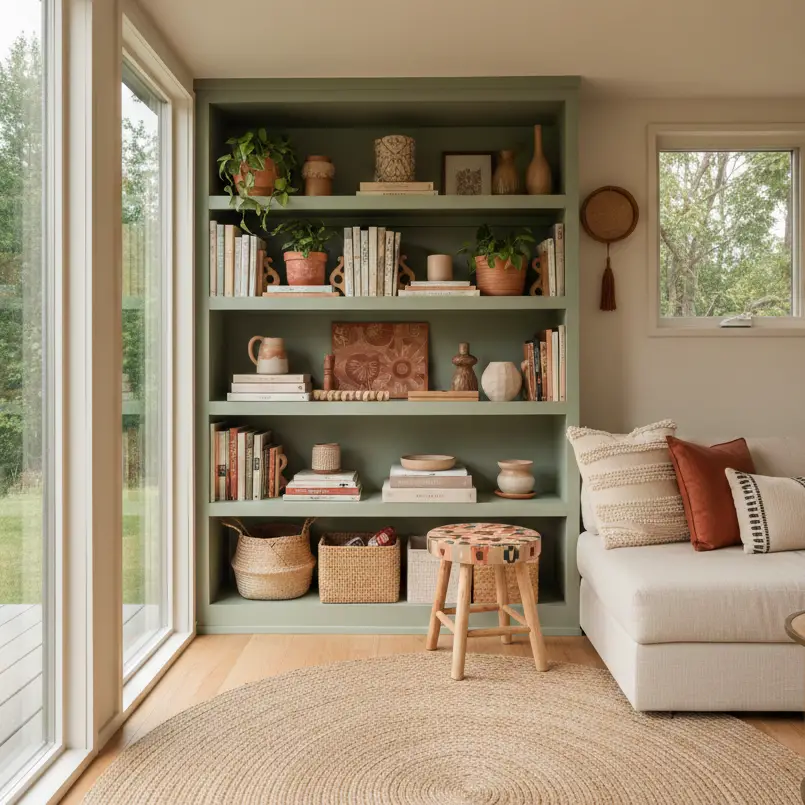
One of the most practical acrylic paint applications is unifying these disparate storage containers. You can take five random bins from the dollar store, paint them all a matte sage green (try a color like Dried Thyme), and suddenly you have a cohesive “built-in” look for under $30.
The Process for “Slippery” Surfaces
Plastic and laminate are notorious for repelling paint. If you skip the prep, your paint will scratch off the moment you slide the bin onto a shelf.
- Clean: Wipe down with isopropyl alcohol to remove finger oils.
- Scuff: Lightly sand with 220-grit sandpaper. You just want to create “tooth,” not shred the plastic.
- Prime: This is the step 90% of people skip. Use a bonding primer.
- Paint: Use soft-body acrylics or acrylic latex.
- Seal: Essential for items that get handled.
If you are dealing with painting plastic, foam, or rubber specifically, understanding the flexibility of your paint is key. Standard acrylics are flexible, which is why they don’t crack when a plastic bin warps slightly.
The “IKEA Hack”: Customizing Compact Furniture
Acrylic paint is ideal for upgrading budget particle-board furniture. Unlike chalk paint, which can be thick and textured, acrylic allows for smooth, modern finishes or detailed artistic designs. For a durable tabletop finish, mix a fabric medium into the paint or apply three coats of polyurethane sealer to protect against coffee cup rings and scratches.
Visual Weight in Small Spaces
In a tiny room, dark, heavy wood furniture can make the space feel claustrophobic. I had a dark brown laminate desk that felt like a black hole in my living corner.
By using a high-quality acrylic paint in a light neutral tone (like a warm greige), I visually “erased” the weight of the desk. It blended into the wall, making the room feel 20% larger.
Artist Acrylics for Detail Work
You aren’t limited to one flat color. Because artist acrylics come in small 2oz to 8oz tubes, they are perfect for adding personality without buying gallons of paint.
- Geometric Accents: Use masking tape to paint a chevron pattern on drawer fronts.
- Faux Finishes: I’ve seen van lifers use acrylics to paint faux marble veins onto plywood countertops. It sounds risky, but with a good sealer application, it holds up surprisingly well.
- Color Blocking: Paint the legs of a stool a bright neon yellow while leaving the top natural wood.
If you are working on painting furniture and home decor, remember that small details draw the eye. In a small space, a painted chair becomes a focal point, not just a place to sit.
Vertical Depth: Murals and Zoning
In open-concept studios, acrylic paint murals act as visual dividers without taking up floor space. Painting a solid arch or geometric shape behind a desk creates a “zone” that separates work from sleep. Use a matte medium to extend paint flow and ensure sharp lines. Cost is minimal (<$40) compared to buying room dividers.
Zoning Without Walls
When I lived in a 300 sq ft studio, my “bedroom” was just a mattress in the corner. I used dark navy acrylic paint to paint a large arch shape on the wall behind the bed.
Instantly, that corner felt like a separate room. This is one of the most powerful acrylic paint applications for renters (check if you can paint, or use the “sandwich” method: paint on heavy paper or canvas and starch it to the wall for a removable mural).
Creating Illusion of Height
If you have low ceilings, common in tiny house lofts, painting vertical stripes or a gradient (ombre) that gets lighter toward the ceiling can trick the eye.
- The Gradient Technique:
- Start with your darkest color at the bottom.
- Mix white acrylic into your color as you move up.
- Blend while wet with a large, damp brush.
Because acrylics dry fast, you have to work quickly. Use a retarder medium to slow the drying time if you want a smoother blend.
Check our guide on low ceiling paint solutions for more tricks on visual expansion.
Acrylics vs. Other Finishes
Acrylics offer the best balance of versatility and safety for indoor DIY projects compared to oils or spray paints. While spray paint is faster, the overspray is unmanageable in small apartments. Chalk paint is easier to apply (no sanding) but requires waxing and is expensive. Acrylics are cheap, customizable, and permanent once dry.
| Feature | Acrylic Paint | Oil/Enamel | Chalk Paint | Spray Paint |
| Odor/Fumes | Low | High (Toxic) | Low | High (Toxic) |
| Dry Time | 15-30 mins | 8-24 hours | 30-60 mins | 10-20 mins |
| Cleanup | Soap & Water | Solvents | Soap & Water | N/A |
| Cost | Low ($) | High ($$$) | High ($$$) | Low ($) |
| Durability | Med (needs sealer) | High | Low (needs wax) | Med |
| Small Space Safe? | Yes | No | Yes | No (Indoors) |
The Spray Paint Myth
You might think spray paint is the answer for small items. In a tiny house? Absolutely not. The “particulate cloud” travels. I once spray-painted a lamp in my bathroom with the fan on; three days later, I found black dust on my toothbrush in the cabinet.
Stick to brushing or rolling acrylics. It gives you control. If you need a smooth finish without brush marks, use a high-density foam roller and mix a little Floetrol or pouring medium into your acrylics.
Essential Tool Kit for the Tiny Home Painter
Since storage is gold, you don’t want a massive toolbox. Here is the minimalist kit that fits in a shoebox:
- Synthetic Brushes (3 sizes): A 2-inch angled sash brush (for cutting in), a 1-inch flat brush (for furniture), and a small detail brush. Synthetic bristles don’t absorb water like natural ones, making them perfect for acrylics.
- 4-inch Foam Roller: Takes up less space than a standard 9-inch roller and fits into small paint trays. Great for painting flat surfaces like cabinet doors.
- The “Tupperware” Palette: Don’t buy a plastic artist palette. Use a plastic food container with a lid. Acrylics stay wet for days if sealed inside with a damp paper towel.
- Jar of Gesso: This is your universal primer. It sticks to almost anything.
- Water-Based Polycrylic: The universal sealer. Low odor, non-yellowing.
For a deeper dive on gear that fits in a drawer, read about painting tools for tight spaces.
Troubleshooting Acrylics in Small Spaces
“It dried too fast!”
Small spaces often have heaters or wood stoves running, creating dry air. Acrylics can skin over in seconds.
- Solution: Keep a misting bottle of water handy. Spritz your palette and your painting surface lightly.
“The paint peeled off my laminate table.”
You likely skipped the sanding or the cure time. Acrylic dries to the touch in minutes, but it takes 21-30 days to fully “cure” (reach maximum hardness).
- Solution: Treat the surface gently for the first month. Use coasters.
“I spilled paint on the carpet.”
Because you don’t have a designated workshop, spills happen on your living rugs.
- Solution: Keep the spill wet! Once acrylic dries, it is plastic. Use isopropyl alcohol to break down dried acrylic, but test a hidden spot first.
Final Thoughts
Acrylic paint is the Swiss Army Knife of tiny home decor. It allows you to customize a space that you might not own forever, using materials that won’t make you sick or break the bank. Whether you are brightening a dark apartment with a new mural or simply making your plastic storage bins look like high-end decor, the power is in the versatility.
- Identify 3 mismatched items that make your space look cluttered.
- A tube of black, a tube of white, one color you love, and a small tub of gesso.
- Paint a single picture frame or a plant pot this weekend.
You don’t need a studio to create a home that feels designed. You just need a brush, a plan, and a little bit of color.
For more ideas on maximizing every inch of your home, visit Veniola.com.

