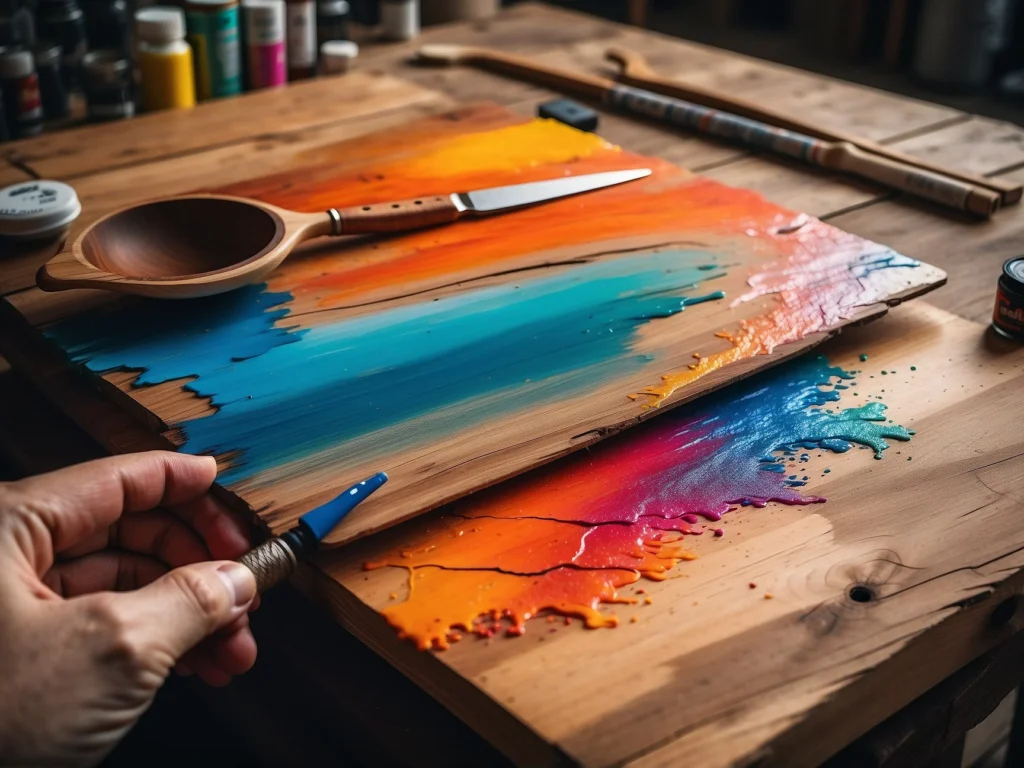
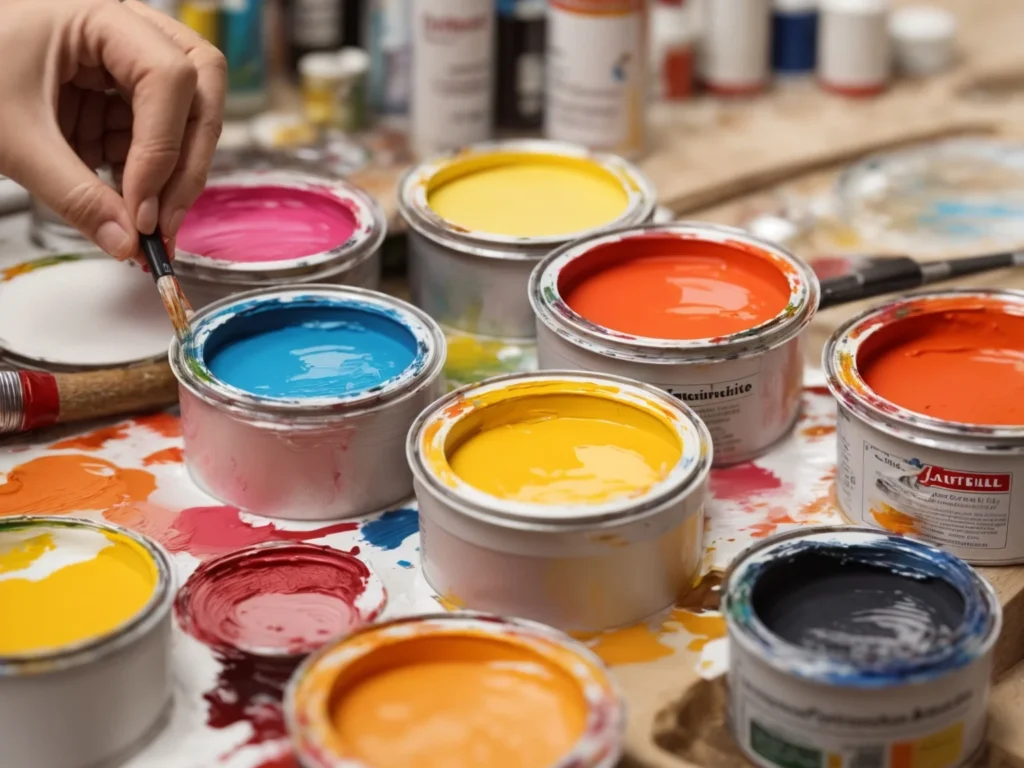
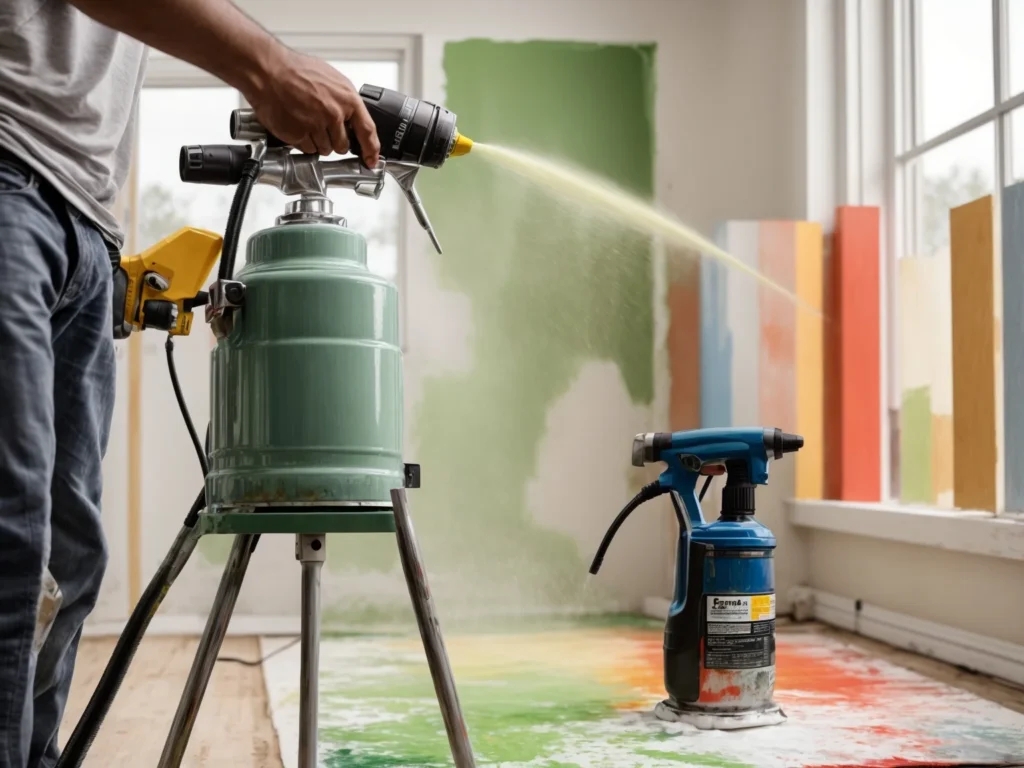
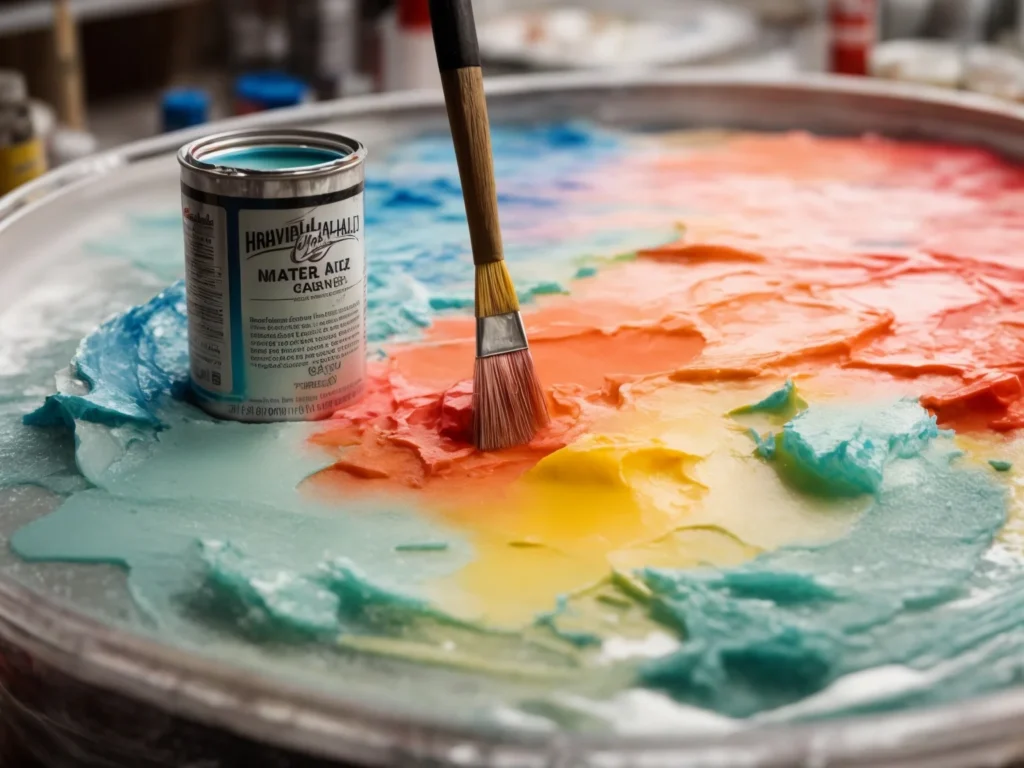
Abstract art holds an undeniable allure. The freedom to apply paint in new and experimental ways results in pieces that engage the imagination. While acrylic paint on its own offers versatility, the addition of alcohol inks opens up endless possibilities for creative expression. This unlikely pairing of acrylics and alcohol creates mesmerizing fluid art filled with vibrant colors, dynamic textures, and hypnotic patterns.
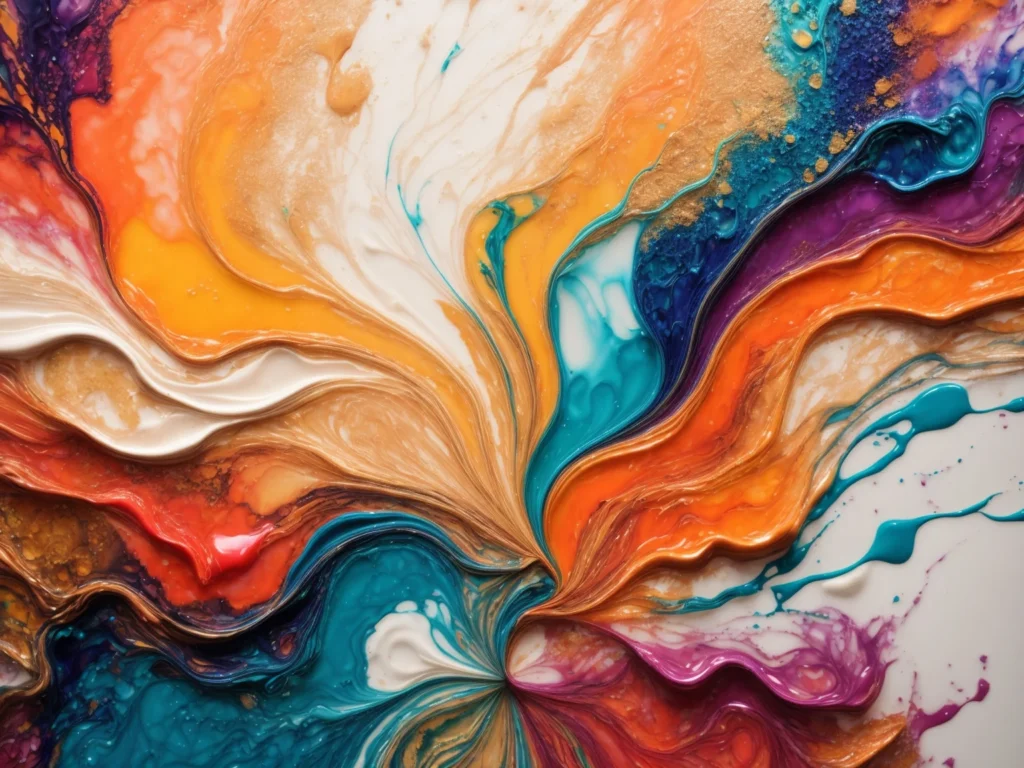
An Introduction to Abstract Acrylic Alcohol Ink Art
Acrylic alcohol ink art, also referred to as fluid art or pouring, focuses on the process of manipulating paints to achieve stunning abstract designs. This style involves blending acrylic paints with alcohol inks or rubbing alcohol to change their viscosity and reactivity. When poured or dripped onto a canvas and manipulated, the paints bloom into organic shapes and cells, creating one-of-a-kind pieces.
The acrylic alcohol ink technique rose to popularity through artists sharing their pours on social media. The videos demonstrate the paints blossoming and spreading in real time, which has an irresistible appeal. The colors swirl and dance across the canvas, forming patterns guided by – but not fully controlled by – the artist. Each pour results in a new interpretation as the paint takes on a life of its own.
Necessary Materials for Acrylic Alcohol Ink Art
The basic equipment needed for acrylic alcohol ink art includes:
Canvas
Stretched canvas provides the ideal painting surface for fluid acrylics. It’s absorbent enough to allow colors to sink in but still maintains the paint on top. For beginners, an 8″x10″ or 11″x14″ canvas works well. Look for canvas with a medium tooth or grain for optimum paint flow. Gesso-primed canvas helps protect the canvas fibers.
Acrylic Paints
Fluid acrylics with a low viscosity offer the best consistency for pouring. Heavy body acrylics are too thick and will not spread sufficiently. A basic palette with primary colors – red, blue and yellow – allows for mixing a rainbow of hues. Include white and black as well. Metallic and iridescent acrylics add dazzling effects.
Isopropyl Alcohol
Also referred to as rubbing alcohol, isopropyl alcohol acts as a dilutant, making acrylic colors more fluid and reactive. Concentrations of 70% or higher work best. Grain alcohol can also be used.
Additional Supplies
Other useful supplies include cups for mixing paints, stir sticks, latex gloves, an apron or smock, and a drop cloth to protect the work surface. A spray bottle filled with rubbing alcohol helps prepare the canvas before pouring. Heat tools like a blowdryer or heat gun create cells and textures.
Preparing Acrylic Paints for Fluid Art
Achieving the ideal acrylic paint consistency takes some experimenting. Here is an overview of how to prepare the paints:
- Thinning the acrylics – Pour a small amount of fluid acrylic into a cup and add alcohol, starting with a 1:1 ratio. Stir to fully incorporate. Test the consistency on a canvas to identify if further thinning is needed for the desired flow.
- Creating cells – Cells form when the silicone oil in the acrylic paint resists blending. Add a couple drops of silicone oil or silicone spray to accentuate cells.
- Mixing colors – Thinned acrylics allow colors to mix directly on the canvas. For specific hues, mix in cups first. Try a toothpick for swirling.
- Spraying alcohol – Mist the canvas with rubbing alcohol before pouring to help paints spread smoothly. Use sparingly to avoid over-thinning the poured acrylics.
Take notes on paint ratios and mixes to replicate effects. Store thinned paints in sealed containers and use within a few days.
Intriguing Techniques for Applying Acrylic Alcohol Inks
Once the paint consistency is right, the fun begins with bringing the abstract vision to life on the canvas. Try these mesmerizing application techniques:
Free Pouring
The most intuitive method, free pouring involves tilting and moving the canvas to guide acrylics across its surface. Cup the canvas and pour paints from above, allowing them to mingle and swirl. Respond to the paint movement by gently rocking the canvas.
Puddle Pouring
Puddle pouring creates colorful blends. Pour small mounds of different colors close together on the canvas. Use a blowdryer on low setting to push and mix the paint into each other.
Swipe Pouring
With a contrasting color, pour a stripe across the center of the canvas. Pour additional colors on both sides. Once set briefly, swipe a tool across to mix the colors in one pass.
String Pulling
Add dots of contrasting acrylics across the canvas. Lay string gently on top. After a minute, pull the string up to reveal a pattern. Can also be done with tools like combs or skewers.
Spraying Alcohol
Spritz isopropyl alcohol over poured acrylics to encourage spreading and the formation of unique patterns. Work in sections for targeted effects.
Building Up Dimensional Acrylic Alcohol Ink Art
While acrylics dry quickly, the artwork can be built up with layers to add depth and texture. Some techniques include:
- Allow paints to fully dry between layers, typically 24-48 hours. Seal with a finish between layers.
- Mist with isopropyl alcohol to help bond the next layer. Ensure base layer is fully dry first.
- Pour complementary colors in successive passes, rotating the canvas orientation with each layer.
- Use alcohol inks directly on top of dried acrylics to add shimmering effects.
- Alternate between swipe, pour, spray, and tilt techniques to achieve multi-faceted designs.
Using Masking and Stencils with Acrylic Alcohol Inks
Masking fluid, tape, and stencils allow more control over the poured paints. Try these techniques:
- Apply masking fluid to the canvas before pouring to preserve white negative space. Remove after acrylics are dry.
- Tape down stencils or use cardboard strips as masking during a pour. Carefully remove before paint dries.
- Cut custom stencils from cardstock. Position on dried layers and apply alcohol inks through the openings.
Creating Mesmerizing Cells and Textures
The acrylic alcohol ink magic truly emerges through cells and textures. Here’s an overview of how to achieve striking effects:
Cells
The silicone oil in paint creates cells by repelling away other pigments. Encourage cells by:
- Mixing in silicone oil or spray
- Pouring lighter colors into darker colors
- Allowing time between mixing and pouring
- Spritzing layers with isopropyl alcohol
- Gently heating with a blowdryer, heating temperatures and times
Textures
Textural dimensions can be produced by:
- Adding coarse pumice gel medium to acrylics
- Applying paint directly with silicone painting tools
- Lifting paint intentionally with cardstock for feathery textures
- Moving a straw through thick paint to create lines
- Spraying alcohol forcefully through a straw for bubble textures
Using Tools to Manipulate Acrylic Alcohol Inks
A range of common household tools opens creative possibilities when used to manipulate poured paints.
- Skewers or toothpicks: swirl paints in cups before pouring as well as directly on canvas for marbling effects.
- Straws: blow paints into patterns and textures. Can also use for string pulling techniques.
- Torch: move flame gently over poured paints to encourage air bubbles and heat up isopropyl alcohol to speed up cell creation. Use caution when heating.
Finishing and Protecting Acrylic Alcohol Ink Art
Acrylics cure and become permanent once fully dried. To finish:
- Allow paints to dry for 24-48 hours. Improper drying can cause cracking.
- Once paints feel dry to the touch, seal the acrylic paint with a finish like resin or varnish. This protects the artwork from fading over time.
- For wall art, consider applying a clear gloss gel medium as a durable top coat.
- Always test finishes on a small area first and allow to fully dry. Multiple thin coats are better than one thick coat.
Tips for Displaying Acrylic Alcohol Ink Creations
The striking designs and vibrant colors of fluid acrylics make them ideal focal points. Display recommendations:
- Acrylic pieces are versatile and can be hung on walls or displayed on easels, shelves, or tables.
- Complementary matting and framing enhances acrylic wall art. Floater frames add dimension.
- Group multiple acrylic pieces together for a bold statement. Match frames for cohesion.
- Hang fluid acrylic art on light-colored walls to allow colors to stand out.
- Play with lighting. Spotlights and wall sconces accentuate dimension and sheen.
Profiles of Innovative Acrylic Alcohol Ink Artists
The acrylic alcohol ink movement brought these talented artists into the spotlight, each with their own distinctive take on fluid art:
Rinske Douna – Known for her stunning use of gold leaf in combination with fluid acrylics. Carefully strips gold leaf and applies it to her paintings for a gilded, mosaic effect. Based in the Netherlands.
Nicholas Hankins – Creates layered dimensional acrylic pours reminiscent of outer space nebulas. Uses alcohol inks and interference colors to generate otherworldly compositions. Based in San Diego, CA.
Danielle Nelson – Her background in microbiology informs her focus on cells and textures. Uses blowing techniques to direct her acrylic pours into organic patterns. Based in Utah.
Alicia Rose – Specializes in acrylic pouring on wood substrates using masking to create graphic shapes. Her striking patterns have an Aztec feel. Based in Phoenix, AZ.
Rebecca Bauman – Known for large-scale acrylic pours that she enhances with gold leaf, gold mica powder, and resin to create ethereal, floating worlds. Based in Chicago, IL.
Irina Shtorko – Originally from Ukraine, her pours capture traditional folk motifs through her intuitive acrylic techniques. Layers metallics and iridescents for luminous effects. Based in Las Vegas, NV.
Monica Lee Hampton – Creates joyful, expressive acrylic pours. Uses alcohol inks and fluid acrylics to generate colorful, textural, and multi-dimensional canvases. Based in Montana.
Simple Steps to Begin Acrylic Alcohol Ink Pouring
The basic pouring techniques allow beginners to start experimenting right away. Helpful tips for getting started:
Prepare Your Workspace
Cover your studio area with a drop cloth and wear an apron or old clothing. Have materials organized and paints pre-mixed before starting.
Ready Your Canvas
For your first pours, start with an 8″x10″ or 11″x14″ canvas. Apply a mist of isopropyl alcohol and let dry to prep the canvas.
Mix Your Acrylics
Thin out a 2 oz bottle of fluid acrylic with 2 oz of 70% isopropyl alcohol. Increase alcohol as needed. Mix and store colors separately.
Select Your Technique
Try basic pouring and tilting to begin. Pour paints near the center and tilt the canvas to spread the acrylics around.
Embrace the Unpredictability
There are no mistakes in fluid art! Relax, have fun, and let the paint take on a life of its own. Each pour is a new adventure.
Preserve Your Art
Once fully dry, seal your acrylic pour with a finish like resin to protect and extend its life.
Troubleshooting Common Acrylic Alcohol Ink Pouring Problems
As with exploring any new art form, occasional issues will arise. Here are solutions to some common fluid art problems:
Paint dries too quickly – Increase alcohol ratio to slow drying time. Mist area with alcohol. Pour in smaller sections.
Bubbles in poured paint – Stir paints vigorously before pouring. Tilt canvas to release bubbles. Use a torch briefly.
Cracking in dried paint – Paint was too thick. Use more alcohol. Allow longer drying times between layers.
Muddy color mixes – Stir gently. Allow some separation for interest. Pour contrasting colors simultaneously.
Disappearing cells – Pour thinner layers. Apply heat gun in short bursts. Seal drying paints with alcohol mist.
Tacky finish – May indicate the paint did not cure fully. Allow extra drying time. Do not shake or stack tacky pieces.
Frequently Asked Questions About Acrylic Alcohol Ink Art
Here are answers to some common questions about this fascinating fluid art form:
What alcohol ratio should be used in the paints?
Start with equal parts paint and alcohol. Adjust as needed. More alcohol creates thinner consistency.
Should acrylic colors be mixed first or directly on the canvas?
You can do both for different effects! Mixing creates unified colors while direct pouring maintains distinction.
How long does it take for acrylics to dry between layers?
Acrylics are dry to the touch in 30-60 minutes typically but need 24-48 hours to fully cure before adding another layer.
Can acrylic pours be done on wood, glass, metal?
Yes, fluid acrylics can be used on other surfaces. Special preparation may be needed to help paints properly adhere.
Is there a finish that can protect acrylic pours?
Resin provides the best seal for acrylic fluid art. Polyurethane and epoxy are other options. Always test small areas first.
How are acrylic pours cleaned?
Use mild, pH-neutral soap and water. Avoid abrasive cleaners. Re-seal cleaned areas since washing removes acrylic protection. Handle with care.
Expanding Skills with Continued Practice
As with any art form, practice expands artistic abilities with acrylic alcohol inks. Ways to continue progressing:
- Experiment with new techniques like balloon smashing, marble rolling, and unique tools like chains for pulling through paints.
- Take notes & photos of your pours to recreate favorite techniques. Recording paint ratios is especially helpful.
- Watch videos online to learn new tricks from experienced artists. See their methods in action.
- Refine color mixing by exploring complementary, split complementary, and analogous color schemes.
- Expand your studio with propertables, storage, lighting, and display stands to advance your practice.
The Fulfillment Found in Abstract Acrylic Pouring
The allure of acrylic alcohol ink art lies in both the mesmerizing artistic process and the stunning visual results. By releasing control and embracing the paint’s natural flow, new inner dimensions also open within the artist. Each pour unlocks more freedom and joy. The colors dance to their own rhythm, weaving abstract patterns that immerse viewers into the present moment.
