
When you live in a 2,500-square-foot house, a paint drip behind the sofa goes unnoticed for years. But in a 350-square-foot tiny house or a compact city apartment, you are intimately acquainted with every square inch of your walls. You sit inches from them; you brush against them in narrow hallways; you stare at them while working from your fold-down desk.
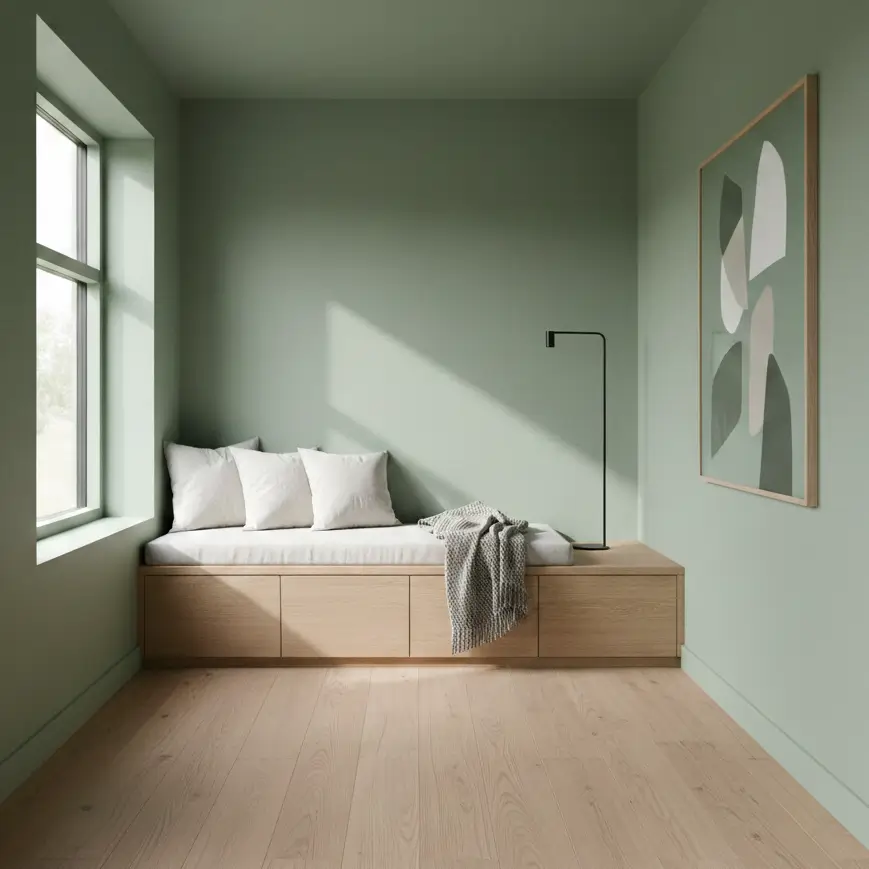
In small space living, the “Proximity Factor” changes everything. A roller mark looks like a scar. A patch of “flashing” (uneven sheen) catches the light from your single window and ruins the whole vibe.
If you are staring at a botched paint job right now, take a breath. I’ve fixed more orange-peel textures and peeling bathroom ceilings than I care to admit. The good news? Because your square footage is low, fixing these issues is usually a weekend project, not a month-long renovation.
Most small-space paint problems, like peeling, streaks, or mold, stem from humidity accumulation and improper drying times in low-airflow zones. The most effective solutions involve aggressive surface prep (cleaning with TSP), using high-quality primers to seal surfaces, and choosing 100% acrylic latex paints that resist the heavy wear of tight quarters.
Before we jump into the fixes, let’s talk money. Since you aren’t covering a mansion, you can afford better materials.
- Cheap Fix: $40 (Budget paint + basic roller) = Likely to peel again in 12 months.
- The Right Fix: $120 (Premium scuff-resistant gallon + high-density woven roller + primer) = Lasts 5-7 years.
When you only need two gallons to cover your whole home, spend the extra $30 per gallon. It saves you headaches later.
Why Paint Fails Faster in Tiny Homes
Small spaces amplify environmental stress on paint. Humidity density rises quickly in areas under 600 sq ft due to cooking and showering. Furthermore, high traffic friction in narrow zones causes mechanical failure (scuffs/chips), while raking light from nearby windows highlights application errors like roller marks.
The Moisture Trap
In a standard home, moisture from a hot shower dissipates into a large volume of air. In a tiny house bathroom (often 20-30 sq ft), that steam attacks the paint immediately. If you used standard wall paint instead of a bathroom-specific formula, you’ll see blistering within months.
I once painted a tiny bathroom in a vintage Airstream without a proper exhaust fan. I used a standard eggshell finish. Three weeks later, I could peel the paint off in sheets like a sunburn.
The “Raking Light” Effect
In small apartments, your walls are rarely far from a window. Light hits the wall at a sharp angle (raking light), which creates long shadows out of tiny bumps or roller ridges. This makes “flashing”, where the paint sheen looks uneven, painfully obvious.
- The Fix: You need smoother application tools.
- The Resource: Check out our guide on painting tools for tight spaces to see which rollers minimize texture.
Surface Imperfections
To fix roller marks (lap marks), wait for the paint to cure (48 hours). Sand the ridges smooth with 220-grit sandpaper. Wipe away dust with a tack cloth. Repaint the wall from corner to corner, maintaining a “wet edge” by overlapping strokes while the paint is still wet. Do not spot-fix; repaint the full section. Cost: ~$30 for sandpaper and fresh paint.
The “Wet Edge” Challenge in Tight Quarters
In a small room, you might think painting is easier. Actually, heat builds up faster, drying the paint too quickly. If you roll back over paint that has started to tack up (dry), you create texture.
Step-by-Step Fix for Smooth Walls:
- Sand it down: You can’t paint over texture; you have to remove it. Use a pole sander so you aren’t nose-to-wall.
- Increase open time: Add a paint conditioner like Floetrol to your latex paint. It slows down drying, giving the paint time to level out (self-smooth).
- Load the roller: Most DIYers in small spaces try to stretch the paint too far to save money. Don’t starve the roller.
- Direction matters: Finish with long, vertical strokes from ceiling to floor.
Note: If you are calculating how much paint you need for this re-do, use our paint coverage calculation guide to stop guessing.
Adhesion Failures
Peeling is an adhesion failure, usually caused by moisture or dirty walls. Scrape away all loose paint until you hit a solid edge. Feather-sand the edges smooth. Clean the area with TSP (Trisodium Phosphate) substitute. Apply a bonding primer (like Kilz Adhesion or Zinsser Bulls Eye). Topcoat with a moisture-resistant semi-gloss or satin.
The “Kitchen Grease” Factor
In a tiny house layout, the kitchen is often the living room. Cooking oils vaporize and settle on walls 10 feet away. You might not see it, but water-based paint won’t stick to it.
The Process I Use:
- Test: Cut an X in the old paint and put tape over it. Rip the tape off. If paint comes with it, the underlying surface wasn’t prepped.
- Clean: This is non-negotiable in small spaces. I wash walls with a degreaser before even opening the paint can.
- Prime: Use a high-quality primer. For specific brand recommendations, read about primer applications suitable for tricky interiors.
For high-humidity zones like a wet bath, standard paint won’t cut it. You need to look into bathroom paint moisture solutions to prevent mold growth behind the film.
Mechanical Damage
Narrow spaces (under 36 inches wide) suffer from “shoulder rub” and furniture collisions. Flat or matte paints are disastrous here. Solution: Switch to high-quality matte (scuff-x technology) or satin finishes. To fix existing damage: Spackle deep chips, spot prime, and repaint the entire wall section for a seamless look.
Why Touch-Ups Fail
You cannot just dab a brush in the middle of a wall to cover a scuff. The fresh paint will have a different texture (stipple) than the rolled paint, and the color might have oxidized slightly.
The “Corner-to-Corner” Rule:
In a small apartment, your wall sections are likely small, maybe 8 feet wide. It is faster and looks better to just roll the entire wall section than to try and feather in a touch-up that will always look like a smudge.
If you are dealing with a hallway that feels like a cave, the right finish helps, but so does the color. Lighter colors show scuffs less than dark moody blues. See our breakdown of neutral paint colors for small apartments that hide wear and tear.
The “Bleed Through” Nightmare
If you are painting over a dark red wall in a rental or covering water stains:
- Standard Paint: Requires 4+ coats.
- High-Hiding Primer: Requires 1 coat primer + 2 coats paint.
Verdict: Always prime. It saves money on topcoat and reduces total thickness on the wall.
Painting Over Weird Surfaces
Tiny homes use creative materials. You might be painting over plywood, laminate, or even metal trim.
- Wood: Knots will bleed tannin (yellow stains) through latex paint. You must use a stain-blocking primer (often oil-based or shellac-based) on the knots first.
- Laminate/Plastic: If you are painting IKEA furniture or plastic wall panels to save space, adhesion is your enemy. You need a bonding primer.
- Learn More: We have a specific guide on painting specific surfaces that covers wood, metal, and plastic in detail.
Environmental & Health Concerns
In spaces under 500 sq ft, VOCs (Volatile Organic Compounds) concentrate at dangerous levels. “New paint smell” can cause headaches and nausea. Solution: Only use Zero-VOC or Low-VOC paints (GreenGuard Gold Certified). Ventilate with box fans pushing air OUT of a window, not just circulating it.
Health is a Safety Issue
I once painted a sleeping loft (maybe 4 feet of headroom) with standard oil-based primer. I had to evacuate the house for two days. The fumes had nowhere to go.
If you are living in the space while you paint it, common for tiny house dwellers, you cannot compromise on this. Check the can for “VOC < 5g/L”.
- Deep Dive: Read our full report on low voc paint tiny houses for safe brand lists.
- Prep Work: Proper paint preparation in a small apartment includes sealing off your sleeping area with plastic sheeting if you can’t leave the unit.
The Small Space Paint Checklist
| Problem | Likely Cause | The Fix | Est. Cost (DIY) |
| Peeling | Humidity/Moisture | Scrape, Sand, Moisture-Resistant Primer | $60 |
| Streaks | Low Paint/Fast Drying | Floetrol additive + Premium Roller | $25 |
| Scuffs | Wrong Sheen (Flat) | Repaint with Scuff-Resistant Satin | $50 |
| Mold | Poor Ventilation | Bleach clean + Mildewcide Paint | $55 |
| Odor | High VOCs | Zero-VOC paint + Exhaust Fans | $0 (choice) |
Fixing paint problems in a small space is less about the volume of work and more about the precision of the work. You don’t have the luxury of distance. Your walls are your roommates.
Don’t let a $50 gallon of bad paint ruin a $50,000 tiny house. Take the time to sand down those drips, prime that peeling bathroom ceiling, and invest in the paint finishes for small spaces that can actually handle your lifestyle.
- Walk your space with a flashlight. Highlight the flaws.
- Calculate your square footage (don’t forget the ceiling). Check out our paint budget cost analysis.
- Pick one wall. Fix it this weekend.
For more tips on optimizing your compact life, visit Veniola.com.

