
I remember the first time I tried to paint over a glossy, varnished built-in cabinet in a 200-square-foot tiny house. I skipped the sanding, used a cheap all-in-one paint, and felt pretty good about myself. Three weeks later, my cat jumped onto the shelf, and her claws peeled a 6-inch strip of paint right off like a fruit roll-up.
It was a disaster. But the bigger problem? The fumes from the oil-based primer I used to fix it lingered for days because I didn’t account for the tiny air volume of the home.
Yes, you can paint over protective coatings like polyurethane, varnish, and shellac without stripping them to raw wood. However, in small spaces, you must use a degreaser, a scuff-sand method (220-grit), and a high-adhesion bonding primer. Standard primers will fail.
If you live in a compact apartment or tiny house, painting over protective coatings isn’t just about aesthetics; it’s about chemistry and air quality. Here is how to cover those dated, shiny orange-wood surfaces without losing your security deposit or your lung capacity.
The Adhesion Problem in Small Spaces
Protective coatings are chemically designed to repel liquids. Standard paint cannot stick to them. To succeed, you need to create a mechanical bond (via scuff sanding) and a chemical bond (via a specialized bonding primer). In spaces under 600 sq ft, dust control and ventilation are your biggest logistical hurdles.
Most tiny homes and rental apartments are full of pre-finished materials. You’ll find clear coats on:
- Kitchen cabinets (usually polyurethane)
- Wall paneling (often lacquered)
- Built-in furniture (varnish or melamine)
In a large house, you might sand these down to raw wood. But in a 350 sq ft studio, generating that amount of dust is a nightmare. It coats your bed, your kitchen sponge, and your toothbrush.
The “Fingernail Test”
Before you buy a gallon of expensive primer, check the integrity of the existing coating. Press your fingernail firmly into the old varnish or clear coat.
- If it dents or peels: The old coating is failing. You must scrape it off.
- If it stays hard and clear: You are safe to clean and paint over it.
This saves you hours of labor. If the coating is intact, we are just using it as a base layer.
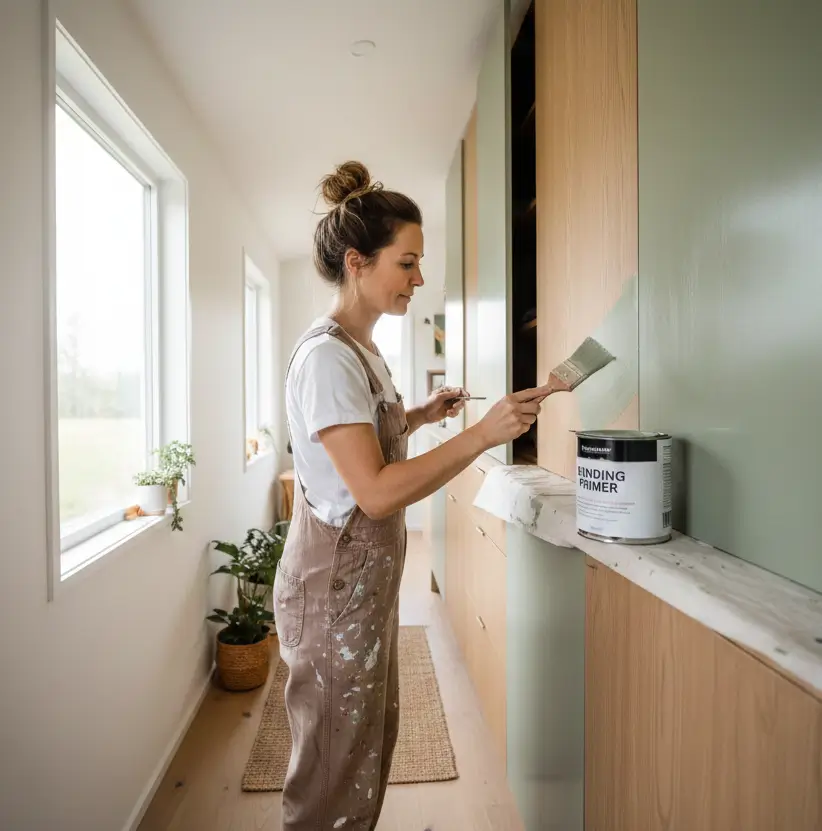
(Image #1 Prompt: Hero/Featured Image – Woman painting built-in cabinets)
The “Ventilation Math” for Small Interiors
A standard room has roughly 1,200 cubic feet of air. A tiny house might have less than 2,000 cubic feet total. When using solvent-based primers to cover coatings, VOC concentration spikes 3x faster in small dwellings. Always prioritize water-based bonding primers like UMA or Stix over shellac-based BIN when staying indoors.
I cannot stress this enough: fumes adhere to physics, not your schedule.
When you are painting inside a tiny house, you are working inside a sealed box. Many tutorials recommend shellac-based primers (like Zinsser BIN) for covering varnish because they stick to anything. They are amazing products. They also smell incredibly strong.
If you use a shellac-based primer in a loft bedroom with a low ceiling, you need active cross-ventilation.
My Safe-Air Setup
If you must use high-VOC products to cover a stubborn coating:
- Open two windows: Preferably on opposite sides of the tiny house.
- Box fan exhaust: Place a box fan in one window facing OUT. This pulls fumes out rather than just blowing them around.
- Respirator: Not a dust mask. A half-face respirator with organic vapor cartridges (usually pink/yellow).
For most of us, choosing a high-quality water-based bonding primer is the smarter move for low-VOC applications. It takes longer to cure, but you won’t get a headache.
Step-by-Step: The “Sandwich” Method
The process involves three distinct layers. 1. Degloss: Clean with TSP substitute and lightly scuff with 220-grit sandpaper. 2. Bond: Apply one coat of high-adhesion bonding primer. 3. Topcoat: Apply two coats of high-quality acrylic or urethane trim paint.
Here is exactly how I tackle painting furniture and shiny walls in tight quarters.
Step 1: Deep Clean (The Degrease)
Old polyurethane holds onto kitchen grease, especially in small layouts where the kitchen is 5 feet from the living area. Paint won’t stick to grease.
- Use: TSP Substitute or a strong degreaser (like Krud Kutter).
- Action: Scrub well. Rinse with clean water. Let dry completely.
Step 2: The “Dust-Less” Scuff
We aren’t removing the finish; we are just roughing it up.
- Tool: 220-grit sandpaper or a medium-grit sanding sponge.
- Technique: Rub all surfaces until they look “cloudy” or matte. You shouldn’t see raw wood.
- Small Space Tip: Keep a vacuum hose next to your sanding hand. It captures 90% of the dust before it settles on your tiny house kitchen fixtures.
Step 3: The Bonding Primer
This is the most critical $50 you will spend. Do not use “Paint and Primer in One.” It is a marketing lie when it comes to slick surfaces.
- Product: Look for labels that say “Bonding,” “High Adhesion,” or “Stick to Glossy Surfaces.”
- Application: Apply one thin coat. It will look streaky. That is okay. Its job is to bite into the old varnish, not to look pretty.
Step 4: The Top Coat
Once the primer has dried (check the can, usually 24 hours for water-based bonding primers to fully grip), apply your color. For cabinets and built-ins, I recommend a self-leveling enamel. It mimics that factory finish without spray equipment.
Choosing Your Weapon: Primer Comparison
For small spaces, Water-Based Bonding Primers (like INSL-X Stix) are best for occupied homes due to low odor, though they require 24-hour drying. Shellac-Based Primers (like Zinsser BIN) dry in 45 minutes and block tannins perfectly but require heavy ventilation and specialized cleanup (denatured alcohol).
Here is a breakdown based on my testing in a 400 sq ft renovation:
| Feature | Water-Based Bonding (e.g., Stix) | Shellac-Based (e.g., BIN) | Oil-Based (e.g., Cover Stain) |
| Odor Level | Low (Safe for occupied tiny homes) | Very High (Requires heavy venting) | High (Lingers for days) |
| Clean Up | Soap & Water | Ammonia or Denatured Alcohol | Mineral Spirits |
| Cure Time | Slow (3-4 days to scratch test) | Fast (1 hour) | Medium (24 hours) |
| Adhesion | Excellent | Superior | Very Good |
| Best For | Cabinets, Trim, Paneling | Knotty Pine, Tannin Bleed | Exterior or heavy damage |
If you are painting wood surfaces that are dark (like mahogany) and you want to go white, you might get “bleed through” where the wood color stains the paint. In that specific case, you might need the Shellac-based primer despite the smell. Just plan to sleep somewhere else that night.
Tiny House Specifics: Curing Time vs. Drying Time
This creates confusion for almost everyone.
- Drying Time: When you can touch it (usually 1-4 hours).
- Curing Time: When the paint reaches maximum hardness (usually 21-30 days).
In a tiny house, you are constantly touching surfaces. You brush against the wall to get to the bathroom; you lean on the counter to put on shoes.
If you paint over a protective coating and then immediately start using the space heavily, the paint will peel. It hasn’t fully bonded to that slick under-layer yet.
The Fix:
Treat your freshly painted surfaces like wet cement for the first week. Be gentle. If you are painting storage solutions or cabinets, leave the doors open and empty for at least 3 days. It feels like an eternity in a small space where clutter builds up fast, but it prevents the “sticky door” syndrome that peels paint right off the frame.
Troubleshooting Common Issues
Even with the best prep, things happen.
1. “Fish Eyes” (Craters in the paint)
This means there was silicone or wax on the surface (common if you used furniture polish like Pledge).
- Fix: Stop painting. Let it dry. Sand it back. You need a specialized “sealer” primer or a shellac base to lock that contamination in.
2. Scratches showing through
If you sanded too aggressively with rough paper (like 80 grit), those scratches will show through glossy paint.
- Fix: Use a high-build primer and sand gently with painting tools geared for finish work, specifically 320-grit sandpaper, before the final coat.
3. Paint feels sticky weeks later
This is “blocking.” It happens when you paint over a coating that wasn’t clean, or you put the second coat on before the first was dry.
- Fix: You can try dusting it with talcum powder as a temporary fix, but usually, this requires stripping and restarting. Avoid this by respecting dry times!
Why Refinishing Built-Ins Saves Space
In compact living, built-ins are gold. They are custom-fitted to the millimeter. Ripping out a varnished ugly cabinet to replace it with IKEA furniture often results in lost storage space because standard furniture rarely fits tiny house dimensions perfectly.
By mastering the art of painting over protective coatings, you preserve the custom fit of your furniture while updating the aesthetic. It is the most sustainable, budget-friendly renovation you can do.
Safety Checklist for Small Spaces
Before you pop that can lid:
- Check safety regulations regarding lead paint if your home was built before 1978. Clear coats can cover lead paint layers.
- Secure pets. Cats love wet paint surfaces.
- Cover the floor. In a tiny house, a spill in the kitchen is also a spill in the living room.
- Verify you have the right primer. If it doesn’t say “bonding,” put it back.
A Final Coat of Advice
Refinishing sleek, glossy surfaces in a small home intimidates people. We are terrified of the paint peeling off in sheets. But I have realized that 90% of success is just cleaning and that boring 20 minutes of scuff sanding.
You don’t need to strip it to bare wood. You just need to give the new paint something to hold onto.
- Do the fingernail test on your surface today.
- Get a quart of bonding primer (a quart covers roughly 100 sq ft, plenty for most tiny house projects).
- Scrub that surface down this weekend.
Don’t let the fear of shiny varnish keep you stuck with an interior you hate. With the right grip, you can paint over almost anything.

