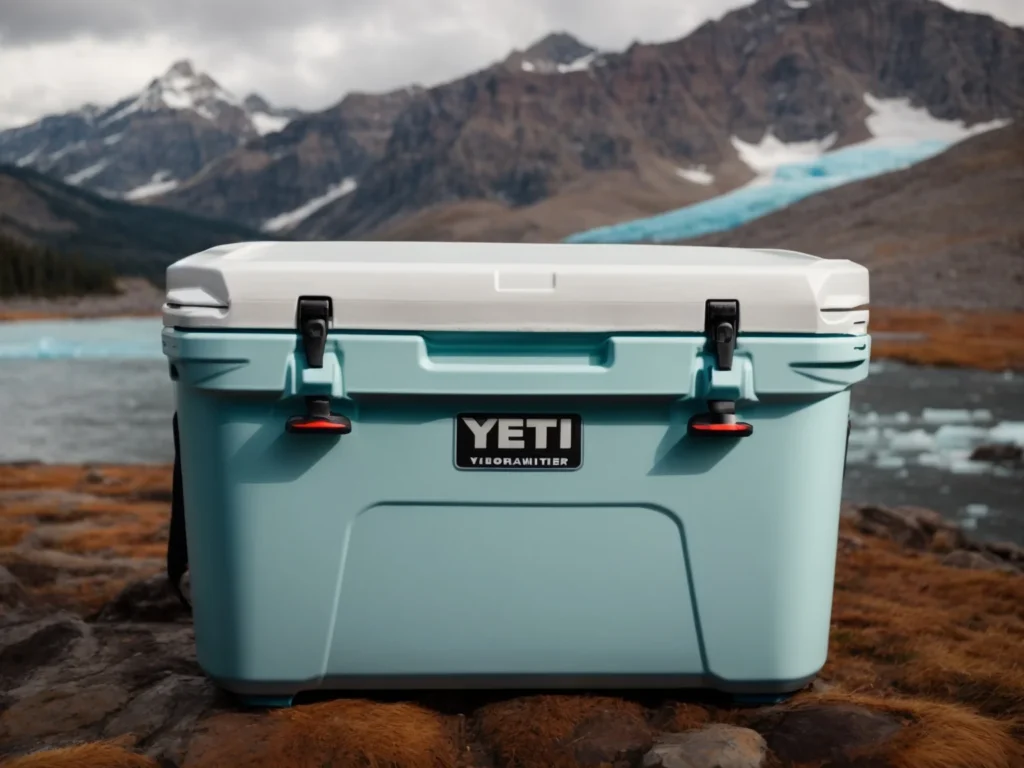
Yeti coolers are known for their durability and ability to keep ice frozen for days. The thick, high-density plastic shell is nearly indestructible. While Yeti’s offer great performance right out of the box, one way to make your Yeti truly unique is by custom painting it.

A custom paint job allows you to add your creative touch and flair. You can match your team colors, favorite hues, or make bold designs. With the right prep and paints, you can create a one-of-a-kind cooler that reflects your style.
Should You Paint Your Yeti?
Before starting any paint project, it’s smart to consider whether painting is the right choice. Here are some things to think about:
- Resale value – Painting voids Yeti’s warranty and may decrease resale value if you ever want to sell the cooler. The stock Yeti colors are most desirable for retaining maximum value.
- Permanent change – Painting a Yeti is a permanent change. Removing paint if you don’t like the results is difficult and requires repainting.
- Maintenance – The paint job will require maintenance and re-application over time to keep it looking good. The Yeti’s exterior endures a lot of wear.
- Time investment – Properly painting a Yeti takes careful prep work, patience, and potentially multiple coats of paint. Rushing the job risks poor adhesion and chipping.
If you’re set on creating a custom cooler and don’t mind the tradeoffs, painting can be a fun way to make it your own. Just know it takes some commitment to do it right. First timers should practice on smaller items before tackling a large Yeti.
Planning Your Paint Design
Once you decide to paint, think about the look and color scheme you want. Visualize how the finished Yeti will appear. Here are some popular paint ideas to consider:
- Team colors or logos
- Camouflage or military-inspired patterns
- Bright colors like a light blue or hot pink
- Outdoorsy scenes with landscapes or fish
- A solid color matching your boat, car, or gear
- Graphic shapes and geometric patterns
Measurement your cooler and sketch out some concepts to finalize the design. This helps plan the painting process. Gather reference images for any complex graphics.
For a truly custom look, consider adding text like your name, state, or a short phrase that personalizes the Yeti. Include any text in the initial design. Painted words look best when planned from the start versus added later.
Once you settle on a design, acquire all the necessary painting supplies before starting.
Choosing the Right Paint
The type of paint used is one of the most important considerations for achieving great results painting a Yeti. The dense plastic shell requires paints that adhere well and hold up to heavy use.
Here are the best options:
Plastic Spray Paint
Standard spray paint formulated specifically for plastics is the easiest route for painting a Yeti. Look for brands like Krylon Fusion or Rust-Oleum Universal that are made to bond to non-porous surfaces like plastics and metals.
The advantages of spray paint are that it goes on fast, requires less prep, and comes in virtually any color. The texture helps coat the Yeti’s bumpy surface. Multiple thin coats create a smooth, consistent finish.
On the downside, standard spray paint is less durable than automotive paints. It can scratch or chip more easily, especially with heavy use. This limits its longevity on a hard-working Yeti.
Automotive Paint
For the highest quality, most durable finish, consider using automotive paints on your Yeti. The same paints that give cars their flawless, glossy shine work great on coolers. Products from manufacturers like DuPont or SEM are ideal for plastic and metal.
The process takes more work, but automotive paint stands up better over time. Follow these basic steps:
- Primer coat
- Paint color coats
- Clear top coat
Multiple thin layers of each ensure proper coverage and performance. The result is a showroom-quality sheen that maintains its luster for years. The extra effort is worth it for maximum durability.
Hydrographic Film
Hydro dipping, or water transfer printing, is another technique to apply bold graphics and designs to a Yeti cooler. It uses hydrographic film printed with the desired pattern. When dipped in water, the film transfers the print onto the Yeti.
This achieves unique finishes like realistic woodgrain, fiery flaming patterns, or camouflage prints that seamlessly cover the entire cooler. Hydro dip film comes in many eye-catching styles.
The process requires a hydro dipping system using water tubs. Some local shops offer hydro dipping services for those who don’t want the investment of doing it themselves. When applied properly, the durable film holds up great on Yeti coolers.
Vinyl Wraps
For non-permanent paint options, custom vinyl wraps let you change the Yeti’s look without actually painting it. The printed vinyl sheets stick to the cooler’s surface to give it a fresh face lift.
Vinyl wraps are easily removed later for restoring the original Yeti finish. They allow for unlimited color and design options too. However, the vinyl material is less durable than actual paint. It also cannot mimic certain painted effects.
How to Prepare a Yeti Cooler for Painting
Before painting a Yeti, take steps to properly prepare the surface. Effective paint prep ensures better adhesion and overall results. Follow these key tips:
Clean the Surface
Start by cleaning the Yeti inside and out using isopropyl alcohol or a plastic cleaner. This removes dirt, grease, oil and other residue. Rough up any remaining gunk with non-abrasive scour pads.
Pay close attention to the base and corners where grime collects. A degreaser like Simple Green also helps for stubborn grime. Rinse the Yeti thoroughly after cleaning. Let it fully dry before painting.
Remove Accessories
Take off any removable parts like rubber feet, handles, or rope handles. Use a heat gun to soften the adhesive and slowly pry them off. Clean any remaining adhesive before painting.
Removing lids, drain plugs, and hardware allows for easier painting access and prevents getting paint on them. Use painter’s tape to cover any fixed parts you don’t want painted.
Sand the Plastic
Lightly roughen the exterior with 220 grit sandpaper. This helps “key” the surface so paint bonds better. Use a sanding sponge for hard to reach spots.
Avoid excessive sanding that may damage the plastic. The goal is just to scuff up the slick texture, not remove material. Wipe away any sanding residue when finished.
Apply Adhesion Promoter
After sanding, apply a plastic primer or adhesion promoter like Dupli-Color’s Adhesion Promoter for Plastic. Mist a light coat over the entire cooler and let it dry.
This extra step chemically etches the Yeti plastic to provide a tacky base the paint grabs onto. It maximizes paint adhesion for fewer chips and peels later on.
Mask Off Areas
Use painter’s tape to mask off any areas you want to protect from overspray. Cover rubber feet, latches, lid hinges, or edges that won’t get painted. Apply tape smoothly and firmly at the edges.
Newspaper or plastic sheeting also helps shield other areas from stray paint. Make sure the drain plug hole is plugged so no paint gets inside.
How to Paint a Yeti Cooler
Once prepped, you’re ready to apply paint. Work in a well-ventilated area and follow the product instructions. Here is the basic process:
Spray Painting
Spray painting is the easiest method for painting a Yeti:
- Shake the spray paint vigorously for at least 60 seconds before using.
- Mist on a light tack coat first as a base. Allow to dry at least 30 minutes.
- Apply multiple thin coats versus one thick coat, allowing proper drying time between coats. Thin coats help avoid drips and runs.
- Add coats until achieving the desired color depth and consistency. Expect to use at least 2-3 coats.
- Finish with a clear sealer for added protection. Allow to fully cure 48-72 hours before use.
Automotive Painting
Using automotive paint on a Yeti involves a few extra steps but provides the most durable finish:
- Apply 2-3 thin coats of plastic primer, allowing proper dry time between coats.
- Follow with 2-3 base color coats applied thinly and evenly.
- Finish with 3 coats of clear enamel top coat for gloss and protection.
- Allow the complete paint job to cure for at least 5-7 days before handling and use.
Hydro Dipping
Hydro dipping requires a water transfer printing system but creates seamless graphic finishes:
- Prep and clean the Yeti as usual. Apply a primer coat.
- Fill hydro dipping tank with water and add activator according to manufacturer’s instructions.
- Position Yeti cooler above the tank. Apply hydrographic film to the water’s surface, ink side down.
- Slowly lower Yeti into water until completely submerged. Leave fully immersed 30-60 seconds.
- Raise Yeti straight up and out of water. Film graphics will transfer to the cooler surface.
- Allow to dry 24 hours. Apply a clear sealer coat for added durability and shine.
- If any areas did not transfer properly, use spray paint to touch them up and blend with the graphics.
Vinyl Wrapping
Vinyl wraps adhere to the cooler’s exterior and can be removed later if desired:
- Thoroughly clean and dry Yeti surface first.
- Cut vinyl wrap pieces to size as needed. Apply transfer tape over the top of each.
- Remove liner backing and position vinyl on cooler surface, pressing down firmly.
- Use a squeegee to smooth out any air pockets or bumps underneath.
- Trim excess vinyl around corners, seams, and edges for a flush look.
- Take care not to overstretch or crease the vinyl during application.
Painting Yeti Cooler Lids, Handles & Accessories
Along with the main cooler body, you may want to paint matching components like the lid, handles, or feet:
Lids – Painting Yeti lids helps complete the custom look. Use long extension poles for spray paint nozzles to reach the underside. Tape off rubber gaskets to prevent paint buildup.
Handles – Remove rope handles before painting. Use painter’s tape to mask off areas on fixed side handles. Ensure paint coats any exposed metal parts prone to rust.
Feet – Remove non-slip rubber foot pads first. Clean adhesive residue before painting. Use a small foam brush to paint the attachments point areas.
Drain plug – Completely block the drain hole with painter’s tape to prevent paint intrusion or drips inside.
Badges – Determine if you’ll paint over or remove the Yeti logo badges. Heat helps soften the adhesive for removal if desired.
Achieving the Best Paint Results on a Yeti
Follow these tips to get a smooth, professional-looking painted finish on your Yeti:
- Maintain a 6-10 inch distance with spray cans for even coverage.
- Use multiple light coats, allowing proper drying between coats. This prevents drips and runs in the paint.
- Move spray can at moderate pace in straight, overlapping passes.
- If spraying indoors, ventilate the area well and wear a respirator mask.
- Add coats slowly to build up the depth and avoid paint build up in cracks.
- Use caution painting around plastic hinges, hardware, and joint lines.
- Allow paint to fully cure before handling. Drying time depends on humidity and paint type.
Proper surface prep, patience, and using quality paint designed for plastics are key for great results. Take your time and don’t rush the painting steps.
Painting Yeti Cooler Textures, Graphics & Finishing Touches
Along with solid colors, consider adding custom textures, graphics, or text when painting your Yeti:
Textured paint – For a rough, grippy feel, use textured spray paint like Rust-Oleum Grip in desired colors. Apply as a top coat after base painting.
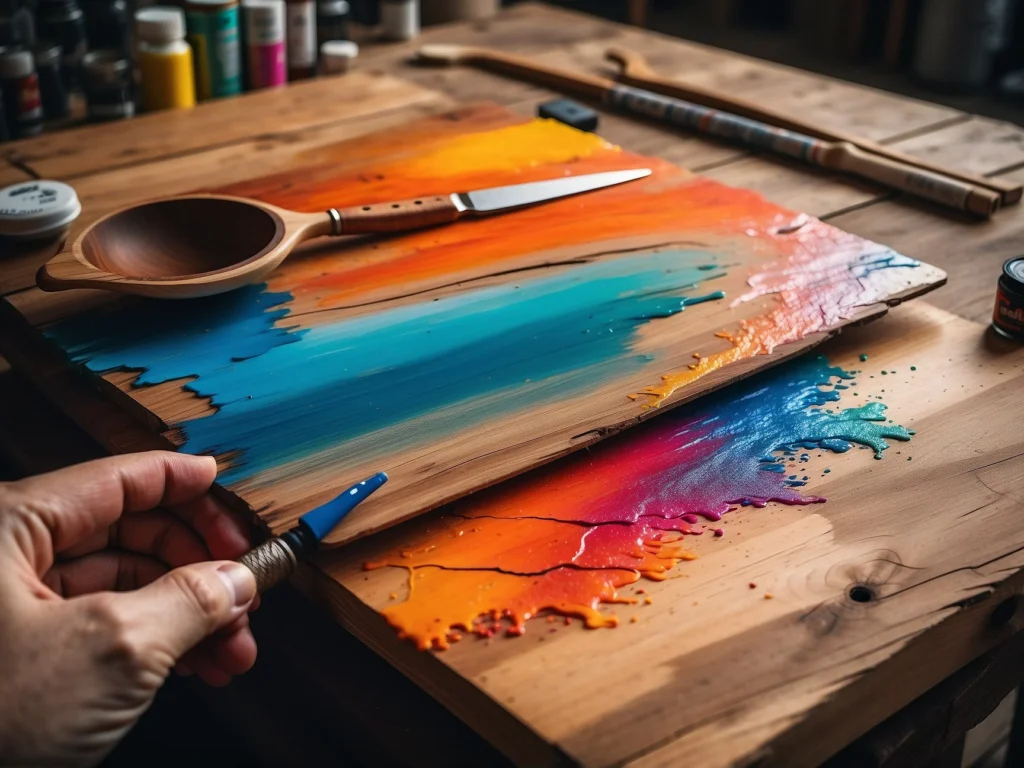
Paint pens – Hand paint smaller details like outlines, names, or designs using acrylic paint pens. Let base paint cure first before using pens.
Vinyl decals – Apply pre-made vinyl decals of numbers, logos or shapes. They add interest without requiring artistic skill.
Stencils – Use plastic stencils and spray paint to create complex designs like camo, tribal patterns, or stickers.
Clear coating – Finish with clear sealer to protect paint and graphics underneath. Gloss or matte finish is available.
Don’t forget the finishing details that give your painted Yeti that extra visual pop. Things like graphic accents, dual tone colors, outlined logos, or hand painted names help complete the custom look.
How Long Does the Paint Job Last?
On a properly prepped Yeti cooler, automotive paint can last for many years with proper care. It stands up well to outdoor conditions and friction. Expect to touch up some scuffs and scrapes periodically.
Standard spray paint may start showing chips and fading sooner – usually after 1-2 seasons of use. Adding a clear top coat helps extend the life. Outdoor conditions also impact longevity.
To maximize durability:
- Allow paint to fully cure before use
- Handle cooler gently to avoid scratches
- Routinely wash with mild soap and water
- Avoid using abrasive cleaners or scouring pads
- Store indoors or with a cover when not in use
- Spot touch up paint chips quickly to prevent additional peeling
No paint will look pristine forever with heavy use. But proper care keeps your custom Yeti looking great for as long as possible.
Removing Paint from a Yeti Cooler
If you ever want to take the Yeti back to its original look, paint removal is required. This typically involves sanding or using chemical paint stripper:
Sanding – For small areas or light paint jobs, use 220 grit sandpaper to sand down to the bare plastic. Avoid excess friction heat.
Chemical stripper – Apply a paint removing gel like StripEez to deep paint layers. Let it sit 15 minutes then scrape off with a putty knife. Use proper ventilation.
Pressure washer – For partial removal, a pressure washer can blast off some top layers of paint. Won’t remove down the to plastic.
Abrasive discs – An angle grinder with a plastic grinding disc takes off paint quickly. Use caution not to grind too deep and damage the Yeti shell.
Paint stripping is messy, time consuming work. Removing every trace of paint to get back to the raw plastic surface often proves difficult. It may still show signs of the original paint job.
Common Questions About Painting Yeti Coolers
Here are answers to some frequently asked questions about custom painting a Yeti:
Does painting a Yeti void the warranty?
Yes, any modification to the original powder coated surface voids Yeti’s warranty. Painting counts as a modification, so you lose the Yeti warranty by painting one.
What about the durability of a painted Yeti?
When properly painted with automotive paint, durability is still excellent. The plastic remains just as tough and impact resistant. The paint itself is vulnerable to scratching and wear over time.
Can you use a brush instead of spray paint?
Yes, but brush painting takes longer and risks visible brush strokes. Spray painting yields the smoothest finish on a Yeti. Always use paints designed for plastic when brushing.
How do you paint rubber feet or latches?
It’s best to remove rubber pieces first for painting. Clean adhesive and use a small detail paint brush for the attachment points still on the cooler.
What about painting the Yeti logo?
You can paint over the logo, but it often shows faintly underneath lighter colors. Heating it up helps remove the badge if you don’t want it showing at all.
How long does it take paint to fully cure?
Cure times vary based on humidity, paint types, and layers applied. In general expect at least 24-48 hours for standard spray paint to cure before light use. 5-7 days is best for automotive paint curing.
Final Thought
Painting your Yeti cooler is an enjoyable way to make it uniquely yours. With the right techniques and preparation, you can end up with a radically cool Yeti that stands out anywhere you roll it. Just take the process step-by-step for pro-level paint jobs. Your personalized Yeti will be the talk of the tailgate!


