Kitchen appliances like microwaves can take a beating over the years. Grease splatters, food stains, and general wear and tear can make your microwave look dingy and outdated. Replacing it with a brand-new model can be expensive. Fortunately, there’s an easy and budget-friendly way to give your old microwave a fresh, updated look – paint!

With the right kinds of heat-resistant paint and some simple preparation, you can spray paint the exterior and even paint the interior of your microwave. A new coat of paint allows you to change the color, hide unsightly stains, or give it a cool custom look for a fraction of the cost of buying a new one.
Benefits of Painting Your Microwave
- Cost-effective – Much cheaper than replacing the microwave
- Quick and easy upgrade – Makes the microwave look like new
- Customizable – Choose any color or design that fits your style
- Hide stains/damage – Conceal scuffs, food splatters, etc.
- Have fun! – Turn a boring appliance into a decorative showpiece
Painting the interior and exterior of a microwave is a relatively easy DIY project that produces amazing results. With a little time, elbow grease, and appliance-safe paint, you can give your microwave a whole new life and customize it to match your kitchen. Keep reading to learn everything you need to know to get started.
Choosing the Right Paint for a Microwave
To ensure safety and get the best results when painting a microwave, it’s crucial to choose a paint designed to withstand high heat. Regular paint can bubble, crack, or burn at the interior temperatures microwaves reach. Instead, opt for one of these heat-resistant options:
High Heat/Appliance Spray Paint
This specially-formulated spray paint is made to bond properly and not degrade under high temperatures. Leading brands like Rust-Oleum and Krylon offer appliance paints in various colors and finishes. Ensure the label specifies “high heat” and confirms it is safe for microwaves and other appliances.
High heat spray paint works very well for painting the exterior of a microwave and provides even coverage. Most brands can resist temperatures up to 500°F or higher. Before using the microwave, give the spray paint time to cure and off-gas any fumes fully.
Microwave Cavity Paint
To coat the microwave’s interior, look for an appliance epoxy enamel marketed as “microwave cavity paint.” This heat-resistant paint goes on with a brush and is tough enough to handle the highest oven temperatures without chipping, peeling, or burning.
Rust-Oleum Appliance Epoxy is one of the leading brands of microwave-safe cavity paint available at hardware stores. VHT and Stove Bright also make similar high heat enamel paints designed specifically for ovens, microwaves, grills, and interiors.
Heat-Resistant Brush-On Paint
Some general heat-resistant paints made for barbeques, fireplaces, engines, etc. can also work for microwave exteriors and interiors as long as they state “high heat” on the label and are approved for microwave use. Apply multiple thin coats by brush and allow thorough drying between coats.
No matter which paint you choose, be sure it is rated for high heat and approved for microwave use. This ensures safety and prevents the paint from cracking, peeling, or giving off any harmful fumes when subjected to microwave temperatures.
How to Prepare a Microwave for Painting
Proper prep work before painting ensures the paint adheres well and provides a smooth, lasting finish. Here is an overview of how to get a microwave ready for a fresh coat of paint:
Clean Surface
For good paint adhesion, start by cleaning the entire surface thoroughly. Use a degreasing cleaner, dish soap, and hot water to remove built-up grease, food residues, grime, etc. Rinse and let dry fully.
Lightly Sand
Gently sanding helps rough up the surface for better paint bonding. Use fine sandpaper to lightly scuff the exterior and interior surfaces. Wipe away any dust with a tack cloth.
Remove Parts
On some microwave models, you may want to remove parts like the turntable, racks, light covers, etc. to make painting easier. Consult the owner’s manual for specifics on removing any detachable pieces.
Mask Areas
Use painter’s tape, plastic sheeting, or foil to mask any areas you don’t want painted, like the window trim, vent holes, brand nameplate, etc. This keeps paint off of those sections.
Apply Primer
(Optional) While specialty paints bond well directly to clean metal and plastic, applying a coat of primer first can improve adherence. Use high heat primer made for appliances. Let dry thoroughly before painting.
Once prepped, the microwave is ready for painting. Be sure to work in a well-ventilated area and take precautions against inhaling spray paint fumes. Now let’s look at how to apply the paint.
How to Paint a Microwave Interior
Painting the inside of the microwave cavity allows you to coat over stains, rust spots, and chipping paint for a fresh new look. You can safely paint the interior with the right materials and technique without affecting the microwave’s heating function. Here are some tips:
Supplies Needed
- High heat microwave cavity paint
- Disposable paint brushes
- Painters tape
- Tack cloth
- Paper towels, rags
Painting Steps
- Remove turntable, racks, etc. if possible
- Clean cavity thoroughly with degreaser or soap and water
- Lightly sand interior walls and ceiling
- Tape off any areas not being painted
- Use a brush to apply a thin, even layer of microwave enamel paint over all interior surfaces
- Allow paint to dry completely according to label directions, about 3-7 days
- Apply second coat for good coverage and even color
- optionally apply a third coat for a smooth finish
- Reinstall turntable, racks, etc. once paint has fully cured
- Remove any painters tape and reassemble microwave
- Run the microwave empty for 5-10 minutes to heat cure paint before using
Using thin coats prevents dripping and allows the specialized paint to cure properly between layers. Take your time to get full coverage. Once done, the painted interior will stand up to anything your microwave dishes out!
How to Spray Paint a Microwave Exterior
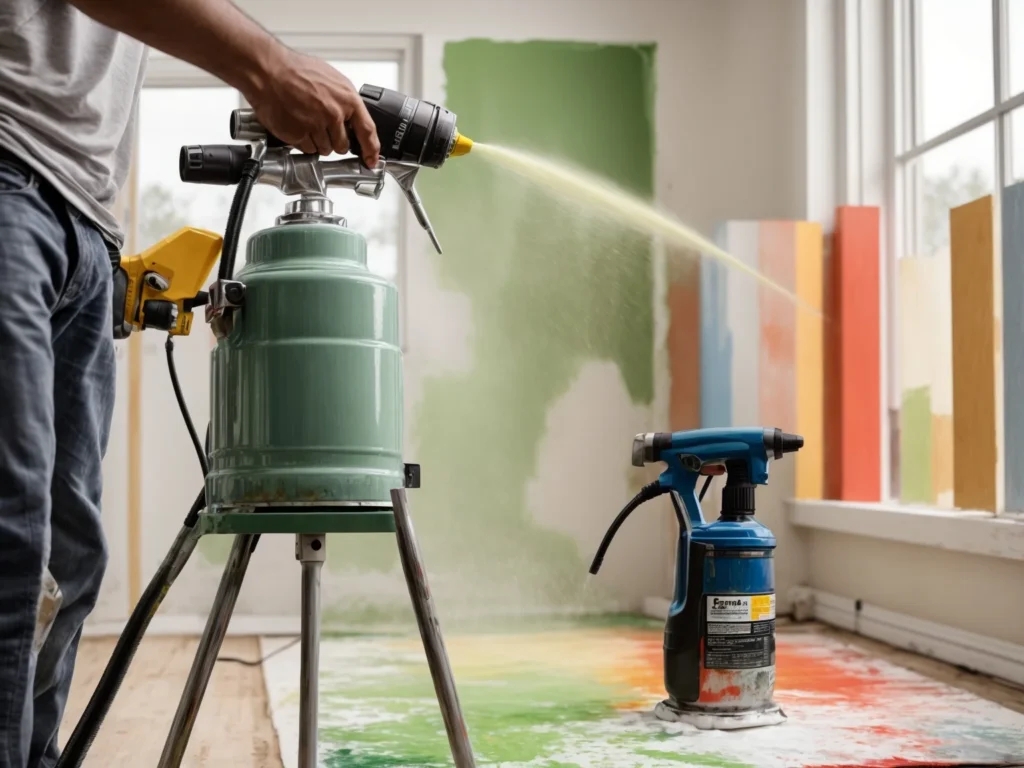
For big visual impact with minimal effort, spray painting the outer housing of a microwave can completely transform its look. Appliance spray paint provides great coverage on the metal and plastic exterior. Here are some tips for flawless results:
Supplies Needed
- High heat appliance spray paint, multiple cans
- Painters tape
- Plastic sheeting
- Sandpaper
- Tack cloth, paper towels
Spray Painting Steps
- Disassemble any removable parts like handles or the door
- Clean exterior with degreaser and sand lightly
- Mask off any areas not being painted
- Shake spray paint can vigorously for 2-3 minutes
- Apply paint in thin coats using sweeping motions about 8-10 inches from the surface
- Let dry 15-20 minutes between coats
- Build up 2-3 coats for full coverage, letting each coat fully dry
- Remove masking and reassemble any parts once paint has cured 24 hours
- Heat cure the paint by running microwave empty for 5-10 minutes before use
Avoid painting in humid, cool, or dusty conditions. Use smooth motions and light coats for an even finish. Proper prep and application make the painted exterior look fantastic for years!
Painting Microwave Parts
In addition to the main interior cavity and outer housing, consider painting these microwave parts to coordinate everything with your fresh paint job:
- Door – Clean, sand, and use spray paint made for appliances. Allow proper drying time before reattaching.
- Vent Grille – Remove and paint separately for easy access. Use painter’s tape to mask off vent holes.
- Turntable – Sand and clean before applying spray paint with thin, even coats.
- Handles & Knobs – Spray paint provides great coverage on handles, knobs, trim, etc.
- Control Panel – Use small paint brushes and tape off buttons to avoid getting paint on electrical components.
Painting the individual detachable parts makes it much easier to get full coverage rather than trying to paint around them. Just be cautious when removing any electrical components.
Microwave Painting Tips & Precautions
To ensure a safe, successful DIY paint job on your microwave, keep these important tips in mind:
- Only use high heat appliance paint or epoxy enamel formulated specifically for microwaves. Never use regular craft paint.
- When spray painting, work in a well-ventilated area and avoid inhaling fumes. Wear a respirator mask.
- Before painting the interior, remove any loose paint with sandpaper or a scraper. This helps the new paint adhere properly.
- Test specialty paints on a small, inconspicuous area before painting the entire microwave to ensure compatibility with the surface.
- Allow sufficient drying time between coats. Rushing the process can cause paint bubbles, drips, and improper curing.
- Once paint is fully cured, run the microwave empty for 5-10 minutes to “heat-test” the paint and release any odors or fumes.
- When spray painting the exterior, position the microwave on cardboard or scrap material to catch any drips.
- Keep children and pets away from the area during prep work and painting to avoid exposure to fumes.
- After painting, wash brushes, rollers, and any paint equipment with soap and water rather than solvents.
- Wash the microwave interior by hand rather than using harsh cleaners to extend the paint job’s life. Use non-abrasive scrub pads.
- Avoid gently chipping the paint when inserting food dishes and turntable into the freshly painted interior.
- Apply an appliance-safe clear coat spray over the fully cured high heat paint for a glossy finish.
- If attempting to paint over a stainless steel microwave, apply a bonding primer formulated for metal and appliances.
- Try using textured spray paint formulated for high heat applications after proper prep work for a textured finish.
Final Thought
With the right paint products and safe application methods, you can give your microwave a brand-new look and match your updated kitchen decor. Just be cautious and patient to achieve the best results safely. What was once an outdated eyesore can become a gorgeous, customized appliance.


