
Adding color and creativity to ordinary light bulbs is easier than you think. With some Sharpies and a little imagination, you can make custom lamp shades, fun decorations, and unique lighting for any room.
Using Sharpies on Light Bulbs
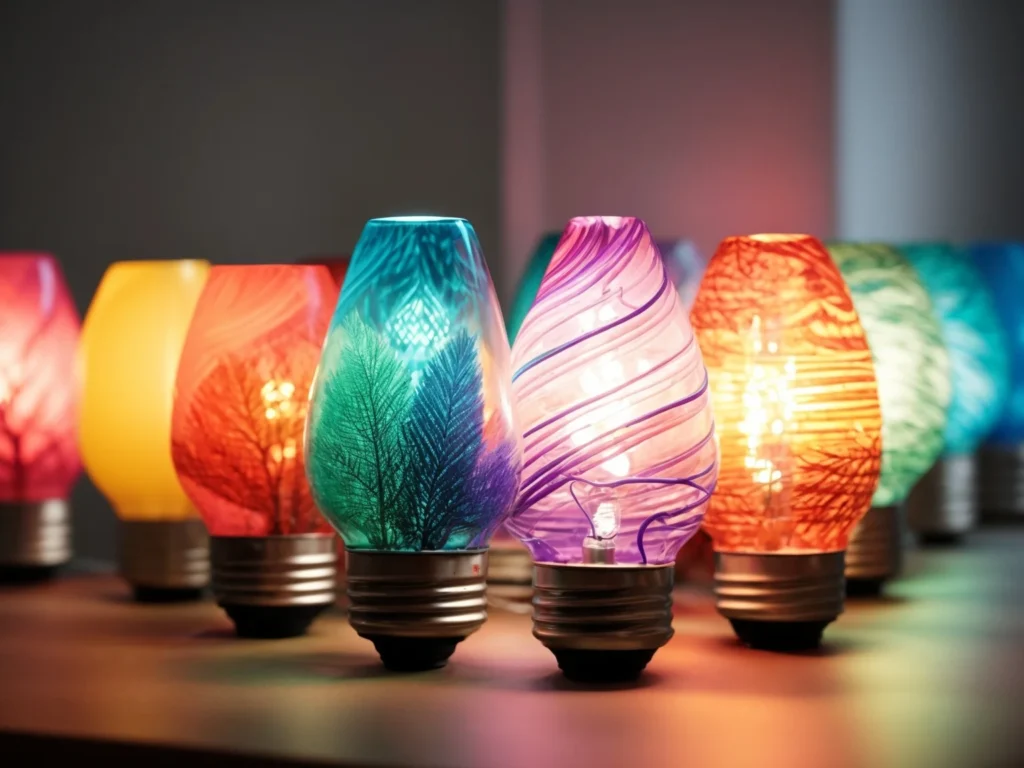
Sharpies and other oil-based permanent markers are perfect for temporarily coloring and decorating all kinds of light bulbs. The ink adheres well to glass surfaces, allowing you to draw designs, patterns, and illustrations or tint the entire bulb.
Unlike many types of paints and coatings, Sharpies are safe for use on all light bulb varieties – LED, incandescent, CFL, halogen, etc. The marker ink won’t crack or peel from bulbs’ heat. This makes Sharpies an ideal option for jazzing up any kind of bulb.

The bulb can be turned on safely once the Sharpie ink is fully dry. The heat will not cause smearing or any other issues. The colors also remain vibrant. While not as durable as paint, Sharpie designs last through many bulb uses before fading.
Sharpies give you the flexibility to customize lights on a whim. Don’t like your design? Simply use a dry erase marker to wipe off the Sharpie ink. The bulb can then be recolored and redesigned as often as desired. No chemicals or mess to deal with.
Supplies Needed for Coloring Bulbs with Sharpies
Customizing light bulbs with Sharpies doesn’t require many supplies. Here are the basics you’ll need:
- Sharpies – The markers come in tons of colors from vibrant neons to subdued metallics. Have fun picking a palette! Oil-based Sharpies work best.
- Light bulbs – Incandescent, LED, CFL, halogen, or other types. Choose clear bulbs or colored ones to enhance.
- Painter’s tape – To mask off the metal base and threads.
- Q-tips – For wiping away mistakes and shaping finer details.
- Clear acrylic sealer (optional) – Helps set the designs and prevent fading/scratching.
- Dropsheet or newspaper – Protects your workspace from ink spills and drips.
Once you have your supplies, make sure to work in a well-ventilated spot. Have a seat and get comfortable! Coloring light bulbs takes a steady hand. Now let your creativity shine.
Design Tips, Tricks, and Techniques
Follow these tips to create eye-catching Sharpie designs on bulbs:
- Bold, simple designs show up best. Avoid tiny details and intricate patterns. Let the bold colors do the work.
- Use painter’s tape to mask off the metal base and threads. This keeps them neat and clean.
- Work in sections for easier handling. Hold the bulb by the taped base as you color a portion.
- Try different directions – vertical stripes, diagonal lines, swirls, etc. Change up the angles.
- Overlap colors for a bolder, blended effect. The markers allow for layering.
- Use white last to make designs pop. Add highlights, stars, squiggles, etc.
- Let ink dry fully before turning the bulb on. Otherwise, the heat can cause smearing.
- Correct mistakes with a dry erase marker. Wipe away the Sharpie, then redo.
Simple shapes, patterns, and colorful designs best make a statement. Now let’s explore some specific ways to decorate bulbs with Sharpies.
Seasonal and Holiday Ideas
Changing up your lighting is an easy way to decorate for holidays and seasons. Here are festive ways to use Sharpies on bulbs:
Christmas – Go classic with red and green stripes or squiggled lines. Add mini Christmas trees, stars, holly leaves, snowflakes.
Halloween – Make jack-o-lantern faces, spiders, bats, or haunted house scenes. Orange and purple colors set the mood.
Thanksgiving – Draw turkeys, autumn leaves, mini pumpkins, or ears of corn. Rich harvest colors like brown, orange, yellow, and red.
St. Patrick’s Day – Show your Irish spirit with green shamrocks, harps, or rainbows. Use glitter Sharpies for extra luck.
Valentine’s Day – Hearts, cupids, and red and pink stripes or zigzags celebrate the love. Metallic red and pink really shine.
4th of July – Cover bulbs with stars, red stripes, fireworks, and sparkle effects. Layer bright red, white, and blue.
Fall – Warm up any room with autumn leaves, acorns, and berries. Go for yellows, oranges, reds, and browns.
Spring – Welcome the season with tulips, daffodils, butterflies, and birds. Pastels like pink, yellow, and robin’s egg blue.
Let your creativity run wild with colors and symbols that represent each holiday. Mix patterns and themes across two or three bulbs for a coordinated display.
Kids & Nursery Design Ideas
Sharpie light bulbs are perfect for brightening up kids’ spaces. Here are some ideas:
- Their names in fun bubble letters
- Rainbows, clouds, suns, stars
- Animals – elephants, giraffes, pandas
- Cars, trucks, planes, or trains
- Princess crowns, superhero symbols
- Music notes and instruments
- Sports balls – soccer, football, etc.
- Cute monsters or animals
- Nursery rhyme characters
- Unicorns, dragons, or mermaids
Use bright, playful colors and Whirlybird Sharpies to blend and shade. Create a set of coordinating bulbs for a fun custom lamp. The options for kids’ designs are endless!
Home Décor and Display Ideas
Beyond kids’ rooms, painted bulbs can spruce up any space:
Patio string lights – Tint bulbs blue and green for an ocean or Monet garden effect.
Table lamps – Color coordinate with room accents. Or make each bulb unique for eclectic charm.
Night lights – Soothing tones like light blue or lavender set a relaxed mood.
Accent lamps – Spotlight special artifacts, photos, or art pieces with a related theme.
DIY chandeliers – Design a pattern across multiple hanging bulbs. Use glitter or metallics for shine.
Centerpieces – Group assorted colored and designed bulbs in a glass bowl or tray for instant art.
Backyard parties – Hang colored bulbs or write names/messages for fun ambience.
Windowsills – Line up a rainbow, polka dots, flowers, or swirls for a pop of color.
Wherever you need a little splash of color or custom flair, Sharpie bulbs do the job. They make great gifts too!
Sports Team & Pride Designs
Show your team spirit or pride with decorated lights. Here are some ideas:
- Team names, mascots, or logos
- Jersey numbers of favorite players
- Football laces, basketball textures
- Your name as a “jersey”
- Sports ball patterns – soccer, tennis, etc.
- School colors and themes
- Rainbow stripes for LGBTQ+ pride
- Pink breast cancer awareness ribbons
- Puzzle pieces and awareness colors for autism
Many causes and organizations have signature colors. Research what they represent to decorate your bulbs meaningfully.
Patterns, Shapes, and Abstract Designs
For artistic flair, try these graphic looks:
- Polka dots
- Chevron or diagonal stripes
- Zigzags
- Waves, loops, and swirls
- Geometric shapes – circles, squares, triangles, diamonds, etc.
- Interlocking lines
- Ombré fades from dark to light
- Moroccan-inspired motifs
- Flower of life or mandala patterns
- Drips and splatters
- Random abstract shapes and squiggles
Layer colors and blend edges with a Whirlybird Sharpie for a stained glass effect. Get creative with patterns that please your eye.
Using Colored Bulbs for Enhanced Effects
Starting with a colored bulb provides an instant background. Then add accents and details:
- Red bulbs – White hearts, squiggles, or polka dots
- Orange bulbs – Black bats, cats, or spider webs
- Yellow bulbs – Purple stars, sunbursts, lightning bolts
- Green bulbs – Pink or blue flowers and butterflies
- Blue bulbs – White clouds, raindrops, snowflakes
Nature Themes and Tropical Designs
Bring the outdoors in with these natural motifs:
- Pine trees, leaves, ferns, or succulents
- Exotic flowers – hibiscus, orchids, bird of paradise
- Pineapples, fruit slices, or coconuts
- Animal prints – zebra, leopard, giraffe
- Tropical fish, sea turtles, or seashells
- Jungle vines, monkeys, parrots, or frogs
- Cacti, southwestern patterns
- Forest landscapes with mountains
- Ocean waves, seahorses, starfish
Use shades of green, blue, brown, orange, and yellow to create organic effects.
Pop Culture, Music, & Movies
Show off your fandom with pop culture designs:
- Song lyrics
- Band logos and symbols
- Movie characters – Harry Potter, Star Wars, etc.
- TV show themes – Friends, Seinfeld, cartoons
- Comic book pows, booms, and graphics
- Celeb faces – Monroe, Elvis, Marilyn
- Gamer references – Pacman, Mario, Minecraft
- Disney castles, characters, themes
- Anime – Pokemon, Studio Ghibli
Use retro color palettes and fonts to match the era.
Inspiring Quotes and Affirmations
Spread positivity with motivational messages:
- Short inspiring phrases – “Be Kind”, “Joy”, “Create”
- Uplifting mantras – “She Believed She Could So She Did”
- Gratitude expressions – “Thankful”, “Bless This Mess”
- Bold affirmations – “I Am Enough”
- Quotes from luminaries – Gandhi, Rumi, MLK
- Song lyrics with meaning
Use swirls, borders, and decor to frame the sentiments.
Etched and Stenciled Looks
Try these techniques for added texture:
- Use a needle or pin to etch fine lines and patterns.
- Cut shapes from adhesive vinyl or paper to create stencils.
- Use cardstock or plastic stencils for replicable designs.
- Cut simple shapes – circles, stars, triangles, hearts.
- Experiment with doilies and lace for elegant effects.
- Try alphabet or number stencils.
- Use a highlighting technique to make etched designs pop.
The etched look adds artistic flair. Stencils streamline repeated patterns.
Sealing and Protecting Your Sharpie Creations
While Sharpie ink adheres well to glass, taking a few extra steps helps safeguard your efforts:
- Let the ink cure fully – 24-48 hours is best before lighting up.
- Apply a clear acrylic sealer like Mod Podge over the designs.
- Add multiple coats for durability, letting dry between layers.
- Avoid cheap hairspray seals – they can react with the ink.
- For bulbs outdoors, seal well and check for fading over time.
- Reapply sealer whenever you notice wear and fading.
Sealing the colors helps prevent scratches, smudges, and fading from heat and light exposure. With TLC, your designs can shine indefinitely!
Maintaining Your Sharpie Light Bulbs
To keep your colored bulbs looking their best:
- Handle gently to prevent scratching. Bulbs are fragile.
- Check electrical fittings for looseness. Tape helps avoid wear.
- Dust carefully using a microfiber cloth or feather duster.
- Wipe with isopropyl alcohol if needed to clean ink smears or dirt buildup.
- Avoid moisture and steam – don’t use bulbs in wet areas.
- Periodically inspect for fading or wear and touch up or reseal as needed.
- When removing bulbs, twist by the base instead of the glass to avoid smudging.
With minimal effort, your customized bulbs can provide beautiful lighting for years before needing refreshed. Enjoy your handiwork!
Inspiring Ideas and Next Level Designs
Colored bulbs aren’t just for kids’ rooms and holidays! With imagination, Sharpies can transform lighting into true works of art. Here are some advanced techniques and ideas:
Turn Bulbs into Sculptures
- Glue colored bulbs together into geometric or abstract shapes.
- Affix bulbs to box frames or wood bases for modern sculpture lamps.
- Group different colored and patterned bulbs for interest.
- Add accents like beads, gems, or mini figurines.
- Wire or hang bulbs at varying heights for cascading effects.
Use Mirrors and Reflectors
- Place bulbs inside wire mesh spheres or cages to magnify the designs.
- Angle bulbs toward mirrors to reflect and amplify the colors.
- Suspend bulbs over metal cookie sheets or colorful acrylics to catch the light.
- Experiment with bulbs in glass vases, tubes, and bottles.
Make Them Move
- Suspend bulbs from fishing line to create a dangling mobile.
- Mount individual bulbs on small motors to make them slowly spin.
- Group assorted spinning bulbs for psychedelic ambience.
Take Bulbs Outdoors
- Hang bulbs from tree branches or the eaves of a patio.
- Line a garden path or fence with colored bulbs.
- Place bulbs in glass jars or bottles for tabletop accents.
- Tuck bulbs into flower beds or line a driveway.
With clever arrangements and some engineering, you can really showcase painted bulbs as the works of art they are. Let your inner sculptor shine!
Fun for All Ages – Customize Your Lighting with Sharpies
What will you create? Now that you’re filled with ideas and techniques, have fun decorating light bulbs with Sharpies. Let your personality and style shine through with colors and designs that make you smile.
Sharpie bulbs make great gifts and allow kids of all ages to add flair to their rooms. You can quickly change up lighting for any season or occasion with just a few simple supplies.
Beyond decorations, customized bulbs show you can transform even the ordinary into something creative. So gather some Sharpies, turn up your favorite tunes, and let the inspiration flow. Your hand-painted bulbs will brighten any room with their joyful glow. Dazzle on!

