Mod Podge is a popular decoupage medium used by crafters and DIY enthusiasts to adhere paper, fabric, and other embellishments to a variety of surfaces. But did you know that you can also paint over cured Mod Podge? With proper preparation and technique, acrylic paint can adhere beautifully to a Mod Podge surface. In this complete guide, we will cover everything you need to know about painting over Mod Podge.
Key Takeaways
- Allow Mod Podge to fully cure before painting – up to 2 weeks is best for proper adhesion.
- Lightly sanding gives the paint something to grip. Wipe away dust first.
- Acrylic craft paints designed for the surface provide the best adhesion.
- Apply acrylics in thin, even coats. Thick paint may crack or peel.
- Paint pens and markers work beautifully to embellish cured Mod Podge.
- Oil and enamel paints require a primer first for best results.
- Spray paints should be acrylic-based for compatibility with Mod Podge.
- Take care not to overwork acrylic paint over Mod Podge to avoid lifting the layer underneath.
With the right preparation and paints, Mod Podge and acrylics work together in perfect harmony. Create dazzling mixed media masterpieces by painting over Mod Podge!
An Introduction to Mod Podge
Before we dive into painting techniques, let’s start with an overview of what exactly Mod Podge is and how it works.
Mod Podge is a brand name for a line of decoupage mediums and adhesives. The original Mod Podge formula was developed in the 1960s as a versatile craft glue. Since then, the Mod Podge brand has expanded to offer a variety of finishes and formulas for different decoupage applications.
At its core, Mod Podge is an acrylic polymer emulsion. This means it uses acrylic compounds suspended in a water-based solution. When Mod Podge dries, the acrylic polymers form a flexible plastic film that adheres firmly to surfaces.
Mod Podge dries clear and can be used in both indoor and outdoor projects. It is non-toxic when dry and cleans up with soap and water.
There are several different types of Mod Podge finishes:
- Matte – This is the classic Mod Podge formula with a smooth matte finish. It’s ideal for decoupaging paper onto craft projects.
- Gloss – The gloss formula has a shiny finish good for creating decoupaged glassware or outdoor projects.
- Satin – Satin Mod Podge provides a soft sheen between matte and gloss. It’s great for photos and mixed media collages.
- Outdoor – This extra durable outdoor formula is waterproof and weather resistant when dry.
- Dimensional Magic – Not technically a decoupage medium, this specialty resin-based formula creates textured dimensional surfaces.
No matter the finish, the main purpose of Mod Podge is to adhere layers of material together in collage-style projects. It also serves as a sealant to protect the finished piece.
Now that we understand the basics of Mod Podge, let’s look at how we can paint over it after it has dried on a project.
Preparing Mod Podged Surfaces for Painting
Before painting over Mod Podge, it’s important to ensure the surface is properly prepared. This will help the paint adhere smoothly and evenly.
The most vital factor is making sure the Mod Podge layer is completely cured and dry before painting. The length of drying time needed depends on factors like temperature, humidity, and thickness of the Mod Podge layer.
Here are some general guidelines for dry times:
- Between coats of Mod Podge, allow 20-30 minutes of drying time.
- Allow Mod Podged surfaces to dry for 24-48 hours before painting.
- For best results, let Mod Podge cure for 1-2 weeks before painting over it.
- Dimensional Magic takes the longest to fully cure, up to 8 weeks, due to its thicker resin formula.
Once the Mod Podge is completely dry, you can prepare the surface further by lightly sanding it. Use fine grit sandpaper (220 grit or higher) and a very gentle touch. This helps roughen the surface for improved paint adhesion.
Be sure to wipe away any dust after sanding before applying paint. It’s also a good idea to test the paint on a small hidden area first to ensure compatibility.
Okay, now we’re ready to choose the right type of paint!
Choosing Paints for Use Over Mod Podge
When selecting paint for a Mod Podged surface, acrylic paints are the best choice. Here’s an overview of which paint types work well over Mod Podge, and which ones to potentially avoid:
Acrylic Paint
Acrylic paint is highly compatible with Mod Podge. Since Mod Podge is an acrylic-based polymer, acrylic paint bonds well to the cured film. The colors will adhere smoothly and integrate into the piece.
Any high quality craft acrylic paint designed for decorating wood, glass, ceramics, fabric, etc can be used successfully over Mod Podge. Brands like Liquitex, Craft Smart, FolkArt, and Apple Barrel are good options.
Be sure to use acrylic paint that is specifically formulated for the type of material you are painting over. For example, use acrylic paint for fabrics when painting over Mod Podged fabric, and so on.
Acrylic paint can be used to completely cover and transform a Mod Podged background. It also works beautifully for adding accents, details, and dimension over the top of cured decoupage.
Spray Paint
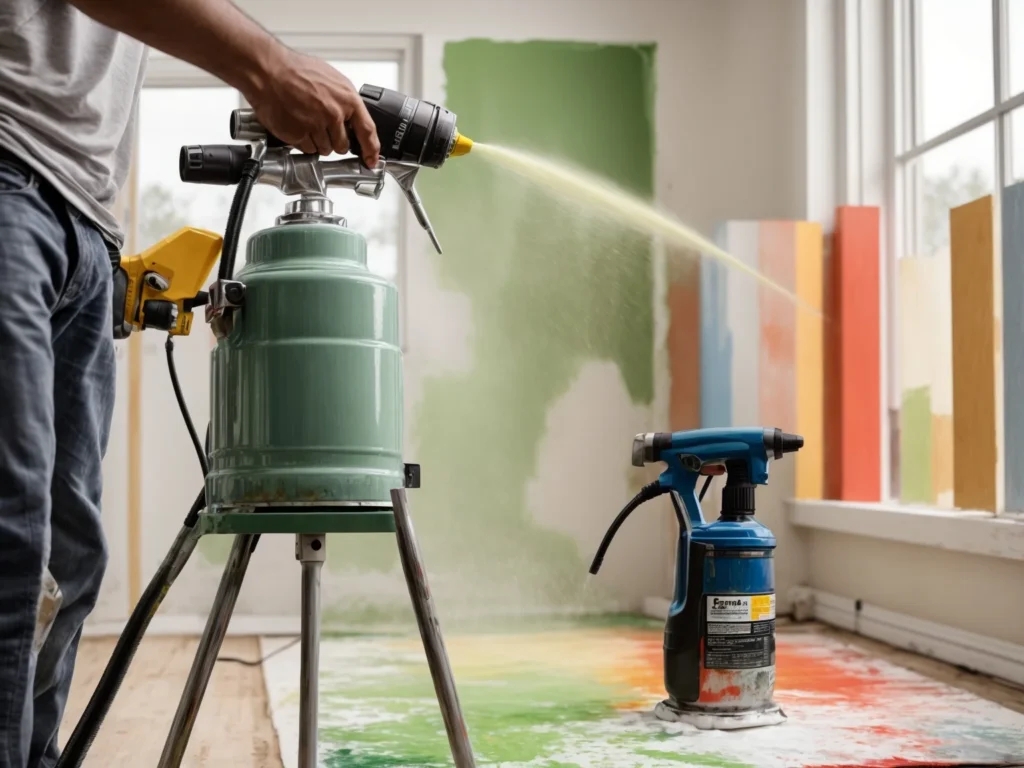
Acrylic spray paints can also be used to paint over Mod Podge. The spray application allows the acrylic paint to adhere in a fine mist over the surface.
Look for spray paints designed for craft and decorative use rather than heavy duty primers or automotive paints. Krylon, Rust-Oleum, and ColorMaster are reputable brands of acrylic spray paint with colors suitable for crafts.
Follow the directions for proper spray painting technique. Apply light, even coats and allow each layer to dry before adding another. This prevents drips and runs in the paint.
Oil and Enamel Paint
Paints like oils and enamels do not inherently bond with the acrylic polymer in Mod Podge. This means oil or enamel paint may peel, crack, or chip if applied directly over Mod Podge.
If you wish to use oil or enamel paint, first apply an appropriate primer designed for use with those paint types. The primer creates a barrier layer for improved adhesion.
For example, a enamel paint primer allows enamel paint to grip the surface better than if applied directly to Mod Podge.
Always check the manufacturer’s recommendations for proper priming and paint compatibility. Be sure to let primers dry fully before painting.
Now that we’ve covered paint selection, let’s look at techniques for applying acrylic paint over Mod Podge.
Application Techniques for Painting Over Mod Podge
Painting over Mod Podge is similar to painting on any other acrylic-based surface. Here are some tips for achieving the best results:
- Use high quality craft acrylic paint brushes suitable for the surface you are painting. Round, flat, or filbert bristle brushes work well.
- Begin by outlining the area you want to paint with painter’s tape to create crisp edges if desired.
- Stir the acrylic paint before use so it flows smoothly from the brush. Acrylics can thicken over time.
- Apply the acrylic paint in thin, even layers using light brush strokes. Let each layer dry before adding another.
- Add multiple thin coats for even color rather than one thick coat. This prevents visible brush strokes.
- If the paint beads up, the Mod Podge surface may need a little more sanding for better adhesion.
- Clean the brushes promptly in water to prevent acrylic paint from drying on them.
- Allow the acrylic paint to cure for several days over Mod Podge for maximum durability.
Creating Dimensional Effects
You can use various painting techniques over Mod Podge to create special textural effects:
- Dry brushing – Drag a lightly loaded brush over ridges to catch highlights.
- Stippling – Apply dabs of paint with a stiff brush.
- Sponging – Dab on paint randomly using a natural sea sponge.
- Color washing – Dilute acrylics with water and apply thin glazes.
- Adding sand or pumice gel to paint creates texture when dry.
Experiment and layer colors to develop unique dimensional painted finishes over your Mod Podge backgrounds!
Colored Mod Podge Paint
For another interesting technique, you can mix acrylic paint directly into Mod Podge to tint it before decoupaging.
Try using a ratio of 1 part acrylic paint to 4 parts Mod Podge. Mix them together well. Test on a scrap piece of paper first before applying over your project to ensure the consistency and color are what you want.
This colored decoupage adhesive can add a transparent tinted layer when brushing it over paper, fabric, wood, glass, and other surfaces. Allow the colored Mod Podge to dry fully before sealing or painting over it.
Important Drying and Curing Considerations
We’ve stressed how vital it is for Mod Podge to be completely cured before painting over it. Here are a few more pointers on allowing proper dry time:
- The drying and curing process takes longer with thicker layers of Mod Podge. Multiple coats extend the drying time.
- Drying happens more slowly in cooler, more humid environments. Speed drying by moving the piece to a warmer, low humidity area if possible.
- Gently moving air over the surface with a fan can accelerate drying time
- Some materials, like fabric and wood, require longer cure times than smooth surfaces like glass or metal.
- If painting over dimensional Magic, be extremely patient and allow several weeks. The resin layer needs extensive time to harden fully before applying paint.
- A quick test to check if Mod Podge is cured is to gently press your fingernail into an inconspicuous area. If it leaves an indentation, it needs more time before painting.
- Once Mod Podge is fully cured, the paint will not re-wet or alter the decoupage layer underneath. The acrylic paint simply forms a new top layer.
- Avoid excess humidity or moisture until the painted piece is completely dry. Water can cause acrylic paint to blister or lift.
Taking the time to allow proper curing makes all the difference for a successfully painted Mod Podge project. The patience is well worth the effort for a durable, quality finish.
Special Considerations and Troubleshooting
Painting over Mod Podge is relatively straightforward, but there are a few special cases to keep in mind. Being aware of these factors will help you problem solve if any issues arise.
Using Mod Podge as a Paint Primer
While Mod Podge is not specifically formulated as a primer for paint, it can serve as a base layer for acrylic paints in certain situations.
On versatile surfaces like wood, cork, and fabric, a layer of Mod Podge helps provide tooth for the paint to grip. However, for metal, glass, and other non-porous materials, an actual primer designed for that purpose will work better under paint.
Always test a small area first to evaluate adhesion. If the paint rubs off easily over Mod Podge, a compatible primer may be needed.
Is Mod Podge Permanent?
Once fully cured, Mod Podge forms a durable permanent bond with surfaces. But what if you need to remove or adjust it?
On fabric, gently working warm soapy water into the Mod Podge can soften the adhesive to pry off paper or separates fabric layers.
On solid materials, carefully scraping with a plastic putty knife may lift pieces of cured decoupage. It takes patience but can be done.
Still, removing Mod Podge in layers is not easy, so avoid going down this route if possible!
Troubleshooting Paint Over Mod Podge
- If paint is beading up rather than adhering smoothly, sand the surface lightly for better grip and do a test area with primer first.
- Flaking or peeling paint may indicate compatibility issues with oil-based paints or insufficient drying time before painting.
- Brush strokes visible after painting are likely due to applying paint too thickly. Use thinner layers for even coverage.
- Painting over Dimensional Magic requires extra drying time for full cure. Wait several weeks before painting for best results.
- Wrinkling or blistering of paint can occur if too much moisture is present when applying. Ensure surface is fully dry before painting.
With proper preparation, high quality materials, and following the recommended techniques, painting over Mod Podge can yield fantastic results. Just take care to avoid these potential pitfalls.
Innovative Techniques for Painting Over Mod Podge
Now that we’ve covered the basics, let’s explore some innovative ways to use paint creatively over Mod Podge:
Faux Finishes
Mod Podge provides the perfect base for all kinds of hand-painted faux finishes. Try techniques like:
- Faux woodgrain – Use graining tools and glazes over Mod Podge backgrounds to simulate wood textures.
- Marbleizing – Float several acrylic colors over wet Mod Podge and pull through with a stylus or toothpick.
- Metallic finishes – Mix mica powders into glaze medium and apply over Mod Podge.
- Faux stained glass – Outline shapes with black paint then fill with translucent paints.
Paint Pens
Once cured, Mod Podge creates the ideal surface for embellishing with acrylic paint pens. Sharpie, Posca, and Craft Smart are popular brands. Let your creativity flourish by detailing Mod Podge projects with paint pens!
Mixed Media Collage
Combine layers of paper, fabric, acrylic mediums, and paint over Mod Podge for exciting mixed media art collages. Experiment with textures using pastes, gels, modeling compounds, and dimensional paints like puff paint. Layers and depth add visual interest.
Resist Techniques
Try using Mod Podge as a resist before painting. Outline designs with Mod Podge before painting the entire surface. When dry, the paint will lift off the Mod Podge outlines to reveal the pattern.
There are so many possibilities for integrating paints with Mod Podge! Let this spark ideas for your own innovative projects.
Putting It All Together: Example Projects
Now that we’ve covered all the key techniques, let’s look at some inspirational step-by-step projects that put the principles into practice:
Painted Mod Podge Vases
Supplies needed:
- Clean glass vases
- Assorted paper, tissue, napkins
- Mod Podge Matte
- Acrylic craft paints
- Paintbrushes and foam brushes
Steps:
- Tear or cut paper/tissue into shapes. Adhere to vase with Mod Podge.
- Apply 2-3 coats of Mod Podge over paper, allowing drying time between layers.
- Once fully cured, lightly sand then paint vase with acrylics. Allow to dry fully.
- Finish with 1-2 coats of Mod Podge Gloss over paint for sheen and protection.
Painted Denim Jacket with Mod Podged Collage
Supplies:
- Denim jacket
- Magazines, scrapbook paper, tissue, stickers
- Mod Podge Matte
- Acrylic fabric paints
- Foam brushes, paintbrushes
Steps:
- Cut out collage pieces and arrange on jacket. Adhere with Mod Podge.
- Apply 2 coats of Mod Podge. Allow to dry completely.
- Paint designs over coat with acrylic fabric paints. Allow to cure.
- Seal painted jacket with final coat of Mod Podge.
Dimensional Magic Painted Coasters
Supplies:
- Ceramic tiles, wood slices, or cork boards
- Dimensional Magic
- Acrylic paints and brushes
- Mod Podge Gloss
Steps:
- Apply thick layer of Dimensional Magic on substrate. Allow to fully cure for 6-8 weeks.
- Lightly sand surface then paint designs with acrylics. Allow paint to dry.
- Brush on 1-2 coats of Mod Podge Gloss over painted design. Adds shine and protection.
The possibilities are endless! Apply these principles to paint original designs over your Mod Podged projects.
Final Thoughts
The techniques covered here really are just the beginning. We encourage you to do your own artistic experiments layering acrylic paints over Mod Podge. Finding ways to incorporate these mediums together opens up a whole new world of creative possibilities.
Painting over Mod Podge allows you to transform and enhance decoupaged projects in amazing ways. With so many options for colors, textures, and dimensional effects, you can create completely unique pieces.
We hope this guide has provided all the essential information you need to feel confident painting over your Mod Podge decoupage. Get creative, have fun experimenting, and let Mod Podge and acrylic paint work their crafty magic!
