Painting a car radiator can freshen up the look of your engine bay and add a custom touch to your vehicle. However, radiators have some unique requirements when it comes to painting that you need to consider. Can you paint a car radiator? You can’t just use regular paint from the hardware store if you want the best results.
In this comprehensive guide, we’ll cover everything you need to know about painting your car’s radiator, including:
- Why Use Specialty Radiator Paints
- How Does Radiator Paint Work
- What Color Should You Paint Your Radiator
- Can You Paint a Radiator While Installed
- Radiator Painting Tips and Techniques
- Drying and Curing the Paint
- Reinstalling a Painted Radiator
- Maintaining a Painted Radiator
Why Use Specialty Radiator Paints
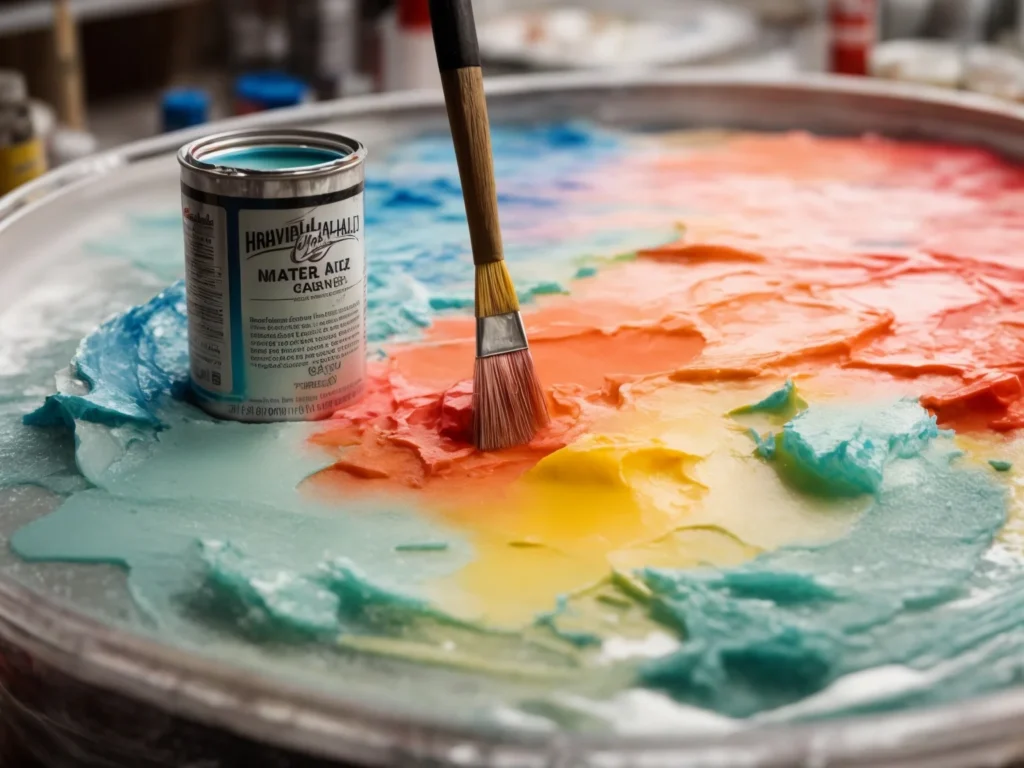
The key to successfully painting a radiator is using a high heat specialty radiator paint. Standard paints that you would use to paint the body of your car are too thick for radiator applications. The thick paint will interfere with airflow through the radiator, reducing cooling performance.
Paint buildup in the thin radiator fins blocks air from passing through. This decreases the radiator’s ability to transfer heat away from the coolant. With less airflow, you’re more likely to run into overheating issues.
Radiator-specific paints are formulated to resist high temperatures and maintain their color without burning off. They also contain acrylic resins that keep the paint from fully curing. This results in a softer finish that won’t restrict airflow like standard paints.
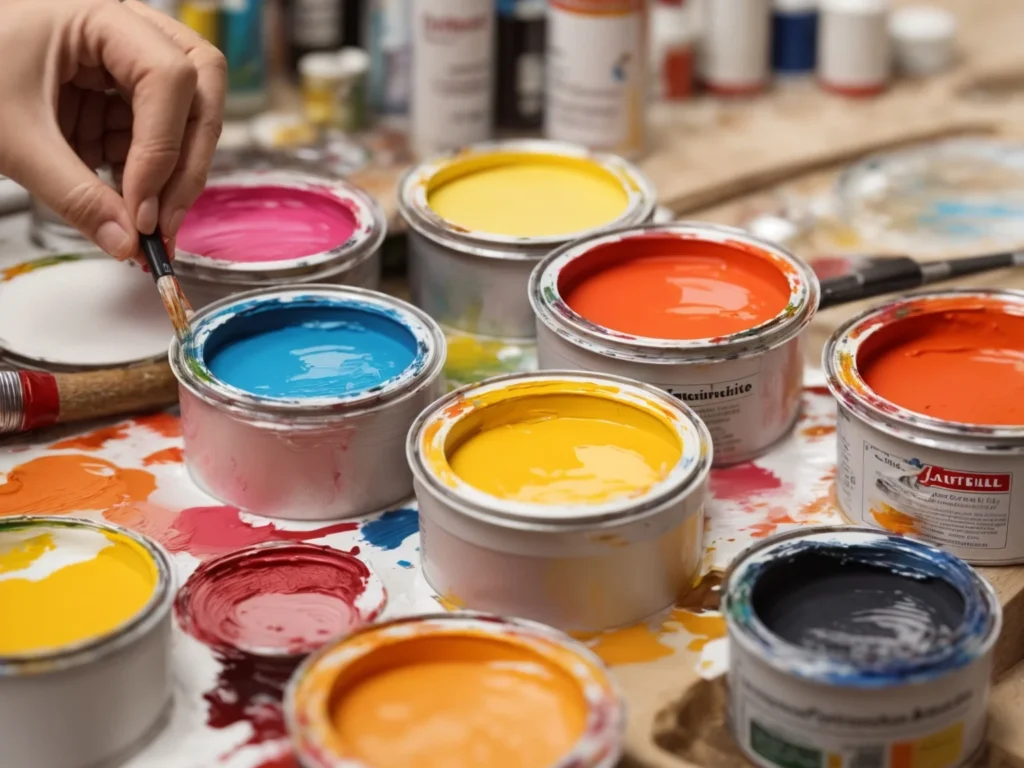
Brands like Eastwood, Dupli-Color and KBS Coatings offer specialty high heat paints designed for radiators and engine parts. These spray paints go on thin, adhere well to metal, and are heat resistant up to 400°F.
Using the right radiator paint ensures you get great looks without affecting the radiator’s primary job – cooling your engine.
How Does Radiator Paint Work
Radiator paints work by using a combination of acrylic resins and heat resistant pigments. Here are some of the important characteristics:
Acrylic Binder – Acrylic-based paints form a hard, glossy and flexible coating. For radiator paint, the acrylic resin allows the finish to stay softer and less prone to cracking or chipping off at high temperatures.
Heat Resistant Pigments – Specialty pigments like ceramic microspheres maintain color integrity well beyond the range of standard paints. This allows the finish to resist fading, burning off, or turning brown or yellow from heat exposure.
Thinner Viscosity – Radiator paints have a thinner viscosity than regular paint. This lower thickness allows them to be applied in smooth, thin coats. The thinner paint won’t clog radiator fins and restrict airflow like thicker paint.
Quick Drying – Most radiator paints dry to the touch in 15 minutes or less. The fast drying time minimizes the chance of drips or runs forming when spraying vertically. It also speeds up the painting process.
What Color Should You Paint Your Radiator
When it comes to radiator paint colors, black is generally the best choice. Here’s why black is ideal:
Heat Transfer – Black draws in and retains more heat from the engine and surrounding air. This allows the radiator to transfer heat away from the coolant more effectively. Some tests have shown black radiators can run cooler than bare metal.
Contrast – The high contrast between the black radiator and colored engine components draws attention to the radiator. It really pops in the engine bay, giving a custom look.
Oil Masking – Black hides oil leaks and stains much better than lighter colors like silver. It keeps the radiator looking cleaner as your engine accumulates some mileage.
Color Options – More specialty radiator paint colors are available in black. Brands like Eastwood offer gloss, semi-gloss and flat/satin black finishes for variety.
While black is ideal, some radiator paints also come in limited colors like silver, white and gray. Just avoid light colors that won’t hide grime as well or colors known to increase heat like red.
Stick with black for the best heat transfer, contrast, oil-masking ability and color selection. It’s by far the most popular radiator paint color.
Can You Paint a Radiator While Installed
Is it possible to paint your radiator without removing it from the car? The short answer is yes, but there are some challenges to be aware of. Here are the main considerations when painting an installed radiator:
Limited Access – It will be difficult to paint fully around all sides of the radiator with hoses, brackets and the vehicle body in the way. Removing allows for easier access.
Overspray – Masking off components like hoses and the radiator cap is essential to avoid getting paint where you don’t want it. Still, some overspray is likely.
Positioning – Hanging the radiator vertically allows paint to drain off between coats fully. This avoids drips forming on horizontal surfaces. Achieving ideal positioning is tough on a mounted radiator.
Prep Work – Thorough cleaning and scuffing to improve adhesion is limited to only the visible areas of the radiator. Hard-to-reach spots can’t be prepped as well.
Drying Time – Without airflow around all surfaces, drying time will increase. Rotating or turning the radiator can help minimize extended drying.
Reassembly – Getting an evenly coated finish is difficult without removing brackets, fans, etc. Some disassembly is required to paint hidden areas fully.
Radiator Painting Tips and Techniques
Follow these best practices when prepping and painting your radiator for a professional-looking finish:
Degrease First – Thoroughly clean the radiator with a degreaser or solvent like brake cleaner. Remove all oil, grease and contamination so paint adheres well.
Lightly Sand – Use 400 grit sandpaper to scuff the radiator surface. This gives the paint something to grip onto for maximum adhesion.
Mask Off – Cover any areas you don’t want painted like brackets and hose fittings with painter’s tape and paper.
Spray Light Coats – Apply 2-3 thin, even coats of paint rather than 1 thick coat. Thick paint can run or sag.
Follow Drying Times – Allow the full drying time listed on the paint can between coats. Rushing leads to problems with adhesion or finish.
Paint Vertically – Position the radiator so paint runs off and doesn’t pool in the fins. Use hooks or hang from the upper tank.
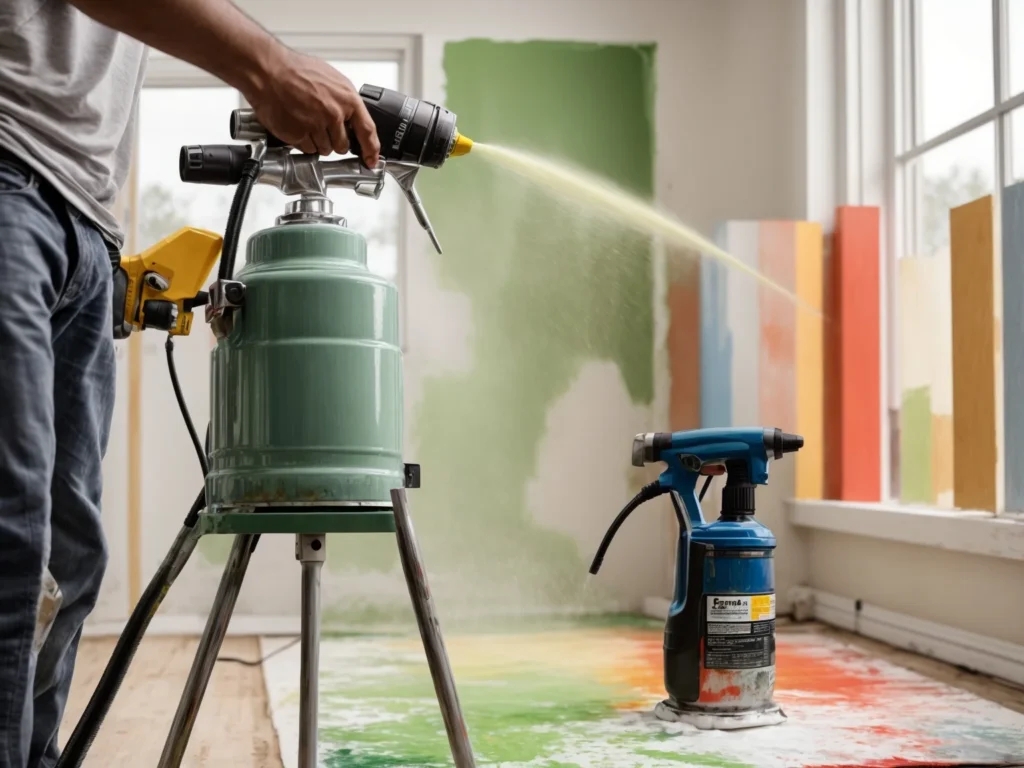
Maintain Spray Distance – Keep the can about 8-10 inches away and spray side to side, not up and down. Check spray pattern first on cardboard.
Watch for Drips – Paint a section at a time while rotating to ensure paint doesn’t drip. Touch up any light runs or sags with an extra coat.
Remove Tape Promptly – Take off masking tape as soon as the final coat is dry before it fully cures. This prevents peeling up paint under the edges.
Drying and Curing the Paint
With specialty high heat paints, allow for the full drying and curing times listed on the can directions before reinstalling your radiator:
Dry to Touch – Radiator paint will feel dry to the touch in about 15-30 minutes depending on conditions. At this stage, the paint is set but not fully hardened.
Dry to Handle – Within 1-2 hours, the paint will be dry enough to handle the radiator without leaving fingerprints or smudges. Full hardness has not yet developed.
Full Cure – It takes a full 24 hours for most radiator paints to fully cure and reach maximum hardness and heat resistance. Allow this full day of curing time before reinstallation.
Post-Cure Heat Cycling – Some paints continue to cure and enhance heat resistance after exposure to heat cycling. Avoid extended idling until the paint has seen some real-world heat.
Rushing the curing phases can lead to paint damage, reduced life, and poor adhesion. Honor the product cure times, even if the paint feels dry much sooner. The patience leads to optimal results.
Reinstalling a Painted Radiator
Once the paint has fully cured, you can reinstall your radiator and get your vehicle back on the road. Follow these tips for reassembly:
Inspect the Finish – Give the paint a close inspection and touch up any light spots, runs or drips with an extra coat. Catch issues now before reinstalling.
Replace Gaskets – Use new upper and lower radiator gaskets when reinstalling. Old dried out gaskets won’t seal properly. Proper sealing prevents leaks.
Tighten Bolts Gradually – Snug radiator mounting bolts up in a criss-cross pattern bringing them down gradually. Don’t fully tighten one side before the other.
Reconnect Hoses – Inspect hoses for cracks or wear and replace if needed. Use new hose clamps for a reliable seal. Fill with coolant and check for leaks.
Check Fan Operation – Verify electric cooling fans cycle on and off appropriately after a short test drive. Adjust fan settings if paint has altered trigger temps.
Let Idle Before Driving – Allow the engine to reach full operating temperature at idle before driving. This helps post-cure the paint with real heat cycling.
Inspect After Initial Drive – Pop the hood after a short first drive and check for any paint cracking or chipping near brackets or fittings. Touch up as needed.
Consider Clear Coat (Optional) – A clear coat isn’t required, but it does provide an extra layer of protection from stone chips and debris.
With caution taken during reassembly, your painted radiator should give years of cooling performance and great looks in your engine bay.
Maintaining a Painted Radiator
To keep your painted radiator looking its best for the long haul, keep these maintenance tips in mind:
Allow Paint to Fully Cure – Avoid pressure washing or harsh cleaning for 1-2 weeks to allow paint to fully harden. Test gently wipe a small spot first.
Use Soap and Water – Clean gently with soap and water to remove bugs and road grime. Avoid abrasive cleaners or chemicals that could damage the finish.
Rinse Regularly – During normal vehicle washing, thoroughly rinse the radiator to prevent buildup of corrosive contaminants.
Touch Up Stone Chips – Inspect for stone chips and breathe new life into them with radiator paint touch up pens. Stop rust in its tracks.
Check for Fading – As years pass, regularly check for paint fading. Consider reapplication if fade is excessive or performance is impacted.
Watch for Leaks – If coolant leaks develop, thoroughly clean contaminated areas before spot painting to ensure good adhesion.
Remove Debris – Clean out collected debris like leaves and bugs to maintain proper airflow. Don’t blast with water but gently wipe.
Check Mounting Points – Ensure mounting hardware remains tight. Looseness can cause paint cracking from vibration.
With proper maintenance and care, your custom painted radiator will maintain its good looks and cooling performance for many miles to come.
Conclusion
While painting a radiator requires some special considerations, the right products and techniques allow you to paint it successfully. Use high heat specialty paints, proper preparation, light coats, and full cure times for a long-lasting finish.
Equipped with this comprehensive radiator painting guide, you can now add custom paint to your radiator with confidence. A fresh coat of black radiator paint gives your engine bay a complete makeover.
Just be sure to use the right radiator-specific paints, take your time with proper prep and spraying technique, and allow the full curing time before reassembly. Follow our tips and you’ll have a show-quality painted radiator enhancing your engine bay.
