Painting a car is an ambitious do-it-yourself project that can save thousands compared to taking a car to a professional auto body shop. With proper preparation, technique, and the right weather conditions, you can paint your car at home and achieve impressive, long-lasting results.
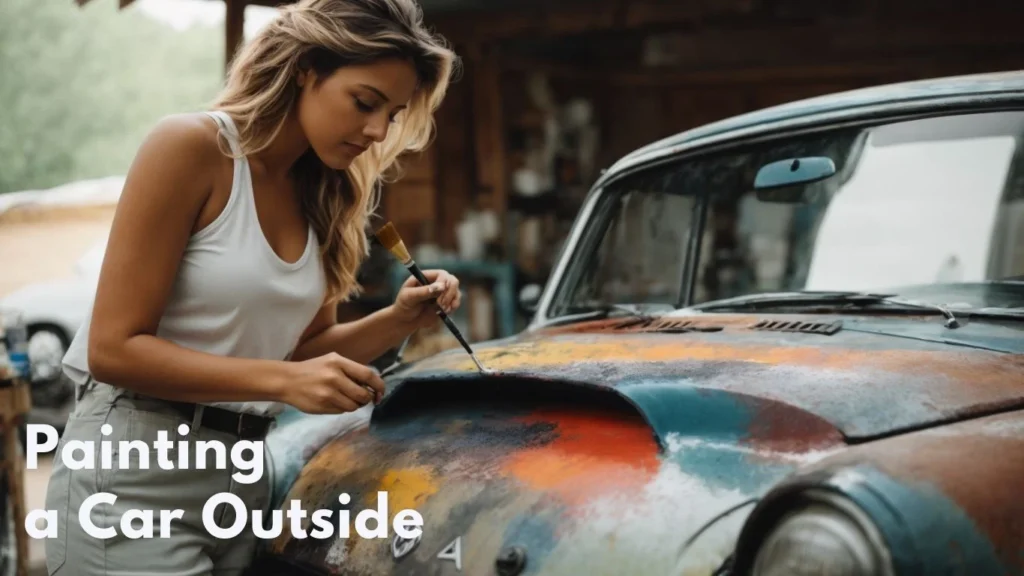
Painting outside provides ample ventilation and space compared to trying to paint in a garage. However, it comes with unique challenges. Controlling environmental factors like heat, wind, dust, and bugs is critical for achieving a flawless, professional-looking paint job.
This comprehensive guide covers everything you need to know to paint a car outside, including successfully.
- Should You Paint a Car Outside? The Pros and Cons
- Selecting the Right Paints and Supplies
- Preparing and Masking the Car Properly
- Picking the Ideal Temperature, Humidity & Weather Conditions
- Setting Up a Portable Paint Booth
- Spraying Primer, Color Coats & Clear Coat
- Wet Sanding & Polishing the Finish
- Cleaning Up Properly After Painting
- Maintaining the Car’s New Paint Job
Follow these steps and you can save thousands of dollars painting your car in your backyard or driveway.
Should You Paint a Car Outside? The Pros and Cons
Painting a car outside has some distinct advantages over painting in a garage:
Pros of Painting Outside:
- Ample fresh air and ventilation while painting and as fumes dissipate
- More open room to move around the car while spraying
- Ability to set up a larger makeshift paint booth
- No need to rent out a professional paint booth
However, painting outside also comes with some unique challenges:
Cons of Painting Outside:
- At the mercy of weather and environmental conditions
- Wind can blow over dust, bugs, and debris onto fresh paint
- Direct sunlight and heat can cause issues with paint drying too fast
- Pollen, tree sap, and bird droppings can contaminate the paint job
- No climate control over temperature and humidity
The key is controlling your painting conditions as much as possible, and choosing days with ideal weather to spray.
Selecting the Right Paints and Supplies
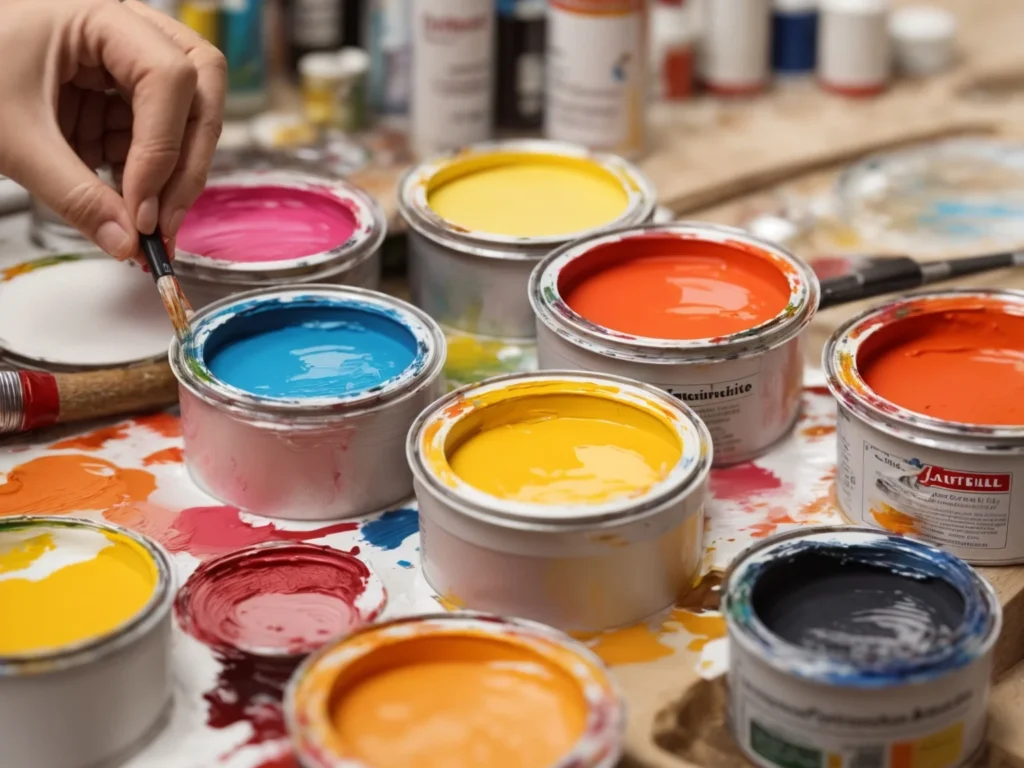
The products you choose are critical for successfully painting a car outside. Here are the essential paints and tools you’ll need:
- Primer – Self-etching primer binds to bare metal and provides a base for paint to adhere to.
- Color Coats – Urethane or enamel spray paints formulated for automotive use provide vibrant color and a durable finish. Epoxy paint is extremely durable for outdoor use.
- Clear Coat – A high-grade clear coat protects the color coat underneath and provides a deep glossy finish. Opt for a 2-part automotive clear for best results.
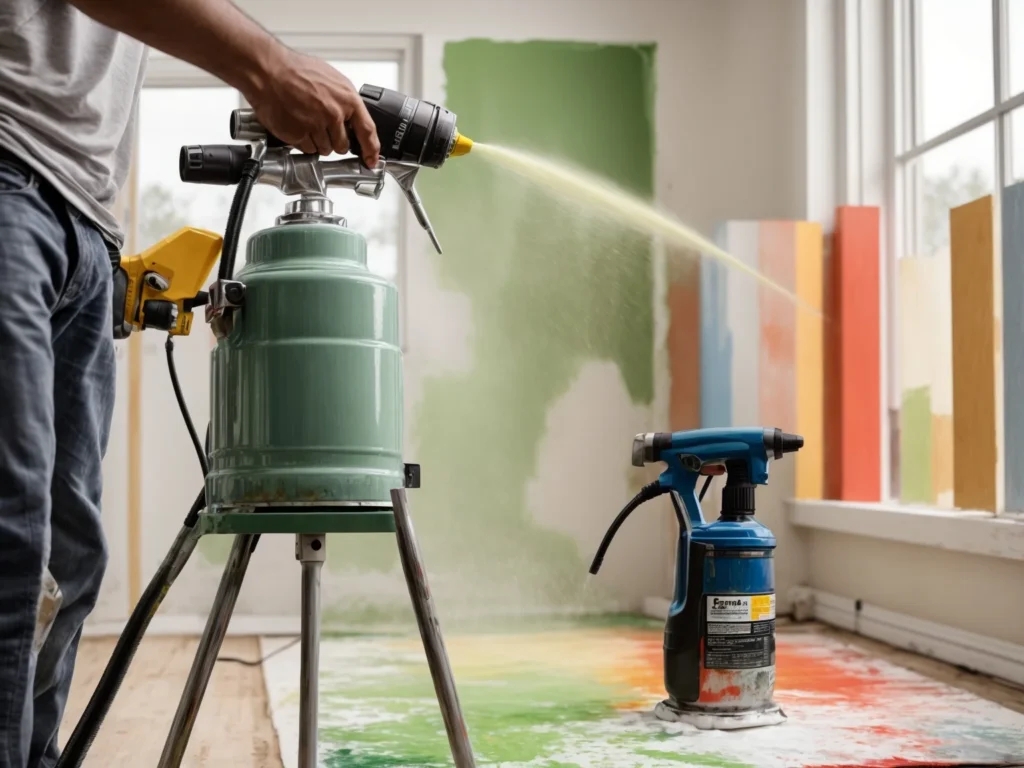
- Paint Spray Gun – A HVLP spray gun allows you to evenly apply primer, color coats, and clear coat. Small touch up guns are good for small areas.
- Air Compressor – A compressor provides the compressed air to power HVLP spray guns. Look for at least a 20 gallon 5 HP model.
- Paint Respirator – A proper respirator mask with organic vapor cartridges is essential to avoid inhaling paint fumes.
- Paint Suits, Gloves & Booties – Wear paint suits or old clothes to avoid overspray and splatters on your skin and regular clothing. Nitrile gloves and disposable booties are also a must-have.
Quality paint combined with the right tools allows you to paint your car to professional standards outside.
Preparing and Masking the Car Properly
Meticulous preparation is 80% of a professional paint job. Any flaws or contaminants on the car’s surface will show through the new paint. Here are the key steps to prep a car for painting:
- Wash the car thoroughly with soap and water first. This removes any dirt, grease or road grime that could ruin the paint job.
- Scuff sand the original factory paint with 400 grit sandpaper. This helps the new paint bond properly.
- Use a DA sander with 80-220 grit sandpaper to remove any remaining clear coat, rust spots, and to smooth out body work. Sand down to shiny bare metal where needed.
- Clean the entire car again with wax and grease remover or solvent to remove any remaining contaminants.
- Apply body filler to fill any scratches, dents, and imperfections that are too large to sand out. Sand body filler smooth.
- Prime any bare metal with self-etching primer. This provides corrosion resistance and allows the color coat to adhere properly.
- Mask off all non-painted areas with painters tape and plastic sheeting to avoid overspray. Mask door jambs, glass, wheels, mirrors, grills etc.
Proper masking prevents paint from getting where it shouldn’t and avoids time spent cleaning up mistakes.
Picking the Ideal Temperature, Humidity & Weather Conditions
Setting up when the weather is ideal is perhaps the most important factor when painting outside. Here are the optimal temperature, humidity, and weather conditions to paint a car yourself:
- Temperature – Ideal ambient temperature range is between 60-90°F. If too cold the paint won’t atomize properly. If too hot the paint can dry too fast leading to orange peel.
- Humidity – Optimal humidity levels are between 40-70% relative humidity. Lower humidity is better as moisture can damage fresh paint.
- Wind – Paint on calm, windless days. Wind can blow over dust and debris leading to imperfections in the paint. Even a gentle breeze can ruin paint.
- Sunlight – Avoid direct hot sun which can cause solvents to flash off too quickly before the paint levels out. Shade is better.
- Weather – Paint when no rain or any precipitation is forecasted for the next 48 hours so the paint can cure undisturbed.
- Dew Point – The dew point temperature should be at least 5°F less than ambient temperature so moisture does not form on fresh paint.
Checking weather forecasts and planning out painting days in advance is highly recommended. Avoid painting when temperatures may drop significantly overnight as this can lead to cracking or hazing of the paint.
Setting Up a Portable Paint Booth Outside
Painting outside without any type of enclosure leads to overspray drifting and contaminating surrounding areas. Here are two approaches to contain paint overspray when painting outside:
Portable Pop-Up Tents
Collapsible pop-up canopy tents provide an open air enclosure when painting outside. Look for a 10×10 ft tent or larger. Some key tips:
- Place drop cloths or plastic sheeting along the ground to catch overspray inside the tent
- Weigh down the corners of the tent to prevent it shifting in any wind
- Keep the sides open for ventilation unless it is an extremely windy day
- Use portable fans inside the tent to improve airflow
PVC Pipe Frame Booth
For a more permanent solution, you can build a PVC pipe frame paint booth:
- Cut and assemble PVC pipes to form a frame the size of your vehicle
- Wrap painter’s plastic, tarps, or thick plastic sheeting around the PVC pipe frame
- Secure the plastic with tape, staples, zip ties, or clamps to the frame
- Make sure the enclosure is tall enough to spray paint while walking around the car
- Keep one long side open at a minimum for entering/exiting and ventilation
Either type of temporary booth contains overspray for a cleaner painting process.
Spraying Primer, Color Coats & Clear Coat
Once your workspace is setup properly, you’re ready to begin spraying:
Priming
- For bare metal areas, apply 2 coats of self-etching primer allowing proper flash times in between
- Guide the spray in even, overlapping passes to ensure complete coverage
- Apply lighter coats and build up. Avoid runs or excessive build up.
Spraying Color
- Shake spray paint cans vigorously for 2 minutes before spraying
- Hold can 6-8 inches from the surface and spray in smooth passes at all angles
- Apply 2-3 medium wet coats allowing 5-10 minutes of flash time between coats
- Expect to use 8-12 cans of color paint depending on the size of your vehicle
Applying Clear Coat
- Mix 2-part clear coat if using and strain before spraying
- Apply 3-4 coats of clear coat to protect the base color and provide gloss
- Allow 10-15 minutes between clear coat coats for proper solvent flash off
- The final coat of clear can be a “flow coat” – apply a very wet coat to allow the clear to level smoothly
- Avoid dry spraying as this can cause clouding of the clear coat finish
The combination of quality primer, color paint, and clear coat allows you to achieve a factory quality paint job spraying outside your garage.
Wet Sanding & Polishing the New Paint
After the clear coat has fully cured for 1-2 weeks, wet sanding and polishing refine the finish:
- Wet sand the entire car using 1000, 1500, and 2000 grit sandpaper to smooth out any orange peel and imperfections
- Always keep the clear coat wet while sanding to prevent sanding scratches
- Start sanding with least aggressive 1000 grit and work up to 2000 for the final sanding
- Dry off the car and clean thoroughly after wet sanding to remove all residue
- Use a dual action polisher with polishing compound and foam pad to buff the paint for a glossy shine
- Carefully polish by hand tighter areas around mirrors, door handles, moldings etc.
- Finish with a polishing glaze by machine or hand for maximum depth and reflectivity
Proper wet sanding and polishing removes imperfections and creates a smooth as glass mirror-like finish. Your DIY paint now looks professionally sprayed.
Cleaning Up Properly After Painting
Once the painting is complete, proper cleanup helps keep your new paint pristine:
- Remove all masking materials from the car’s windows, wheels, door jambs etc.
- Carefully peel off any painter’s tape used for masking to avoid lifting fresh paint
- Clean up any paint spills or drips on driveways and surrounding areas immediately
- Dispose of used paint cans, rags, and other waste properly according to local regulations
- Clean paint spray guns thoroughly after use to avoid clogs for future projects
- Allow paint fumes to dissipate fully before parking freshly painted car in enclosed garages
Following up with proper cleanup duties after painting prevents issues down the road.
Maintaining the Car’s New Paint Job
To make your new DIY paint job last, here are some maintenance tips:
- Wait 1-2 weeks minimum before washing to allow the paint to cure first fully
- Avoid automatic car washes and usetouchless or hand washing methods only
- Wax at least twice yearly to protect the clear coat from UV rays and environmental damage
- Wash and wax more frequently if car is stored outdoors instead of in a garage
- Be diligent about touching up any stone chips in the paint to prevent rusting
- Remove tree sap, bird droppings etc immediately to prevent staining and etching
- Use a car cover for additional protection when parked outside for extended periods
- Expect to redo clear coat every 3-5 years as environmental exposure slowly degrades it over time
Properly caring for and maintaining your paint helps it retain that freshly painted showroom look.
Conclusion
Painting a car outside when done properly can produce incredible results equivalent to an expensive professional paint job at a fraction of the cost. Preparing your workspace, using high quality paints, and picking ideal weather conditions leads to success. Follow these best practices for painting, polishing, and maintaining a car outside and you can take on an ambitious DIY painting project with confidence. The satisfaction of a do-it-yourself automotive paint job is worth the effort.
