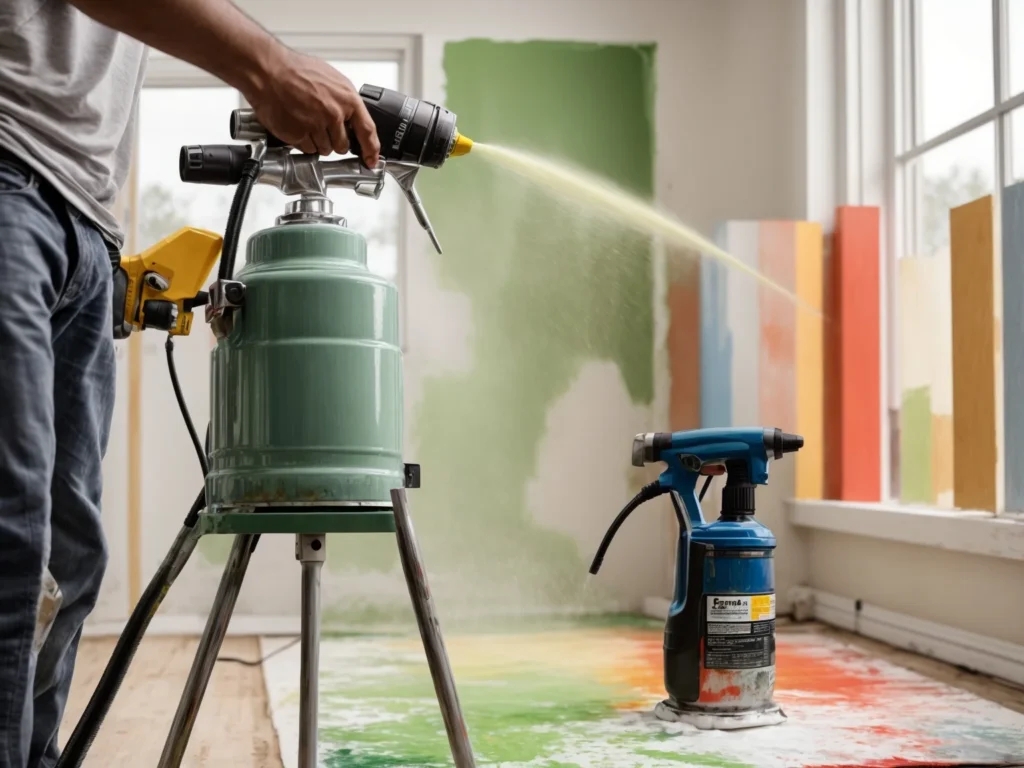
Spray painting your dog’s crate can be a fun way to customize it and make it fit your home’s décor. With the right type of spray paint and proper preparation, you can safely paint your furry friend’s crate in any color you’d like. Here’s what you need to know about spray painting dog crates.

Can I Spray Paint My Dog’s Crate?
Spray painting allows you to change the color and look of your dog’s plastic or metal crate and affordably. It provides a decorative touch to transform an eyesore into a stylish crate you don’t mind having out.
You can match your dog crate to your home’s color scheme, like painting it a complementary accent color. Or pick a bright, fun color that matches your dog’s personality. Spray paint offers versatility for customizing crates.
It’s important to choose a pet-safe, non-toxic spray paint formulated to be safe once fully cured and dried. Always provide ample drying time before allowing your dog access to avoid exposure to fumes. Proper prep work helps the paint adhere best.
Spray painting dog crates is relatively easy for plastic crates, while metal crates require more preparation for paint to stick. With the right steps, you can spray paint any crate to get creative with your dog’s space.
Can You Use Any Spray Paint on a Dog Crate?
You cannot use just any spray paint on dog crates. It’s crucial to select paints designed specifically to be non-toxic and pet-safe when fully dried. Avoid standard spray paints with toxic solvents and chemicals.
Look for spray paints explicitly marketed as pet, animal, or kid safe on the label. Krylon Fusion and Rustoleum Painter’s Touch are examples of popular options safe for dog crates once cured.
These specialized spray paints are formulated without hazardous ingredients like lead, toluene, xylene, and chlorinated solvents. They can be safely used on toys, furniture, and accessories when pets will have access.
Always read the label thoroughly and avoid any paints with warnings about use around pets or children. Allow for the full cure times indicated before letting your dog in the crate. Once fully dried and cured, non-toxic spray paints are safe choices.
Good Pet-Safe Spray Paint Options
When choosing spray paint for a dog crate, look for these features to ensure safety:
- Non-toxic when dry: Pet-safe spray paints are formulated so when fully cured, the paint is non-toxic for animal contact.
- Low or no VOCs: Paints with low VOC levels have less hazardous fumes, making them safer.
- Quick dry time: Fast-drying spray paint gets to a pet-safe cured state sooner.
- Durable: Hard, scratch-resistant spray paint holds up better on crates.
Here are some top pet-safe spray paint choices:
- Krylon Fusion All-in-One: Touted as giving the best adhesion and protection for plastic and metal. Dries to touch in 10 minutes.
- Rust-Oleum Painter’s Touch 2x: Ultra Cover formula provides excellent coverage. Dries in just 20 minutes.
- Rust-Oleum American Accents: Foam comfort spray tip for smooth application and less hand fatigue.
- Krylon Easy Tack: Repositionable formula lets you remove and restick. Great for temporary coats.
Always check that the specific spray paint says “pet safe” or similar language before using it on your dog’s crate.
Preparing a Dog Crate for Spray Painting
Proper preparation of the dog crate is key prior to spray painting for best results. Follow these steps:
- Disassemble completely and remove hardware like screws or bolts so no parts are obstructed.
- Wash and clean the crate thoroughly to eliminate dirt, oils, or residue. Let dry fully.
- Lightly sand any glossy plastic surfaces to rough up the texture so paint can adhere better.
- Wipe down the crate with tack cloth after sanding to remove dust.
- Place crate pieces on cardboard or scrap material to avoid overspray on good surfaces.
- Use painter’s tape to mask off any areas you don’t want painted.
- For metal crates, apply a primer coat first for optimal spray paint bond.
Prepping the crate takes a bit of work but ensures the paint sticks well and provides an even finish.
How to Spray Paint a Plastic Dog Crate
Plastic dog crates are the easiest surface for spray painting. The smooth plastic readily accepts paint. Follow these steps:
1. Disassemble and Clean the Crate
Remove all hardware and take the crate apart. Wash with soap and water, let dry fully.
2. Lightly Sand Surface
Gently sand with fine sandpaper to roughen up the glossy plastic.
3. Wipe Away Dust
Use a tack cloth to wipe all dust away after sanding so it doesn’t interfere with spray paint application.
4. Mask Off Areas
Use painter’s tape to cover any sections you don’t want painted.
5. Apply Primer (Optional)
For best adherence, apply a coat of plastic primer. Let dry per label directions.
6. Spray Paint Coats
Apply multiple thin coats of pet-safe spray paint, allowing proper dry time between coats.
7. Remove Masking
Carefully remove all masking tape once fully dried.
8. Reassemble Crate
Put the crate back together once paint is fully cured.
With the right preparation and paint, you can get a smooth, durable finish spray painting plastic crates for your dog.
How to Spray Paint a Metal Dog Crate
Painting metal dog crates like wire cages requires a bit more effort and preparation than plastic versions. The paint doesn’t adhere as readily. But with proper prep work, you can successfully paint a metal crate.
1. Disassemble and Clean
Take apart crate and remove all hardware, wash and let dry fully.
2. Sand and Wipe Down
Lightly sand then wipe with tack cloth to remove dust and oils for better paint grip.
3. Apply Primer
Use a metal primer formulated for maximum adhesion to ensure paint sticks. Allow to dry per label.
4. Spray Paint Coats
Apply thin coats of pet-safe spray paint, allowing proper drying time between coats. Add additional coats for best coverage.
5. Remove Masking
If using painter’s tape on areas not getting painted, remove it once fully dried.
6. Cure Paint Fully
Give paint several days to cure fully before reassembling crate.
7. Reattach Hardware
Once paint has cured, put crate back together and reattach all hardware.
While more labor intensive, priming and properly prepping metal crates allows for long-lasting spray painted results.
Tips for Spray Painting Dog Crates
Follow these tips when spray painting your dog’s crate for best results:
- Work in a well-ventilated area and wear a respirator mask to avoid inhaling paint fumes.
- Keep spray paint can about 8 inches from the crate surface while spraying back and forth smoothly.
- Apply multiple thin coats rather than one thick coat for an even finish.
- Let paint dry fully between coats according to label directions.
- Use painter’s tape and drop cloths to protect surrounding areas from overspray.
- Choose satin or semi-gloss sheens for durability and easier cleaning.
- Allow for curing times indicated on paint before letting your dog use crate.
- Start with a smaller or hidden area to test paint adherence before doing the whole crate.
Proper spray painting technique helps the paint adhere tightly and evenly on dog crates for a professional looking, lasting finish.
Drying and Curing Times for Dog Crate Paint
It’s crucial to allow adequate drying and curing time for spray paint on dog crates before allowing your pet access. Most pet-safe paints dry to the touch fairly quickly. But curing fully takes much longer.
Follow these general guidelines:
- Allow painted crates to air dry for at least 24 hours before reassembling.
- Let paint cure for 5-7 days minimum before allowing pets near painted crates.
- Double these times for metal crates which take longer to off-gas solvents in paint.
- Always defer to the product label directions for exact dry and cure times.
- Make sure there’s zero paint smell and paint is fully hardened before dog contact.
The right dry and cure times allow spray paint on dog crates to become completely non-toxic for safe pet usage. Never rush this important step.
Mistakes to Avoid When Painting Dog Crates
Steer clear of these common mistakes when spray painting dog crates:
- Choosing the wrong paint – Only use pet-safe, non-toxic spray paints formulated for safe contact after full curing.
- Skipping proper preparation – Properly cleaning, sanding, and priming the crate leads to better spray paint adherence.
- Rushing drying time – Allowing paint to fully cure according to label directions is crucial to avoid pet health hazards.
- Painting indoors – Spray paint requires an outdoor or very well-ventilated area to avoid inhaling toxic fumes.
- Applying too thick – Build up thin coats of spray paint instead of one thick coat for optimal finish.
- Forgetting the hardware – Removing all screws and hardware prevents painting them by accident.
- Getting overspray on good surfaces – Use drop cloths and masking tape to protect other objects from stray spray paint.
- Assembling too soon – Reattaching crate parts before paint has fully cured can lead to chipping or damage.
- Letting pets access too soon – Dogs should only access crates when spray paint is 100% cured and non-toxic.
- Spraying unevenly – Maintain a consistent distance while spray painting back and forth for uniform coverage.
By avoiding these mistakes and following proper spray paint application, your dog’s crate can have a flawless, durable painted finish safely.
Tips for Maintaining a Painted Dog Crate
To keep your spray painted dog crate looking its best:
- Allow the paint to cure fully before using the crate, about 5-7 days. Slowly introduce your dog to the crate to ensure no chewing or damage.
- Consider adding a clear-coat sealer on top of spray paint for added protection and easier cleaning. Be sure sealer is pet-safe.
- Spot clean messes on the crate immediately to prevent stains. Use a damp cloth with mild detergent. Avoid abrasives.
- For metal crates, check regularly for any paint chips or scratches and touch up as needed.
- Place a washable bed or liners inside the crate to prevent direct contact with painted surfaces. Rotate and clean bedding regularly.
- If using wire crates outside, bring them in during extreme weather to prevent paint damage from sun, snow, or rain.
- Repaint crates annually or whenever paint appears faded, damaged, or worn for a fresh new look.
Proper care keeps custom spray painted dog crates looking great year after year. Reapply new paint when needed.
Creative Ways to Paint and Customize Dog Crates
Painting the entire crate a solid color is simple but you can get creative with spray paint to make fun, one-of-a-kind crates:
- Stencil on designs, names, or patterns using painter’s tape and spray paint.
- Create ombre effects by spraying the crate different colors gradually.
- Use multiple colors to make geometric shapes, stripes, or color blocks.
- Paint the interior a dark shade to create a cozy cave feeling inside for your dog.
- Add texture using textured spray paints or textured clear coats on top of regular spray paint.
- Paint crate legs or hardware fun pops of color for accents.
- Paint a mural scene directly on the crate for a unique look. Use painter’s tape to block off straight edges.
The possibilities are endless for making an artistic statement with your dog’s crate using spray paint. Match your dog’s playful personality!
Conclusion
Spray painting allows you to transform the look of any dog crate to match your home or your dog’s character. With the proper pet-safe spray paint and prep work, you can easily paint metal or plastic crates in any color.
Make sure to use non-toxic paints designed for pet usage. Allow paint to fully dry and cure before allowing access. Avoid common mistakes like improper prep or assembly too soon. With creativity and the right techniques, you can customize your perfect dog crate design safely using spray paint.


