Plastic bumpers are a common component on many vehicles today. Compared to traditional metal bumpers, plastic bumpers offer lighter weight, more affordable, and less rust-prone benefits. However, painting and refinishing plastic bumpers can be more challenging due to the non-porous nature of the materials.
Proper primer selection and application is critical for achieving great results when painting plastic bumpers. The right primer enhances paint adhesion, provides a uniform surface, and increases overall durability. With so many primer options on the market, choosing the right one may seem daunting to the average car owner or collision repair shop.
Understanding the Materials and Composition of Plastic Bumpers
To select the ideal primer for a plastic bumper, it’s important to understand the various materials used in manufacturing and their unique properties. This section explores the common plastic types found in bumpers and the characteristic to consider when painting.
The Polymer Materials Used in Bumper Construction
Most contemporary automotive bumpers are constructed from plastic polymers rather than old-school metal materials. By far the most predominant plastic used is polypropylene (PP).
Polypropylene is prized in bumper design for its durability, impact resistance, and ability to flex and return to its original shape without permanent deformation. It provides an optimal balance of strength, flexibility, and affordability.
Other plastics like ABS (acrylonitrile butadiene styrene), PUR (polyurethane rigid foam), and PPE (polyphenylene ether) are sometimes utilized in bumpers as well. But polypropylene remains the polymer of choice for most auto manufacturers.
Determining the exact plastic polymer used in the bumper is necessary before selecting the appropriate primer. Auto manufacturers can provide material specifications if the bumper polymer type is unknown.
The Non-Porous, Flexible Nature of Plastics
Polymer bumpers have a non-porous, smooth surface texture compared to traditional metal bumpers. The plastic material is not absorbent or porous. This presents a challenge since most conventional primers are formulated to penetrate porous surfaces.
Additionally, plastic bumpers flex and bend more than rigid steel. The primer and paint need adequate elasticity to avoid cracking or peeling when the bumper surface flexes during normal use. More rigid primers that don’t accommodate movement run higher risks of failure.
Selecting the Best Primer Type for Plastic Bumpers
With a fundamental understanding of the bumper composition and properties, we can now examine the factors in selecting the optimal primer type. The main considerations include:
- Primer chemistry and formulation
- Flexibility when cured
- Ease of application
- Overall durability and longevity
- Cost and availability
We’ll analyze how these factors apply to the most common primer types used for painting plastic bumpers:
Water-Based Acrylic Primer
- Water-based acrylic primer is a good general-use option for painting plastic components. Since plastics are non-absorbent, water-based primers avoid issues with excessive penetration.
- Acrylic primers sit atop the bumper surface and provide a uniform foundation for the paint. They are easy to apply and quick drying.
- Acrylic chemistry provides enough flexibility to accommodate bumper movement without cracking. Spray application typically produces the best finish results.
- Popular Brands: SEM Flexible Primer Surfacer, U-POL Plastic Primer, Dupli-Color Adhesion Promoter
Epoxy Primer
- Epoxy primer is valued for its exceptional durability, chemical resistance and barrier properties. It cures into an exceptionally hard, protective coating.
- Epoxy adheres well to the smooth surface of plastics to provide a strong foundation for paint. It also resists chipping, cracking, and wearing away with use.
- Most epoxy primers require a 3-4 day curing before painting begins. Two coats are recommended for maximum film build and corrosion resistance.
- Despite its thick, rigid nature, epoxy still provides moderate flexibility to endure bumper movement.
- Brands: SPI Epoxy Primer, U-POL 2K EPX Polyester Primer
Urethane Primer
- Urethane primers deliver an optimal balance of flexibility, abrasion resistance, and adhesion for plastic bumpers.
- Urethane dries to a hard yet somewhat elastic film. It accommodates the flexing nature of plastic better than more rigid epoxy undercoats.
- Use a two-component urethane primer requiring an activator or catalyst for best results. This creates a durable chemical crosslinking bond.
- Urethane primers can be wet sanded if needed for smoother results. They offer great durability with enough elasticity for bumpers.
- Brands: SEM Urethane Surfacer, SPI UP Polyester Primer
Adhesion Promoter
- Adhesion promoters work by chemically etching the ultra-smooth plastic surface to create microscopic crevices and “tooth” for improved coating adhesion.
- While lacking the protective abilities of other primers, adhesion promoters excel at helping paint stick and bond tenaciously to plastics.
- Common adhesion promoters for bumpers are SEM Solve and Dupli-Color’s Adhesion Promoter. Let adhesion promoters fully flash off before applying primer.
Flexible Plastic Primers
- Some companies offer dedicated flexible primers designed exclusively for plastic automobile components.
- These primers contain specialized elasticizers and binders that allow the dried primer film to flex and move without cracking or loss of adhesion.
- Flexible plastic primers help compensate for the inherent elasticity in bumpers that standard rigid primers can’t accommodate.
Proper Surface Preparation for Priming Plastic
To achieve great paint job results, properly preparing the plastic bumper surface is equally important to selecting the right primer. Effective surface prep creates a clean, uniform foundation for primer adhesion.
Here are the recommended steps involved in prepping plastic bumpers before priming:
Thorough Cleaning
- Start by washing the entire bumper area with plastic-specific cleaning agents to remove all dirt, grease, oil, waxes, or other contaminants.
- Avoid household cleaners which leave residues. Rinse thoroughly with water after cleaning.
- Allow the bumper to completely dry before moving onto subsequent steps.
Light Scuffing
- Use 320-400 grit sandpaper to lightly scuff the bumper’s glossy outer surface. This helps “key” the surface for primer bonding.
- Take care not to aggressively over-sand, which can damage the plastic substrate. The goal is only to scratch the surface, not remove material.
- Sand in straight uniform lines along the contour of the bumper for consistent scratch patterning.
- Clean again after scuffing to remove all sanding dust.
Adhesion Promoter (Optional)
- Applying a dedicated plastic adhesion promoter provides extra cling between the bumper and primer layers.
- Adhesion promoters work by chemically etching the ultra-smooth surface to improve grip.
- Allow adhesion promoters to fully flash-off before applying primer on top.
Adding Texture Additive (Optional)
- Another technique is adding matting powder or cabosil to the primer to provide extra surface profile for gripping the paint.
- Only add a small amount to avoid excessive surface texture. Thoroughly mix the additive into the primer per instructions.
Specialized Scuffing Tools
- Companies like 3M offer specialized scuffing tools for easily and quickly roughening plastic for optimal paint bonding.
- The 3M Hand-Held Scuffer uses an abrasive sponge pad that prevents over-sanding damage.
- 3M Scuff-It is a liquid gel formula with light abrasives for scuffing and cleaning in one step.
Best Practices for Applying Primer to Plastics
With the right primer selected and proper surface preparation completed, now the bumper is ready for priming. Here are some application tips:
Spray Application
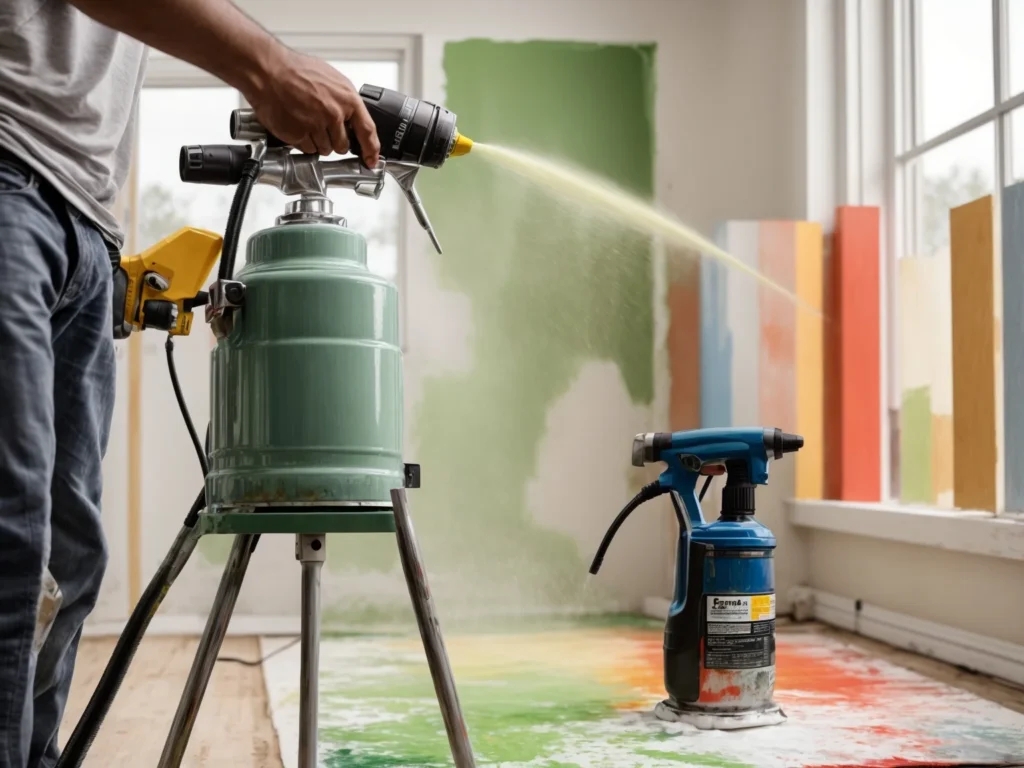
- Applying primer by spray gun allows it to atomize for maximum coverage fully. Light passes prevent runs or sags.
- Use a primer gun with the tip size specified by the manufacturer for optimal atomization. Maintain a consistent distance from the surface.
- Overlapping spray passes delivers a more uniform film compared to single stroke coats.
- Build up the primer thickness gradually with multiple light coats to prevent problems. Allow proper flash time between coats.
Brushing Primer
- While spraying primer is ideal, brushing on primer can also deliver good results. Use high-quality primer brushes.
- Apply long, light brush strokes in thin, even coats to smooth out any brush marks.
- Maintain a wet edge and avoid going over areas that have started to dry to minimize visible stroke marks.
- Adding primer retarder helps slow the drying time for better flow and leveling.
Primer Surfacer vs Sealer
- Primer surfacers fill minor imperfections while sealers seal the surface and boost adhesion.
- A simple sealer is usually sufficient for plastic bumpers since plastics don’t require much filling or smoothing.
- Epoxy sealers in particular provide excellent adhesion and barrier properties.
Applying Body Filler
- For damaged or dented areas, polyester body filler can be applied to smooth imperfections before priming.
- Ensure any filler is fully hardened before applying primer on top.
- Take extra care prepping so the primer bonds properly to the plastic and filler.
Maintaining Proper Film Thickness
- Applying primer at the manufacturer’s recommended thickness is important for proper curing and durability.
- Too little primer can lead to inadequate protection and shortened lifespan. Too much risks drying issues or loss of elasticity.
- Most plastic primers call for a 1.5-3 mil dry film thickness. Use a thickness gauge to confirm.
Maximizing Long-Term Durability
Plastic bumpers can be protected between proper primer selection, surface prep, and application. Here are some extra pro tips for enhancing durability even further:
Slow Activator/Hardener
- For 2K primers, choose the slowest activator or hardener practical to allow complete chemical crosslinking for maximum hardness.
- Quick hardeners may save time initially but provide softer films than slower versions.
Basecoat Activation
- Even if not required, adding activator to basecoat layers helps them cure harder for better durability.
- Allow proper flash time between coats. Apply clearcoat after basecoat flashes but before fully curing.
Multiple Clearcoats
- Applying 3-4 coats of clearcoat (some do up to 6) provides extra protection against wear, chemicals, UV, etc.
- Allow each clearcoat layer to flash off before applying the next.
Adding Flex Additive
- Adding flex agent additive like SEM Flexible Parts Mix to the primer, basecoat, and clearcoat improves elasticity.
- Use around 10% flex additive by volume for maximum flexibility to endure bumper movement without cracking.
Cut and Polish
- Once fully cured, cutting and polishing refines the surface for a flawless, glossy finish. Use finer polishing grits.
- Avoid aggressive buffing or burning the plastic finish. Wipe with plastic cleaner when done polishing.
Troubleshooting Common Painting Issues
Despite the best efforts at surface prep and application, problems can occasionally arise when painting plastic bumpers. Here are some common issues and potential solutions:
Poor Primer Adhesion
- Lack of proper cleaning or scuffing prevents adequate mechanical and chemical bonding. Always start with quality surface prep.
- Oil contamination, mold release agents, or other sources interferes with adhesion. Identify and eliminate any contaminants.
- Insufficient mixing of 2K primers can leave areas uncured, leading to poor spot adhesion. Thoroughly mix primers.
Bubbling Under the Primer
- Air trapped during application, paint contamination, or applying primer too heavily causes bubbling. Proper cleaning and mixing while applying thin coats minimizes bubbling.
- If bubbling occurs during curing, sand and re-apply primer.
Cracking or Peeling
- Primer or paint cracking or peeling away indicates insufficient elasticity. Use primers designed for plastic flexing and add flex additives to improve durability.
Solvent Popping
- Applying primer too thickly leads to trapped solvents which “pop” through the surface as they try to outgas during curing. Keep primer coats light.
Poor Topcoat Adhesion
- Inadequate flash times between coats or contamination can inhibit proper bonding between layers. Ensure proper flash times and clean between coats.
Tacky Primer After Dry Times
- Low temperature shop conditions, high humidity, or incorrect activator ratios prevent the primer from fully curing, leaving it soft and sticky. Review technical specifications and adjust as needed.
Frequently Asked Questions
Can I use regular primer on plastic bumpers?
No, standard metal primers lack the adhesion and flexibility for non-porous plastics. Always use specialty plastic primers.
Is it okay to paint plastic without primer?
While possible, paint adhesion and durability will suffer without a compatible primer. Primer provides necessary tooth and elasticity.
Can I use 2K primer on plastic bumpers?
Yes, 2K primers like epoxy and urethane work well on properly prepped plastics as long as they are formulated for non-porous surfaces.
What grit sandpaper for prep?
For plastic scuffing, 320-400 grit works well. Avoid rougher papers that may cut into the plastic rather than just rubbing the surface.
How long does plastic primer need to cure?
- Acrylic water-based primer: 30-60 minutes
- Epoxy primer: 3-5 days
- Urethane primer: 4-6 hours with activator
- Adhesion promoters: 15-30 minutes
Always follow the individual primer manufacturer’s stated recoat windows.
What are the best plastic primer brands?
Professional plastic primer brands include SEM, SPI, U-POL, and 3M. All produce high-quality, flexible primers designed specifically for plastics.
What primer works best for PP plastic?
For polypropylene (PP) bumpers, flexible water-based acrylics, adhesion promoters, and 2K urethane primers all work very well. Ensure PP compatibility is stated.
Can I use body filler as primer on plastic?
No, body filler and glaze expand and contract at different rates compared to the plastic substrate which can lead to cracking or loss of adhesion when the bumper flexes. Always use recommended plastic primers instead.
Does plastic need less primer?
Generally yes. Since plastic is non-porous, it requires less thickness than painting on metal. 1-3 light coats are usually sufficient. Follow the manufacturer’s film thickness recommendations.
Conclusion
Selecting the right primer for painting plastic bumpers requires careful consideration of material types, flexibility needs, proper surface preparation, compatible primer chemistries, and proper application techniques.
With the knowledge provided in this comprehensive guide, you now understand the key factors in choosing a primer that will deliver professional, long-lasting results on plastic bumpers. Utilizing these best practices will help ensure your paint job stays beautiful and protected for years of driving enjoyment.
