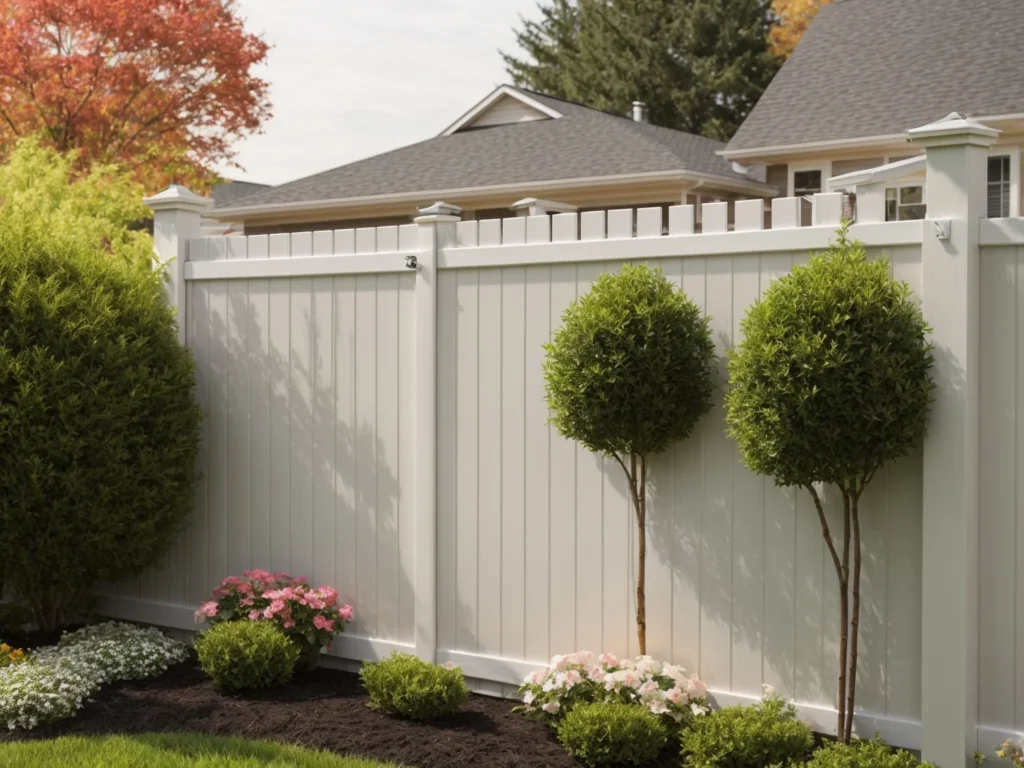
Vinyl fences are a popular choice for many homeowners due to their durability, low maintenance, and affordability. Unlike wood fences that require regular staining or painting, vinyl fences can withstand the elements while retaining their color for years.
But there may come a time when you want to change the look of your vinyl fencing by giving it a fresh coat of paint. Painting vinyl fences can update their appearance, hide fading or discoloration, or make them better match your home.

Painting vinyl does require more preparation and effort compared to painting wood. The slick surface of vinyl doesn’t allow paint to adhere easily. With proper surface prep and using the right types of paint and primer, you can successfully paint vinyl fences.
Here is a complete guide on how to paint vinyl fences, the supplies you’ll need, preparation tips, and maintenance to make your freshly painted fence last.
Can You Paint Vinyl Fences?
Vinyl fence can be painted, but it takes more effort than painting wood. The main challenge is getting the paint to properly adhere to the vinyl surface.
Unlike porous wood that soaks up paint, vinyl has an impermeable plastic surface. Paint typically doesn’t bond well directly to vinyl. The paint may chip, peel, or scratch off easily without proper surface preparation first.
However, there are ways to successfully paint vinyl fencing by following these key tips:
- Thoroughly clean and prep the vinyl surface
- Use a high-quality primer specifically made for vinyl or plastic
- Apply at least 2 coats of primer to create a surface for the paint to bond to
- Use exterior-grade acrylic latex paints formulated for vinyl, plastic or metal
- Apply at least 2 finish coats of paint for coverage and protection
- Allow proper drying time between coats
- Maintain the paint by washing, spot priming, and touching up as needed
Putting in the prep work is the most crucial step when painting vinyl fences. The right primer helps the paint adhere properly. With the proper methods, vinyl fences can be painted to change their color or refresh their appearance.
Supplies Needed to Paint a Vinyl Fence
Painting vinyl fences requires having the right supplies to do the job properly. Here are the materials you’ll need:
- Exterior paint primer – Use a high-bond primer specifically made for painting plastic, vinyl, or metal. The primer coat helps the paint adhere.
- Exterior acrylic latex paint – Latex paint is preferred over oil-based for vinyl and flexibility. Ensure the paint is for exterior use and formulated for vinyl, plastic or metal surfaces.
- Paintbrushes – Angled sash brushes are ideal for painting fences. Use high-quality bristle brushes.
- Paint rollers – Choose rollers with a smooth nap designed for smooth surfaces. Mini foam rollers also work well.
- Paint tray – Use a paint tray to hold the primer and paint for the roller. Disposable liners make cleanup easier.
- Painters tape – Mask off areas you don’t want painted. Tape helps create clean paint lines.
- Sandpaper – Lightly sanding helps rough up the surface for the primer to adhere.
- TSP substitute – This helps clean and etch the vinyl surface prior to priming.
- Rags, paint thinner – For cleaning the vinyl before and after painting. Thinner cleans oil-based primers.
- Stir sticks, paint buckets – For mixing the paint and primer. Pour paint into buckets for easier use.
Having the right high-quality paint products and tools will make prep work easier and produce better long-lasting results when painting vinyl fences.
How to Prepare a Vinyl Fence for Painting
Preparing a vinyl fence is the most important step before painting. The slick vinyl surface needs to be adequately sanded, cleaned, and primed to allow the paint to properly bond.
Here are the steps for prepping a vinyl fence for the best paint adhesion:
Clean the Vinyl Surface
Vinyl fences need to be thoroughly cleaned before painting. Built-up dirt, mildew, and chalky oxidation will prevent proper paint adhesion.
Use a TSP substitute cleaner mixed with water to clean vinyl fences prior to painting. Scrub the entire surface with the TSP solution using a stiff brush. Power washing can also help clean and rinse the fence.
Be sure to rinse off any residual cleaner. Allow the fence to fully dry before the next steps.
Lightly Sand the Surface
For paint to mechanically adhere to vinyl, the surface needs a bit of roughness. Lightly sanding with fine 220-400 grit sandpaper creates superficial scratches for the primer and paint to grab onto.
Avoid aggressively scuff sanding too much. The goal is to only create light surface scratches without removing material. Wipe off any dust after sanding.
Apply Primer
Priming vinyl is the most vital step for proper paint adhesion. Primer creates a surface chemistry that bonds well with the vinyl and allows the paint to stick.
Use a high-quality exterior primer specifically made for vinyl, plastic, or metal. Primers like this contain compounds that chemically etch and adhere to slick surfaces.
Stir the primer thoroughly before using. Apply a generous first coat of primer using a brush or roller over the entire vinyl fence. Allow the primer to fully dry per the manufacturer’s directions before applying a second coat.
Two primer coats are recommended to fully seal and prepare the vinyl surface for painting. Allow the final coat of primer to dry completely before applying paint. Properly primed vinyl will have a rougher texture for the paint to grip.
Taping and Masking
It’s a good idea to tape off any areas you don’t want painted such as concrete, landscaping, or fixtures. Masking helps create clean paint lines against other surfaces. Apply painter’s tape where needed before starting to paint.
Ideal Weather Conditions
Avoid painting in direct sunlight, high humidity, or if rain is expected. Ideal conditions are dry weather with temperatures between 50-90°F. The fence needs to be completely dry before painting each coat.
Now that the vinyl fence is prepped, primed, and ready, it’s time to start painting.
How to Paint a Vinyl Fence
Follow these steps for properly painting a vinyl fence:
Choose the Right Paint
When selecting paint for vinyl fences, use 100% exterior acrylic latex paints. Avoid cheaper vinyl “acrylic” paints. Latex paints provide better adhesion and flexibility compared to oil-based enamels.
Look for paint labeled specifically for use on vinyl, plastic, or metal. These are formulated to bond well to slick surfaces.
Flat or satin finishes are preferred over glossy paints. Semi-gloss may also be used but can show imperfections more.
Thoroughly stir and mix the paint before using. Pour paint into a clean bucket or tray to work from.
Apply First Coat of Paint
Use a high-quality nylon/polyester brush to cut-in paint the edges, corners, and pickets. Then roll on the first coat of paint.
Work in sections starting from the top down. Apply the paint generously to fully saturate the vinyl surface.
Work methodically and maintain a wet edge when rolling to prevent lap marks and variations in color.
Allow the first coat to fully dry per the paint’s instructions before applying a second finish coat.
Apply Second Coat
The second coat of paint provides complete coverage and protection. Again cut-in edges first with the brush then use the roller for large areas.
Rolling perpendicular to the first coat helps ensure full coverage. The vinyl fence should show no primer coloring after the second coat.
Allow the paint to cure per the manufacturer’s directions before use or replacement of any fixtures. Drying time may take 24-48 hours or longer in cool, humid conditions.
Proper surface prep and using two coats of quality exterior vinyl paint will allow vinyl fences to be successfully painted with long-lasting results.
Painting a Vinyl Fence to Look Like Wood
Many homeowners like the durability of vinyl fencing but want the attractive look of a wood fence. Painting vinyl fences to resemble wood is popular for this reason.
With the right painting techniques, vinyl fences can be made to convincingly mimic wood types like cedar, pine, cypress, or redwood in color and grain pattern:
- Base Coat Color – Choose an opaque wood-tone paint color to use as your base coat. Tan, brown, gray, sage, or other woodsy neutral colors work well.
- Grain Texturing – Use a graining tool, brush, rag, or sponge to create irregular vertical strokes in the wet base coat to emulate wood grain texture.
- Highlighting – Once dry, accent the grain depressions with a slightly lighter shade using a dry brush technique. Wipe highlights across the grain to increase contrast.
- Varied Shades – Slightly vary the base color coat between fence sections or pickets to mimic varied wood tones.
- Knots – Dab on dark brown paint blobs using a crumpled paper towel to create fake knots in the wood grain. Vary size and placement.
- Weathering – Add gray, brown or black dry brushed detailing to edges and corners to replicate worn wood. Use sparingly for a subtle effect.
- Clear Coating – Once painted, apply 1-2 coats of clear sealer for added protection and sheen. Satin or semi-gloss finishes enhance the wood effect.
With practice, vinyl fences can be painted to convincingly resemble the look of natural wood. Using multiple colors and finishes together builds realism. Focus weathering efforts along the bottom of fences.
Hiring a professional faux painter for full wood graining effects can yield extremely realistic results. But carefully following the steps above allows DIYers to also paint vinyl fences to mimic wood with great outcomes.
Can You Use Spray Paint on Vinyl Fences?
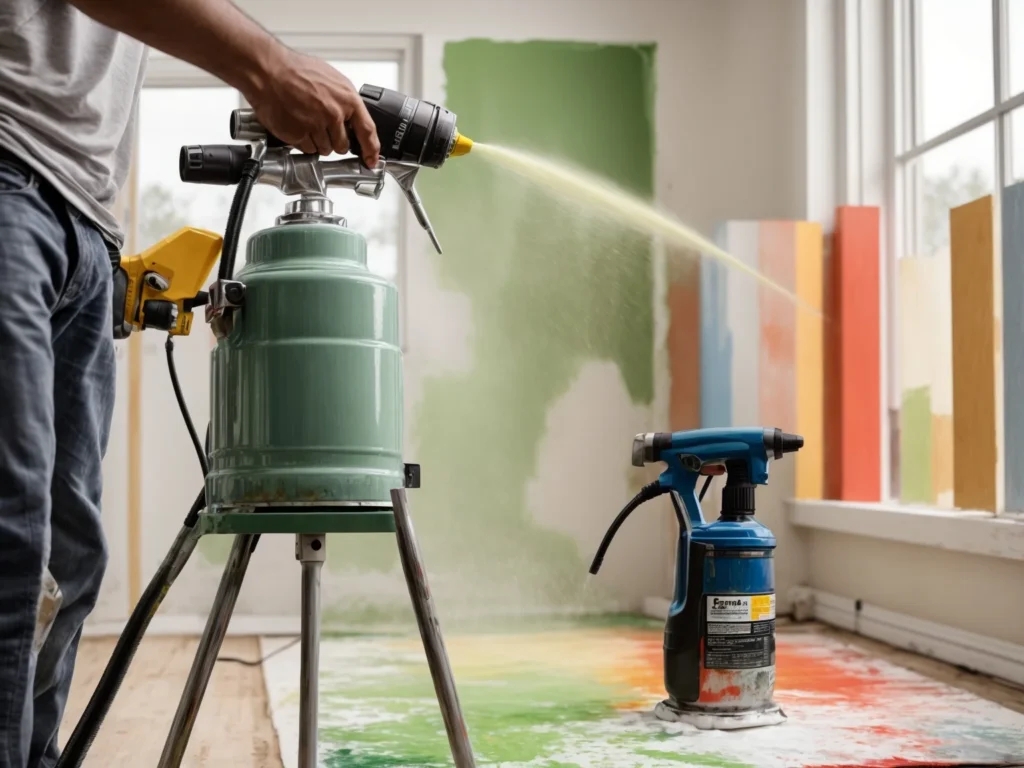
While brushing and rolling paint is most common for painting vinyl fences, using spray paint is also an option.
Spray paint can provide an even coat on vinyl fences, especially on intricate picket designs. It allows painting vinyl fences with less brush marking compared to brushwork.
For best results spraying vinyl fences:
- Use exterior primer and acrylic paint designed for plastics in a spray can or with a spray gun.
- Lightly sand and clean the vinyl fence prior to starting.
- Hang drop cloths behind the fence to prevent overspray.
- Apply multiple light coats rather than one heavy coat for a smooth finish.
- Allow proper drying time between coats.
- Use caution painting pickets, as spray paint can easily “wrap” onto the opposite side.
- Brush paint corners and edges first before spraying the large areas.
With proper prep and technique, spray painting vinyl fences can yield great results. But brush painting may still be easier for many DIYers to control.
How Long Does Paint Last on Vinyl Fences?
How long paint lasts on vinyl fences depends on several factors:
- Surface Prep – Proper sanding, cleaning, and priming are vital for paint adhesion and longevity.
- Quality Paint – Higher quality exterior acrylic paint lasts longer than cheaper paint. Match paint to the surface.
- Exposure – Fences in full sun and weather fade faster than shaded areas. Heat and humidity shorten paint life.
- Application – Brushing paint into crevices leads to longer lasting results than spraying.
- Maintenance – Touching up worn areas and reapplying clear coats helps extend paint.
On average, exterior paint on vinyl fences can last 2-5 years or more with proper application and maintenance. Paint in shaded or protected areas may last 5+ years. Exposed areas may need repainting every 2-3 years.
Proper prep and using premium paints can maximize durability. Inspect painted vinyl fences yearly and perform touch-ups to extend the life of the paint job.
Maintaining Painted Vinyl Fences
Regular maintenance is key for keeping painted vinyl fences looking their best. Here are some tips:
- Wash the fence 1-2 times per year using mild cleaners and a soft brush. Avoid pressure washing.
- Inspect the paint yearly for any worn spots, peeling, or cracks. Spot prime and paint as needed.
- For added protection every 2-3 years, reapply a fresh coat of quality exterior paint.
- Repair any scratches, chips or damaged paint to prevent moisture getting under the paint.
- Consider applying a new clear topcoat every few years for added durability and UV protection.
- Avoid leaning objects against painted fences to prevent damaging the paint.
With proper care and maintenance, painted vinyl fences can keep their beautiful, freshly painted look for many years. Taking steps to maintain and touch-up paint annually is worth the effort.
Should You Hire a Professional or DIY Painting a Vinyl Fence?
Painting vinyl fences can be accomplished by homeowners but is considered a more challenging DIY project. Hiring a painting pro is advisable for many, especially first-timers.
Benefits of Hiring a Professional Painter:
- They have experience specifically with painting vinyl and plastics.
- Professionals have the right commercial-grade equipment and paint products designed for vinyl.
- They know all the tricks for proper prep, priming, painting, and finishing vinyl.
- A crew can paint a fence efficiently in less time than a DIY homeowner.
- Pro painters can expertly create wood grain textures that look realistic.
- Hiring a pro saves the hassle and protects your investment in the fence.
Benefits of DIY Painting a Vinyl Fence:
- Painting the fence yourself costs less than hiring a painting company.
- You can paint on your own timeline instead of waiting for a painter’s schedule.
- DIY allows you to customize the color choices and finish.
- Painting vinyl fences is doable for many homeowners who are thorough and patient.
While hiring a professional painter is often advisable, with the right materials and commitment, DIYers can also successfully paint their own vinyl fencing if careful to follow all preparation and application steps.
Conclusion
Although it requires much more rigorous preparation compared to wood, painting vinyl fences can revive their appearance and color. With proper cleaning, sanding, priming, and using compatible paints designed specifically for vinyl, you can achieve great painted results.
Pay close attention to properly prepping the existing vinyl fence before painting for success. Be sure to apply multiple coats of high-quality exterior primer and paint to ensure long-lasting adhesion and coverage. Proper maintenance will keep your painted vinyl fence looking fresh and new for years.


