
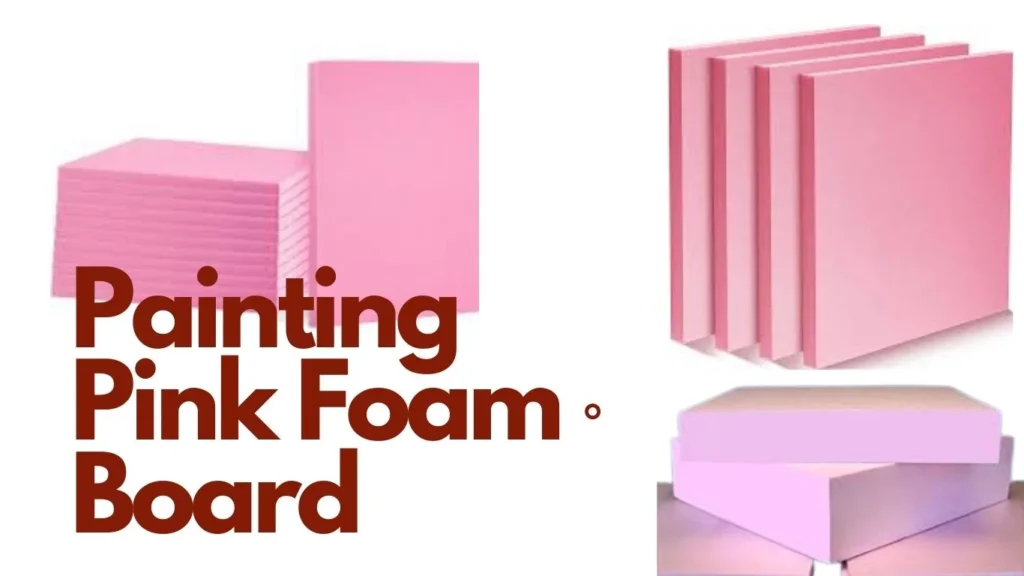
Pink foam board, or extruded polystyrene foam, is a versatile material used for arts and crafts, construction, packaging, displays, and more. Its soft, lightweight, and easy-to-cut properties make it ideal for shaping, carving, and creating almost anything you can imagine.
But pink foam’s naked styrofoam appearance leaves much to be desired. This where paint comes in—adding color, patterns, and designs takes foam projects to the next level. Painting foam board opens up endless creative possibilities, allowing it to blend better with other materials in mixed-media projects.
This guide will cover everything you need to know about successfully painting pink foam board.
Can You Paint Pink Foam Board?
The short answer—yes! Pink foam board can be painted to transform its look. However, the key is choosing the right type of paint formulated to adhere to foam properly.
Oil-based paints, such as those used on wood or metal, will damage foam board. The oily components cause the polystyrene foam to deteriorate and melt. So oil-based enamels, stains, and outdoor paints are out.
Instead, water-based acrylic, latex, or craft paints are recommended for foam board. The watery acrylic polymers form a flexible coating that sticks to the foam surface. Acrylics dry quickly, blend easily, and clean up with water.
A primer should be applied first for foam’s highest quality, longest-lasting paint job. Primers formulated especially for plastics provide maximum adhesion.
Selecting the Right Paints and Primers
When selecting paint for foam board, look for:
- Water-based acrylic or latex – These water-based paints are safe for polystyrene foam. Latex paints are more flexible when dry.
- Low or no VOC – Paints with low or zero VOCs (volatile organic compounds) are better for indoor use. VOCs can be harmful and cause the paint to react with foam.
- Craft paint – Multi-surface craft acrylics from brands like Plaid FolkArt work well and come in many colors.
For primer:
- Plastic primer – Provides extra grip on slick surfaces like foam board. Krylon and Rustoleum make reliable plastic primers.
- Gesso – Gesso provides a canvas-like surface for painting while sealing the foam.
Avoid enamel, oil-based, or outdoor paints as they can melt, eat away, or warp foam board. Test paint on scrap foam to ensure compatibility.
Preparing Foam Board for Painting
Proper preparation is key to achieving smooth, even coverage when painting foam board:
1. Wipe Surface – Remove dirt, dust, or debris with a damp cloth. Let the foam dry completely.
2. Lightly Sand – For better paint adhesion, lightly sand the surface with fine 320+ grit sandpaper.
3. Apply Primer – Use a plastic primer or gesso to seal pores and provide a grip for paint. Apply in thin, even coats.
4. Allow Primer to Dry – Let primer fully dry per label instructions before painting, usually 1-2 hours.
Paint Application Tips and Techniques
Follow these tips when applying acrylic paint to primed foam board:
- Use soft synthetic bristle brushes made for acrylics. Avoid stiff bristles which can scratch the foam surface.
- Work in thin, smooth coats. Thick globs can crack or peel.
- Blend and feather edges for a seamless look.
- Allow paint to dry between coats, usually just 30-60 minutes.
- Consider a final clear acrylic sealer for added protection.
Wet-on-Wet Technique
Wet-on-wet painting involves blending colors directly on the foam while the paint is still wet. Working quickly, apply and mix paints to achieve soft effects like color gradients, clouds, and smooth transitions.
Dry Brushing
Dry brushing adds texture and dimension to painted foam. Dip a stiff bristle brush in paint then wipe most of it off on a cloth. Lightly sweep across foam surface, letting paint just skim the raised areas. Build up layers for weathered effects.
Sponging
Dab or stipple paint on foam board with a natural sea sponge or applicator. Vary pressure for organic, mottled patterns. Sponging works well for stone, coral, and rock textures.
Stencils
Use cardboard, plastic, or metal stencils to create intricate designs, patterns, lettering, and shapes. Secure the stencil flat to foam, then apply paint over it with a brush, roller, or airbrush.
Freehand
With some practice, foam can be painted freehand with detailed styles like graffiti, murals, trompe l’oeil, faux finishes, and more. Use fine brushes for control.
Priming and Painting Foam Board Edges
For a complete, finished look, paint all exposed edges of foam projects, not just the front surface. To prevent foam from absorbing paint unevenly:
- Seal edges with an extra coat of primer, letting it dry fully.
- Then apply paint, keeping brush strokes vertical and consistent as you cover edges.
- For sharp corners or details, use a small trim brush.
Painting just the foam surface can leave white edges visible, so prime and coat all sides for best results.
Painting Intricate Foam Shapes, Details, and Carvings
To paint highly detailed foam board creations:
- Prime and dry fully before painting to prevent absorbed paint unevenness.
- Use small, fine tip brushes to reach into crevices and curves. Craft and miniature brushes work well.
- Try dry brushing to highlight raised edges and carvings with color and dimension.
- Airbrushes are great for evenly coating complex or intricate shapes.
- Work slowly and carefully. Allow sections to dry before moving on.
- Touch up any misses later with matching paint.
Painting Foam Board Outdoors, Walls, and Murals
For outdoor foam projects or large indoor murals:
- Use exterior latex house paint for weather-resistance. Add texture with sand mix.
- Primer helps paint bind better for a long-lasting finish.
- For walls, apply paint in vertical sections for less streaking.
- Overlap edges and blend sections. Work top to bottom.
- Use rollers, brushes, or sprayers to cover large scale projects efficiently.
- Allow extra drying time for thicker paints; check label.
Can You Spray Paint Foam Board?
Yes, spray paints work extremely well on foam board, offering quick, even coverage. Look for acrylic spray paints made for use on plastics.
Tips for Spray Painting Foam:
- Primer helps paint stick and prevents foam from absorbing unevenly.
- Work in a ventilated area and wear a respirator.
- Shake can vigorously; hold 10-12 inches from surface.
- Use light, consistent back-and-forth strokes for smooth coats.
- Let dry fully between coats. Multiple thin layers look better than one thick coat.
- Can also use spray paints specifically for foam or crafts.
What Kind of Glue Sticks to Painted Foam Board?
Once painted, foam board can be glued together or onto other materials. Good adhesive options include:
- White glue – PVA and wood glues bond well to painted foam. Allow to cure fully.
- Superglue – Cyanoacrylate (superglue) provides fast, rigid bonds for gluing foam.
- Hot glue – Works best for quick, removable bonds rather than permanent ones.
- Contact cement – Strongly adheres foam to wood, plastic, and metal. Let dry completely.
- Epoxy – Two-part epoxies form the strongest, long-lasting bond but take longer to cure.
Avoid solvent-based adhesives than can dissolve foam. Always test adhesives on scraps first.
Can You Use Acrylic Paint Pens on Foam?
Yes, acrylic-based paint pens and markers work extremely well for drawing, writing, and detailing on bare or painted foam. The acrylic paint flows smoothly while providing opaque, permanent marks that won’t fade.
Shake pen well and test first before decorating foam projects. Paint pens allow you to easily add precise designs, lettering, illustrations or accents over acrylic painted backgrounds.
Tips for Painting Different Foam Board Elements
Figures and Props – Use a plastic primer first. Dry brushing adds realistic definition. Airbrushing works well for gradients.
Faux Finishes – Create wood grain, marble, and more with paints, rags, sponges, and rollers. Undercoat in dark colors first.
Waterscapes – Use acrylic pouring techniques or wet-on-wet blending to create water effects. Add layers and textures.
Stone and Rocks – Basecoat gray, brown, or black. Dry brush highlights and details. Stipple on grainy and sandy textures.
Skies and Clouds – Lightly blend blues and whites while wet for soft clouded skies. Use a dry brush for whispy cloud edges.
Fire and Smoke – Blend yellows, oranges, and reds for fire. Stipple on gray and black dry brush for smoke effects.
Foliage and Trees – Use sea sponges and crumpled paper for dappled leaf textures. Paint wispy branches. Add details with dry brush.
Buildings – Use rigid paint brushes and masking tape for clean lines and details. Dry brush weathered textures.
Roads and Pathways – First paint the base color. Use a dry brush to add borders, cracks, gravelly textures, lane markers.
Water – In thin layers, blend blues and whites to create waves, ripples, and reflections. Finish with a gloss sealer.
Metal – Prime first for realistic metallic sheen. Then dry brush on shadows, highlights, weathering, and rust effects.
Avoiding Common Paint Issues on Foam
To prevent problems when painting foam projects:
- Use the right paints meant for foam—acrylics and latex. Avoid oil-based.
- Apply in thin coats, allowing proper drying time between layers.
- Mix paint thoroughly so pigments don’t separate and globs occur.
- Work in a dust-free space to minimize debris sticking in paint.
- Don’t soak foam in paint. Excess pooling can cause drips and sagging.
- Seal all edges and sides too for an even finish all over.
- Gently sand any drips or uneven areas before final coat.
Painting vs Using Colored Foam Board
While painting foam provides endless options for custom colors and designs, colored foam boards are also available. These come pre-tinted in various hues like black, red, green, blue, yellow, and more.
Painting pros:
- Unlimited color and pattern possibilities
- Can cover large scale projects more cost effectively
- Allows blending and layering for distressed effects
- Adds protection and durability to finish
Colored foam board pros:
- No drying time or fumes
- Consistent, uniform color throughout
- Easy to glue and bond for construction
- Good for small projects or accent pieces
So weigh your project needs – painting likely works best for artsy, decorative pieces. But for structural building uses, pre-colored foam can be ideal.
Safety Tips for Painting Foam Board
Take these precautions when painting foam:
- Work in a well-ventilated area, preferably outdoors.
- Wear a protective face mask or respirator to avoid inhaling fumes.
- Use paints with low or zero VOCs for less off-gassing.
- Avoid spray painting indoors.
- Wear gloves and eye protection when spray painting.
- Rinse brushes immediately after use to remove residual paint.
- Allow painted projects to fully cure before use fully, typically 24-48 hours.
- Dispose of paint-contaminated rags properly to prevent fires.
With the right acrylic paints and preparation, foam board transforms from plain pink to a vivid, professional-looking material suitable for endless indoor and outdoor applications.
The versatility of painting foam board opens up limitless possibilities for bringing creative projects to life. Have fun experimenting with colors, textures, and designs! Just be sure to use the proper paints formulated for foam to achieve lasting results.

