
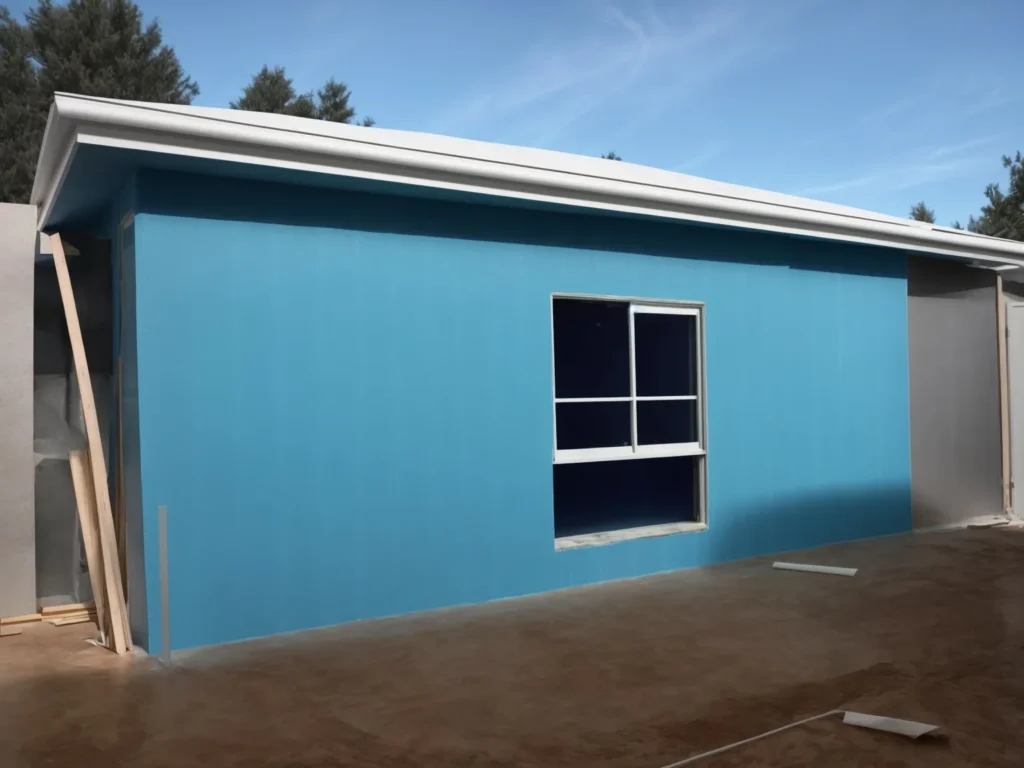
What is Blueboard? Blueboard, also known as blue drywall, is a type of moisture-resistant gypsum board that is commonly used as a backing material for veneer plaster finishes. It has a dark bluish-gray facing paper on the front, back, and long edges, which gives it its distinctive blue color.
Some key features of blueboard:
- Provides moisture resistance and mold/mildew resistance
- Designed as an underlying surface for veneer plaster finishes
- Made from specially formulated gypsum with fibers and additives
- Facer paper is saturated with asphalt for moisture protection
- Thicker and denser than regular drywall
Blueboard offers superior protection against moisture penetration compared to regular greenboard drywall. This makes it ideal for wet areas like bathrooms and kitchens. The moisture-resistant properties also prevent degradation or weakening of the plaster bond.
Can You Paint Directly on Blueboard?
While blueboard is designed as an underlying surface for veneer plaster, it is possible to paint directly on the blueboard. However, there are some special considerations to keep in mind when painting blueboard without a plaster skim coat:
Use a masonry primer
It’s important to start with a high-quality masonry primer when painting directly on blueboard. The primer will help the paint adhere properly to the denser blueboard surface. Look for a primer labeled for use on concrete, stucco, cinder blocks or other masonry surfaces.
Apply multiple finish coats
You will likely need more finish paint coats to fully cover the dark blueboard surface compared to painting over plaster or regular drywall. Expect to use at least 2-3 coats of paint for full coverage and uniform results. The rough surface texture of the blueboard facer paper will also require extra paint.
Sand rough areas first
Any rough spots or uneven joints on the blueboard should be sanded smooth before painting. This helps produce a more uniform surface for the paint. Be careful not to sand too aggressively and damage the moisture-resistant facer paper.
Check manufacturer recommendations
Some blueboard products have specific primer and paint requirements, so always check the manufacturer’s recommendations first. They may require using only compatible paint formulas.
Prepping Blueboard for Paint
Proper prep work is crucial for successful painting results on blueboard. Here are some tips for getting blueboard ready for paint:
- Repair any cracks, holes, imperfections with joint compound just like drywall
- Sand any ridges or high spots smooth after repairs are complete and dried
- Remove all dust with a tack cloth after sanding to remove any powder or debris
- Check for any glossy areas and degloss first so the paint can adhere
- Apply a high-quality alkaline-resistant primer made for masonry
- Allow the primer to fully dry as indicated on the label before painting
Take the time to correctly prep blueboard before painting, and it will help ensure the paint has a suitable surface to bond to.
Painting Over Blueboard Plaster
For the best finish results, it is recommended to apply a thin veneer plaster finish over blueboard before painting. The plaster provides a more ideal surface for paint than the raw blueboard facer. Here are some tips for painting over blueboard with a plaster skim coat:
- Allow new plaster to cure completely, at least 2 weeks
- Check for any cracks in the plaster and repair before painting
- Lightly sand the plaster to remove any roughness or imperfections
- Apply a drywall primer designed for plaster before painting
- Typically only 1-2 finish paint coats needed over plaster
Rushing the painting process before plaster has fully cured can lead to cracks, lack of paint adhesion, and other problems. Be patient and let the plaster thoroughly dry first.
Choosing the Right Paint and Primer
Picking quality paint and primer products is also important for achieving great results painting over blueboard. Here are some recommendations:
Primers:
- Alkali-resistant primers made for masonry
- Interior drywall primer for plaster/masonry
- PVA or acrylic-based primers promote adhesion
Paint:
- Interior latex or acrylic enamel paints
- Paint with some elasticity to resist plaster cracks
- Matte or eggshell finishes hide imperfections best
Always check that the products are approved for use on blueboard and plaster materials. Avoid exterior paints and heavily textured paints which do not provide an adequate surface finish.
Paint Finish Coat Options
When painting blueboard, you have several options for the type of final paint finish:
- Flat – Excellent hide and coverage, economical, prone to scuffing
- Matte – Minimizes plaster imperfections, easy to clean, velvety finish
- Eggshell – Slight sheen, great durability and touch-up, shows some flaws
- Satin – Low luster sheen, durable with good stain resistance
- Semi-Gloss – Very durable and washable, requires perfect surface prep
Typically a flat, matte or eggshell paint will provide the best results over blueboard. Semi-gloss has a higher sheen which can accentuate any imperfections.
Painting Blueboard in Bathrooms
Since blueboard is moisture-resistant, it is commonly used as the wall backing surface in bathrooms prior to adding tile or plaster finishes. If painting a bathroom’s blueboard walls:
- Check for any signs of moisture damage and repair before painting
- Allow new plaster coats to cure fully prior to painting
- Use a kitchen/bathroom paint designed for high humidity
- Apply at least 2-3 finish coats for moisture resistance
- Add a primer coat first for better paint adhesion
- Maintain proper ventilation when painting bathrooms
Utilizing the right bathroom paint will help prevent moisture penetration and humidity damage after painting blueboard.
Painting Over Blueboard vs. Drywall
There are some key differences when it comes to painting over blueboard compared to regular drywall:
- More paint coats – Expect to use 2-3 coats minimum to cover blueboard instead of just 1-2 for drywall
- Rough surface – The plaster facer on blueboard is rougher than drywall paper requiring extra sanding and prep
- Dense material – The paint surface does not penetrate blueboard as easily as drywall
- Dark color – The dark blue-gray facing will show through paint requiring extra coverage
- Specialty primer – A masonry primer is ideal to promote adhesion to the dense blueboard
- No texture – Skip heavily textured paints that will hide blueboard imperfections instead of covering them
So in general, painting smooth uniform finishes on blueboard takes a little more work than regular drywall. But with the right prep and paint products, you can achieve professional looking results.
Painting Blueboard Outside Corners
The outside corners where blueboard sheets meet present some specific painting challenges. Here are a few tips for getting great results when painting blueboard corner joints:
- Prefill corner gaps with setting-type joint compound – it bonds better than all-purpose
- Apply fiberglass mesh tape over corners and embed into compound
- Feather out corners with a 6” drywall knife for a smooth transition
- Let compound fully dry before sanding corners smooth
- Prime and paint corner joints first before doing overall paint coats
- Use a small tapered paintbrush to paint into corners
Taking extra care with the outside corners will prevent cracked and peeling paint in those high-stress areas.
Painting Inside Blueboard Corners
The inside corners where blueboard meets also requires some special treatment when painting:
- Avoid simply taping inside corners which can lead to cracking as plaster shrinks
- Apply a thin layer of joint compound into the inside corner
- Smooth the compound out at least 6 inches on both sides
- Feather the edges of the compound to create a gradual transition
- Let compound fully dry before sanding smooth
- Prime and paint inside corners before overall wall paint coats
- Use angled mini rollers and brushes to reach fully into the corner
This helps create a more durable painted surface inside the rigid blueboard corners.
Troubleshooting Common Paint Problems on Blueboard
Painting directly over blueboard can sometimes lead to certain issues. Here are some common paint problems and how to fix them:
Flashing – This is when the blueboard color shows through the paint, especially at the seams. Cause is insufficient primer or paint. Fix by applying another coat of primer and paint in the affected areas.
Cracking – Hairline cracks appear in the paint film. This is often caused by painting over uncured plaster or painting in very cold conditions. Touch up by scraping or sanding cracks smooth, spot priming, and repainting.
Peeling – The paint peels away from the surface revealing the substrate underneath. Peeling is usually due to poor surface prep or using the wrong type of paint. Completely remove loose paint, sand, prime and repaint.
Bubbling – Small air bubbles appear underneath the paint. Moisture from uncured plaster or painting in humid conditions can cause this. Sand down to remove bubbling paint, allow surface to fully dry, and repaint.
Poor adhesion – This is when the paint does not properly stick to the blueboard surface. Causes include inadequate surface prep, no primer used, or incompatible paint type. Completely strip and remove loose paint, properly prepare the surface, apply compatible primer and repaint.
Mildew growth – Painted surfaces may have mildew growth if exposed to excessive moisture. Clean off mildew with bleach solution. Identify and fix underlying moisture sources before priming and repainting.
Efflorescence – White powdery deposits appear on the paint surface. This is caused by mineral salts from moisture reacting with the plaster or blueboard. Remove deposits by scrubbing and let the surface fully dry before priming and painting.
Carefully following preparation, painting, and drying recommendations when painting over blueboard will help avoid these common paint finish problems.
Cleaning and Repainting Blueboard
Over time painted blueboard surfaces may need some freshening up by cleaning and applying new paint coats. Here is the proper process for repainting blueboard:
- Lightly scrub walls with TSP substitute cleaner and rinse to remove dirt and grease
- Sand painted surfaces to degloss and roughen the surface
- Rinse again and allow walls to fully dry
- Spot prime any unpainted areas with appropriate primer
- Apply 1-2 coats of new paint over the entire surface
- Use same paint formula as existing paint for best results
- Focus on problem areas like corners and joints needing the most refresh
This will provide a clean and uniform surface for the new paint coats.
Paint Sheen Recommendations
Here are some recommendations on which paint sheen provides the best results over blueboard:
- Flat – Great for hiding surface defects, not very durable
- Matte – Minimizes imperfections, velvety finish, somewhat durable
- Eggshell – Provides some sheen while still hiding minor flaws
- Satin – Durable moderate sheen good for higher traffic areas
- Semi-Gloss – Very shiny and durable but requires perfectly smooth surface
Typically, flat or matte finishes look best over recently painted or repaired blueboard. Eggshell offers a nice compromise between durability and hiding ability. Use semi-gloss cautiously over any blueboard imperfections since it will highlight flaws.
Best Paint Brands for Blueboard
Based on performance testing and reviews, these top paint brands are recommended for use on blueboard:
- Behr Premium Plus Interior
- Benjamin Moore Regal Select Interior
- Sherwin-Williams ProClassic Interior
- PPG Timeless Interior
- Valspar Reserve Interior
- Glidden Premium Interior
Always check that the specific paint line and finish is formulated to be applied onto plaster, masonry and blueboard substrates. Stay away from budget economy paints which do not adhere or cover as effectively. Invest in a quality premium paint for reliable results on blueboard.
Painting New vs. Existing Blueboard
Painting over new unpainted blueboard differs from painting over an existing painted surface:
New unpainted blueboard:
- No need to degloss or remove existing paint
- Requires more complete priming and sealing
- Will likely require 3+ finish paint coats for full coverage
- Joint compound and repairs absorb more paint so spot prime first
Existing painted blueboard:
- Lightly sand and degloss painted surface
- Clean dirt, grease and contaminants from prior paint
- Spot prime any new repairs or unpainted areas
- 1-2 finish paint coats is usually sufficient
- May need extra coats on repaired or damaged sections
So more preparation work is required when painting new bare blueboard. Existing painted blueboard just needs some light prep before applying 1-2 fresh paint coats.
Cost to Paint Blueboard
The cost to paint blueboard walls or ceilings will depend on several factors:
- Square footage of the blueboard area being painted
- Whether new or previously painted blueboard
- Number of paint coats needed for full coverage
- Labor rates in your geographic area
- Type and quality of paint used
On average, expect to pay $2-$4 per square foot for painting blueboard professionally. This may require a masonry primer, at least 2-3 finish coats, materials, and labor. Painting it yourself can reduce costs to under $1 per square foot.
Painting Tips and Techniques for Blueboard
Follow these tips when painting directly over blueboard:
- Thoroughly mix paint before and during application to ensure color consistency
- Use high quality mini roller sleeves designed for smooth surfaces
- Maintain a wet edge and work in sections to prevent lap marks
- Cut in edges first with brush, then immediately roll coat the surfaces
- Apply paint generously to fully saturate the denser blueboard surface
- Work methodically and systematically around the room or wall sections
- Use painter’s tape for clean lines and edges if needed
- Follow all paint drying times according to manufacturer guidelines
Using proper painting techniques will provide longer lasting results and a neater professional looking finish on blueboard surfaces.
Conclusion
While it takes a little extra effort, you can achieve great looking painted finishes directly on blueboard. With the right prep work, primer, paint selection, application techniques, and finish coat options, blueboard walls and ceilings can have a beautiful uniform painted surface. Just be sure to address the unique challenges and differences compared to painting over standard drywall. Patience and allowing proper drying times is also key. Applying these best practices for painting blueboard will help ensure your paint job resists cracking and lasts for years before needing touch ups or refreshing.

