
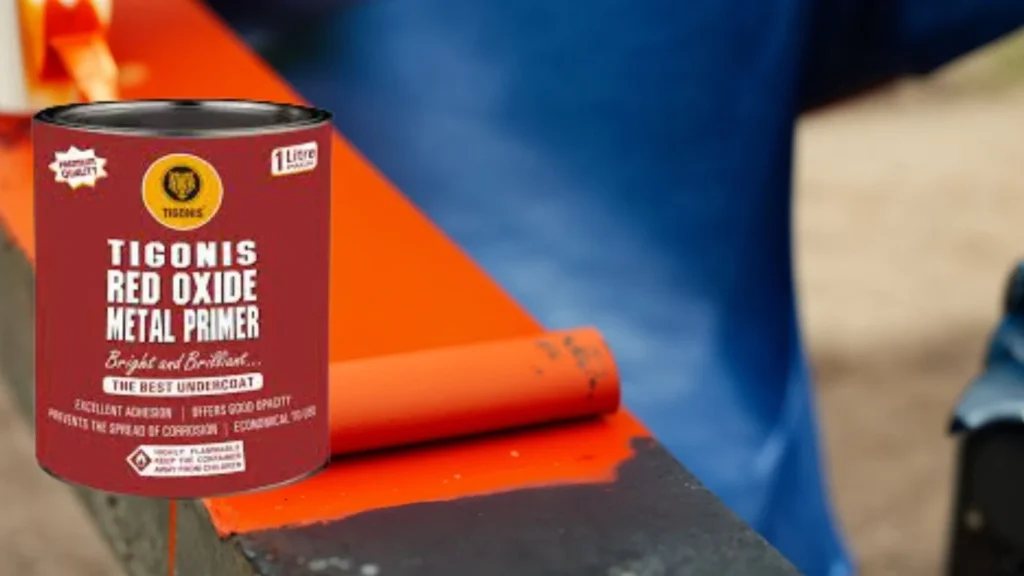
Red oxide primer is common at any hardware store or home improvement center. Its bright red-orange color makes it easily recognizable. But what exactly is red oxide primer, and why is it so popular?
Red oxide primer, or red lead primer, protects ferrous metal surfaces.
It contains red iron oxide pigment, which provides excellent corrosion resistance. The red oxide coating forms an insulating barrier that prevents moisture and oxygen from reaching the metal surface.
Red oxide primer has been used for over a century, from wrought iron fences and railings to steel beams and equipment. Its versatility and effectiveness have made it a staple in industrial applications and home DIY projects.
But one common question often comes up regarding red oxide primer – can you paint over it? The short answer is yes, you can successfully paint over red oxide primer under the right conditions. However, there are some important factors to consider first.
Understanding Red Oxide Primer
Before painting over red oxide primer, it’s helpful to understand what it is and how it works.
Red oxide primer is formulated using iron oxide pigments suspended in an oil or alkyd binder. The iron oxide provides corrosion resistance while the binder allows the pigment to adhere to the metal surface. Additional agents like siccatives help accelerate drying.
The most common types of red oxide primer include:
- Oil-based – Contain alkyd binders suspended in a petroleum solvent. Offer good adhesion and corrosion resistance. Require mineral spirits for cleanup.
- Water-based – Use acrylic resins as binders instead of alkyd. Lower odor and easier cleanup with water. Less effective on severely rusted surfaces.
- Aerosol – Offer quick, easy application for small projects. Use a combination of solvents as propellants. Clean up with mineral spirits.
Red oxide primer is formulated to stop existing rust and prevent further corrosion. The primer bonds well to properly prepared metal and provides a robust foundation for additional paint layers.
Proper surface prep is vital before applying red oxide primer. All loose paint and rust must be removed to create a clean surface for the primer to adhere. Sanding, wire brushing, and scraping are commonly used to get down to bare metal.
Red oxide primer prevents moisture and oxygen from reaching metal surfaces. This helps halt existing rust and prevent new rust from forming. The red oxide pigment creates an extra protection barrier compared to ordinary metal primers.
Preparing the Surface Before Painting
Thorough surface preparation is crucial before painting over red oxide primer. The topcoat of paint will only be as good as the foundation underneath.
All loose, flaking or blistering paint must be removed down to the bare metal. Sanding, scraping, wire brushing, and sandblasting effectively remove deteriorated paint layers.
Remove all traces of rust scale, flaking or powdery rust for heavily rusted surfaces. Hand scrapers, sandpaper, wire brushes or electric grinders quickly eliminate rust.
Degrease bare metal surfaces after cleaning using solvents like mineral spirits. This removes all oil, grease and other contaminants.
Sand all bare metal surfaces thoroughly after cleaning. Start with coarse grit sandpaper (80-100 grade) and work up to fine grit (120-220) for smooth results. Always sand in the direction of the grain.
Cleaning and sanding provide the ideal bare metal profile for red oxide primer to adhere. Always wear proper protective equipment like goggles, gloves and respiratory masks when prepping surfaces.
Applying Red Oxide Primer
Red oxide primer can be applied with brushes, rollers or spray equipment. Follow the manufacturer’s instructions for proper thinning and application.
The typical process for applying red oxide primer is:
- Shake or stir primer thoroughly before use.
- Thin the primer as needed for the application method.
- Apply 2-3 thin coats rather than one thick coat, allowing proper dry time between coats.
- Allow the final coat to dry at least 24 hours before recoating.
Thinning is usually not required for brush application but may help increase absorption on porous surfaces. For airless sprayers, thin with the recommended solvent like mineral spirits according to manufacturer guidelines.
Work in small sections to maintain a wet edge and prevent lap marks. Apply the primer liberally to work it into cracks and crevices. Avoid runs or sags by applying thin coats.
Let the primer dry thoroughly between coats – usually at least 8-24 hours depending on conditions. Cooler temperatures or high humidity will extend dry times. Drying overnight is recommended before recoating.
The primer should form a smooth, continuous film free of defects, runs or irregularities. Sand lightly between coats to remove any debris or roughness. Always follow the manufacturer’s recoat windows.
Painting Over Red Oxide Primer
You can apply compatible topcoats once the red oxide primer has fully cured. But what types of paint work best for painting over red oxide primer?
Oil-based or alkyd paints provide excellent adhesion over red oxide primer. The alkyd binders in the primer form a good foundation for more layers of alkyd paint. Rust-inhibitive enamel paints work especially well.
Latex or acrylic paints can also be used successfully over red oxide primer. First apply an oil-based intermediate coat to improve adhesion. Or use a high-bonding latex primer specifically designed for metals.
Epoxy paint coatings are another good option. Make sure the red oxide layer has fully cured first. Scuff sand before applying the epoxy for better mechanical adhesion.
Some guidelines for painting over red oxide primer:
- Allow the primer to dry at least 24 hours before painting. Longer is better for full curing.
- Lightly sand the primer before painting to improve adhesion.
- Apply 2-3 thin finish coats rather than one thick coat for a smoother finish.
- Use high-quality brushes and rollers suited for the paint type.
- Follow the paint manufacturer’s instructions for dry times between coats.
It’s also a good idea to spot prime any bare metal areas that get exposed before applying the topcoats. Use the same red oxide primer for spot priming to maintain uniform protection.
Avoiding Issues with Red Oxide Primer Bleed-Through
One potential issue with red oxide primers is bleed-through of the red pigment into the topcoat. This causes staining or discoloration of the finish paint.
Bleed-through happens when the topcoat isn’t thick enough to completely block the red pigment underneath. Oil-based paints are less prone to bleed-through compared to latex paints.
Here are some tips to prevent red oxide bleed-through:
- Ensure the primer has fully cured before painting – wait at least 24 hours.
- Apply a full two coats of high-quality primer for better coverage.
- Use an intermediate barrier coat like white metal primer between the red oxide and finish coat.
- Opt for a paint with high opacity and hiding power.
- Apply enough topcoat – three thin coats are better than one or two thicker coats.
- Allow proper drying time between applying paint coats.
Catching bleed-through early is key. If you notice red tinting the first topcoat, stop painting and apply another barrier coat of white metal primer before continuing.
Using Red Oxide Primer on Non-Ferrous Metals
Traditionally red oxide primer is used on iron and steel. But can you use it on non-ferrous metals like aluminum, galvanized steel, copper or zinc?
Red oxide primer is not ideal for these reactive metals. The primer composition can cause adverse chemical reactions on metals other than steel and iron.
For non-ferrous metals, it’s recommended to use a specialty primer designed for the specific metal substrate. Some options include:
- Aluminum – Etch primers containing zinc phosphate or vinyl wash primers.
- Galvanized steel – Zinc-rich primers or dedicated galvanized metal primers.
- Copper – Acid etch primers capable of biting into the copper surface.
- Zinc – Vinyl wash primers or two-part epoxy primers.
Consider a universal metal primer rather than red oxide if you need corrosion resistance on various metal types. Just make sure it’s compatible with all the metals requiring protection.
Using Red Oxide Primer Indoors vs. Outdoors
Red oxide primer can be used both indoors and outdoors. However, there are some considerations for where it will be applied:
Indoors
- Use low odor water-based or aerosol red oxide primers.
- Ensure adequate airflow and ventilation during application and drying.
- Allow for longer dry times – humidity is higher indoors.
Outdoors
- Oil-based red oxide primers withstand weathering better than water-based.
- Avoid painting in direct sunlight or on hot surfaces.
- Weather conditions affect dry times – allow longer drying between coats.
- Check dew point and don’t apply primer in high humidity conditions where condensation can form.
- Cover freshly painted surfaces in case of rain or snow.
- Apply primer and paint only within the manufacturer’s approved temperature range.
Whether painting indoors or outdoors, remember that proper surface prep and application are vital for red oxide primer success.
Using Red Oxide Primer for Specialty Applications
Beyond standard uses on metal infrastructure, red oxide primer also provides unique benefits for specialty applications:
Automotive – Ideal primer for auto body repair and restoration work. Provides excellent corrosion protection on bare metal panels, frames, and underbodies. Also useful as a single-stage protective finish on chassis components.
Miniatures/Models – The bright red color is perfect for priming miniature figures, scale models, and railroad sets before finish painting. The thin consistency allows it to seep into fine details.
Fences/Gates/Railings – Red oxide primer helps metal fences, railings, and gates stand up to the elements. It’s commonly used as the first coat under agricultural equipment enamel topcoats.
Decorative Ironwork – Provides an ideal base layer when repainting wrought iron furniture, candle stands, plant holders and decorative interior/exterior ironwork.
Antique Restoration – An essential primer choice for restoring the original finish on antique iron, steel and metal garden furniture. Helps preserve vintage items for years to come.
Welds/Patches – Bare metal repairs and patches on equipment and machinery are often spot primed with red oxide primer before finish coating the entire piece.
Red oxide primer offers the right combination of corrosion protection, adhesion, and color for these unique applications. It allows more vibrant, decorative topcoat colors to shine through.
Avoiding Common Red Oxide Primer Mistakes
While red oxide primer simplifies painting metal surfaces, it’s still possible to make mistakes that hinder performance. Here are some key errors to avoid:
- Rushing surface prep – Not fully removing all rust or flaking paint results in poor adhesion.
- Applying primer too thick – Causes runs, sags, and uneven drying. Go for 2-3 thin coats instead.
- Painting over wet primer – Always allow the recommended dry time between coats for proper curing.
- Using excessive reducer – Overthinning the primer diminishes hide and protection. Follow manufacturer guidelines.
- Topcoating too soon – Applying finish coats before primer has fully dried leads to delamination or bleed-through.
- Neglecting safety gear – Wear goggles, gloves, and respiratory protection when prepping surfaces and applying primer.
- Spraying in unventilated areas – Ensure proper airflow to safely dissipate solvent fumes.
- Allowing exterior exposure – Red oxide primer requires a topcoat for long-term outdoor corrosion protection.
Removing Existing Red Oxide Primer
Need to get rid of existing red oxide primer before recoating a surface? Here are some effective options:
Sanding – Use coarse 60-80 grit sandpaper to aggressively scuff away primer. Avoid fine paper that clogs easily.
Scraping – For small areas or thick buildup, scrape primer off with a putty knife or paint scraper.
Chemical strippers – Look for methylene chloride-based strippers formulated for oil-based paints/primers.
Grinding discs – Use grinding attachments on a drill for quickly removing primer on large industrial surfaces. Wear proper PPE.
Media blasting – Soda blasting or dry ice blasting can all strip primer down to bare substrate while minimizing damage.
Heat guns – Slow heating followed by scraping helps soften and lift primer from metal. Don’t hold heat in one place too long.
Always test products/methods in a small inconspicuous spot first. Be cautious with lead-based primers and take safety precautions like wearing an organic vapor respirator. Proper primer removal allows for a clean slate for new paint.
Evaluating the Performance of Red Oxide Primer
Red oxide primer has been around for ages due to its proven performance on steel and iron:
Adhesion – Bonds tenaciously to ferrous metals while providing a firm foundation for paint topcoats.
Corrosion Resistance – Red oxide pigments inhibit rust and oxidation better than other metal primers.
Durability – Tough and abrasion-resistant film resists damage from weathering and use when topcoated.
Ease of Application – Brushes on easily and can also be rolled or spray applied. Compatible with a wide range of paint systems.
Color – Bright red color indicates full coverage. Easy to see areas that need spot priming.
Versatility – Can be used for small DIY jobs or large industrial coating projects.
Value – Very economical option compared to specialty metal primers.
Red oxide primer remains popular because it’s easy to use, long-lasting and provides unbeatable corrosion protection on iron and steel. It’s the ideal first step for any metal painting project when paired with a suitable topcoat.
Advanced Tips and Tricks for Red Oxide Primer
With the basics covered, here are some advanced pointers for getting the most out of red oxide primer:
- For superior adhesion, scuff sand cured primer before topcoating. This improves mechanical binding.
- Mix a small amount of zinc chromate pigment into the primer to enhance corrosion protection.
- Heat resistant additives let red oxide take more abuse from high-temp equipment and exhaust coatings.
- Adding earth pigments like yellow iron oxide helps tone the bright red color.
- Specialty epoxy and urethane red oxides offer greater chemical resistance for industrial uses.
- For decorative antiquing effects, highlight edges with black, then wipe away while primer is still wet.
- Sponge painting over cured red primer creates a mottled, rusted metal look for artistic pieces.
- Use an airbrush to apply thin red oxide washes for weathering scale models.
Don’t be afraid to get creative with red oxide primer! It can be used in many novel ways beyond basic metal protection with some experimenting.
Conclusion
Red oxide primer is the go-to solution for priming bare ferrous metal from a simple DIY home project to heavy-duty industrial equipment. Its proven corrosion resistance and strong adhesion provide the ideal topcoat paint or finish foundation. Following the proper preparation, application and painting steps outlined here, you can easily take advantage of red oxide primer’s many benefits. Just remember – patience and attention to detail are key. With the right prep work and coating strategy, red oxide primer will deliver outstanding, long-lasting protection and performance, allowing your paint finish to shine for years.

