Bondo is a versatile filler compound commonly used for auto body repairs and home improvement projects. Its quick-drying properties make Bondo an ideal solution for filling dents, dings, holes, cracks, and other imperfections in metal, wood, and fiberglass.
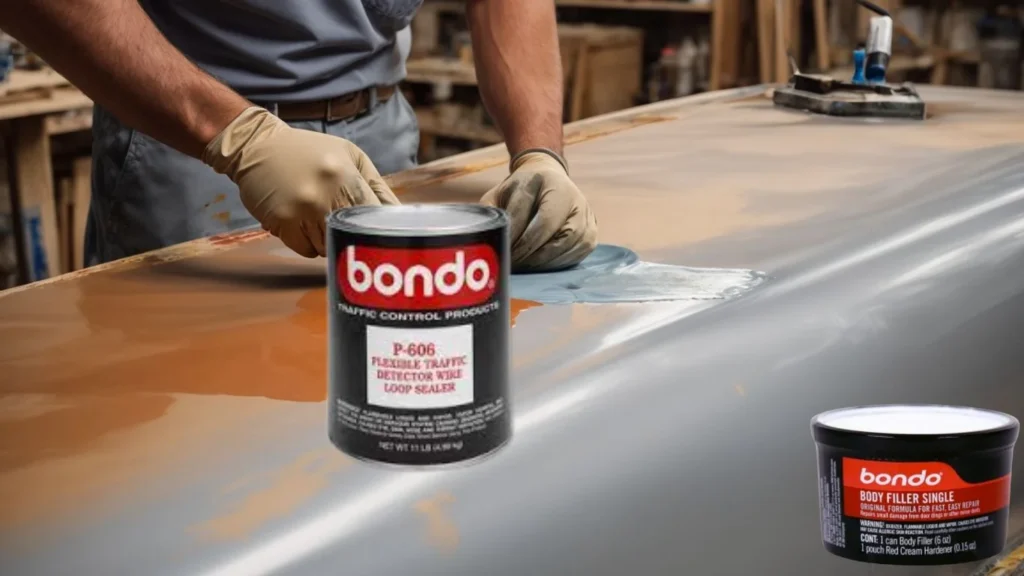
When it comes time to paint over Bondo repairs, many DIYers wonder if you can skip the primer and go straight to paint. The short answer is no—applying paint directly over Bondo without a primer in between can lead to an uneven finish, absorption issues, and other problems down the road. Using the proper primers ensures paint adheres correctly to the Bondo for more durable, long-lasting repairs.
Why Primer is Essential for Painting Over Bondo
Primer serves several important purposes when preparing Bondo repairs for paint:
- Seals the Bondo surface: Unsealed Bondo can absorb paint unevenly, resulting in a blotchy, inconsistent finish. Primer seals the filler to prevent absorption issues.
- Provides a uniform surface: Bondo repairs may have slight imperfections from sanding and filling. Primer creates an even, uniform surface for paint to adhere to.
- Promotes paint adhesion: Primers like 2K urethane and epoxy bond well to Bondo and topcoat paints, enhancing adhesion throughout the coating system.
- Hides minor flaws: Any remaining pinholes, scratches, or uneven areas are concealed by primer’s solid, opaque coverage.
Skipping primer jeopardizes these benefits and can lead to problems like:
- Absorption of paint: Unsealed Bondo soaks up paint, preventing an even finish. Dark spots may appear as Bondo absorbs more paint in certain areas.
- Poor paint adhesion: Paint may peel or scratch off repaired areas without primer to bond it to the Bondo fillers.
- Visible imperfections: Flaws in the Bondo surface telegraph through to the paint without primer to conceal them.
Overall, primer is necessary to ensure paint bonds tenaciously to Bondo repairs and achieves a durable, flawless finish.
Types of Primer for Use Over Bondo
Certain primers offer enhanced adhesion to Bondo’s unique surface while providing a strong foundation for paint:
- 2K urethane primer: A two-component primer that bonds extremely well to body fillers and sands easily for a smooth finish.
- Epoxy primer: This chemical-resistant primer excels at adhering to Bondo repairs on metal surfaces.
- High build primer: Extra thick primer that readily fills any minor imperfections in the Bondo surface.
- Fill primer: Formulated to fill small pinholes and scratches while providing excellent holdout.
Avoid general all-purpose primers as they may lack the filling and adhesive abilities needed over Bondo repairs. Consulting with paint specialists can help determine the right primer for specific auto body or home improvement projects.
Understanding Bondo’s Adhesion Properties
To grasp why primer is so critical when painting over Bondo, it helps to understand how Bondo adheres to surfaces in the first place.
Will Bondo Stick to Paint?
Bondo is not applied over existing paint for auto body work—it adheres best to bare metal after any paint or corrosion is removed. The same goes for home repairs. Bondo works optimally on raw wood, fiberglass, or metal surfaces. Paint acts as a release agent that prevents proper bonding.
That is why surfaces need thorough prep before applying Bondo:
- Bare metal: Sand, grind, or chemically strip to remove all rust and old paint for direct metal contact.
- Wood: Sand down to raw wood, removing any existing paint or finish.
- Fiberglass: Scuff and sand the gelcoat to open pores for bonding.
Proper prep allows Bondo to mechanically and chemically adhere to the bare substrate, creating a strong, lasting bond.
Bondo Bonds Tenaciously to Bare Surfaces
Bondo consists of polyester resin mixed with hardeners and fillers that undergo a chemical reaction, turning the paste into a hard, rigid filler as the material cures.
Bondo forms strong adhesion to properly prepped bare surfaces on a molecular level during this reaction. This makes it difficult for paint or primers to bond to Bondo without additional prep.
That’s why primer engineered over body filler is crucial—it provides a uniform surface coating that paint can latch onto.
Original Use of Bondo in Auto Body Repair
Bondo started in the 1950s as an auto body filler for repairing dents and damaged panels. The two-part epoxy resin proved ideal for:
- Filling dings and damage on sheet metal.
- Smoothing welded seams and repairs.
- Sculpting custom auto body shapes.
Its ability to cure quickly even in thin layers made Bondo a game changer for auto body work. Skilled technicians could mix small batches, apply it over bare metal, and sand it to a smooth finish.
Bondo remained popular primarily in auto repair shops for decades until DIYers began adapting it for home repairs. But following proper paint prep processes—including primer—remained essential throughout both applications.
Adapting Bondo for Home Repair Projects
While originally designed for metal, Bondo’s versatility makes it useful for many common home repairs:
- Patching holes in drywall and plaster walls
- Filling cracks or gaps around window frames
- Smoothing damaged areas on wood furniture
- Repairing cracks or deterioration in fiberglass boat hulls
- Filling defects and holes in plastic auto body parts
- Mending cracked or warped regions on wood window sills
For any of these home applications, the same principles apply regarding prep and painting:
- Sand and clean surfaces for adhesion
- Spread thin layers of Bondo as needed
- Sand cured Bondo to a smooth finish
- Apply proper primer before painting
The process may vary slightly between auto body and home projects but primer remains a vital step with Bondo either way.
How Bondo Application Differs in Home vs. Auto Contexts
While Bondo can adapt to home repairs, there are some differences in how it is applied compared to auto bodywork:
Mixing
- Auto use requires precise mixing to achieve consistent results across large surfaces.
- Home repairs involve smaller batches where uniformity is less crucial.
Applying
- Auto technicians apply Bondo with specialized tools like long boards and spreaders.
- Home DIYers can use basic putty knives and scrapers.
Sanding
- Auto projects demand extensive sanding for flawless finishes.
- Light sanding suffices for many home applications.
Priming
- Primers like urethane and epoxy are vital for auto paintjobs.
- Fill primers offer great results for homes.
With the right techniques, Bondo can adapt to both realms, but always requires proper priming before painting.
Step-by-Step: Using Bondo for Home Repairs
Here is a general process for using Bondo effectively on home improvement projects:
1. Prepare the Surface
- Remove any paint, varnish, grease, or old caulk from the damaged area.
- Sand surrounding regions to rough up the surface for better adhesion.
- Clean the area thoroughly with denatured alcohol to remove contaminants.
2. Apply Wood Hardener (Optional)
- For water-damaged wood, apply wood hardener to firm up soft, punky areas before filling.
- Let hardener fully soak in and cure per product directions.
3. Mix and Apply the Bondo
- Measure out Bondo resin and hardener at the specified mix ratio.
- Mix thoroughly until achieving a uniform color with no streaks.
- Press mixture into holes and over damaged areas, spreading with a putty knife.
- Feather out edges for a smooth transition. Work quickly before Bondo starts curing.
4. Sand and Finish the Repaired Area
- Let Bondo fully cure as directed on the package, usually in 15-30 minutes.
- Sand the filled area using 100-150 grit sandpaper, removing any high spots or imperfections.
- Apply primer formulated for Bondo before painting for best results.
Follow all safety precautions when working with Bondo, including gloves and ventilation. Take care to properly prep surfaces and test adhesion on plastics which can resist bonding.
The Necessity of Primer Over Bondo in Different Scenarios
Whether priming Bondo is required depends on the specific project:
In Auto Body Repairs
Applying primer over body filler is practically non-negotiable for proper auto body finishes. The expansive painted surfaces demand a cohesive, durable finish only achieved through a layered coating system of:
- Bondo over bare metal
- Primer with high-build and filling abilities
- Paint matched exactly to the primer
Auto body technicians would never paint directly over Bondo without primer in between. The same approach should be taken for any metal auto parts repaired with body filler.
In-Home Repair Scenarios
Some DIYers may be tempted to skip priming and paint directly over cured Bondo for minor home repairs. However, this risks uneven finishes, poor adhesion, and other issues down the line.
Instead, primer specially formulated for use over body filler provides valuable benefits:
- Creates a uniform surface for paint
- Seals the Bondo to prevent paint absorption
- Conceals any minor flaws or imperfections
- Provides maximum paint adhesion and durability
These perks lead to professional, long-lasting results.
Comparing Fill Primer vs. Epoxy Primer
Two-part epoxy primer is the go-to for auto body work for its corrosion resistance and strong adhesion to filler.
In home settings, fill primer offers similar advantages:
- Filling ability: Disguises minor flaws in the Bondo surface.
- Adhesion: Bonds well to cured Bondo and topcoat paints.
- Ease of use: Single component primer simplifies home painting projects.
While epoxy primer remains the gold standard in auto body shops, fill primer gives comparable results for DIYers undertaking home repairs and paint jobs.
Hiring Professional Services vs. DIY Approach
Some Bondo and painting projects are within the DIY realm, while others benefit from professional auto or home painting services.
Seek Professional Help for:
- Major auto body repairs: Severe collision damage, rust-out, or restoration projects often demand auto body technician expertise. Services like Soho Painters have the tools and skills to flawlessly finish large-scale Bondo jobs prior to painting factory-matched colors.
- Intricate painting projects: Faux finishes, accent walls, and murals challenge even seasoned DIYers. Hire professional painters for a polished result.
- High areas: Painting tall walls, ceilings, or second floors safely requires commercial equipment like lifts and scaffolding. Please leave it to the pros.
DIY Bondo Projects Offer:
- Cost savings: Doing the work yourself saves on labor fees.
- Scheduling flexibility: The project fits your timing rather than waiting on a contractor schedule.
- Customization: Apply Bondo and paint to match your unique vision rather than relying on a painter’s interpretation.
- Sense of accomplishment: Successfully repairing and painting an area yourself brings great satisfaction.
Applying Bondo and primer yourself can certainly garner professional-grade outcomes for small-scale fixes that don’t require intricate painting. But don’t skimp on the primer!
Conclusion
While Bondo has many admirable properties as an auto body and home repair filler, its formulation makes applying paint directly over it ill-advised. Paint struggles to adhere to the slick Bondo surface without primer to provide grip. Unprimed Bondo also risks uneven paint absorption leading to a patchy, unprofessional finish.
Using the right primer for the project ensures paint bonds tightly to the Bondo for a beautiful, lasting result. For metal auto body repairs, two-part epoxy primer remains the go-to. Fill primer gives similar advantages for home use while simplifying the process.
With proper surface prep, quality primer, and skillful technique, Bondo can transform dings and damage into smooth, flawless surfaces ready for paint. While the temptation to skip priming exists, don’t compromise on this vital step when painting over Bondo repairs.

