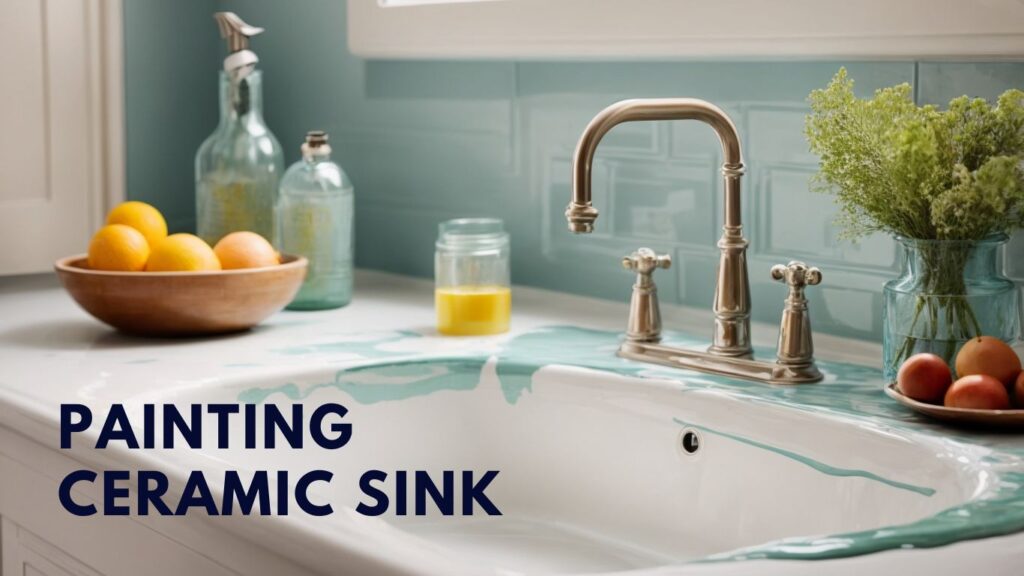
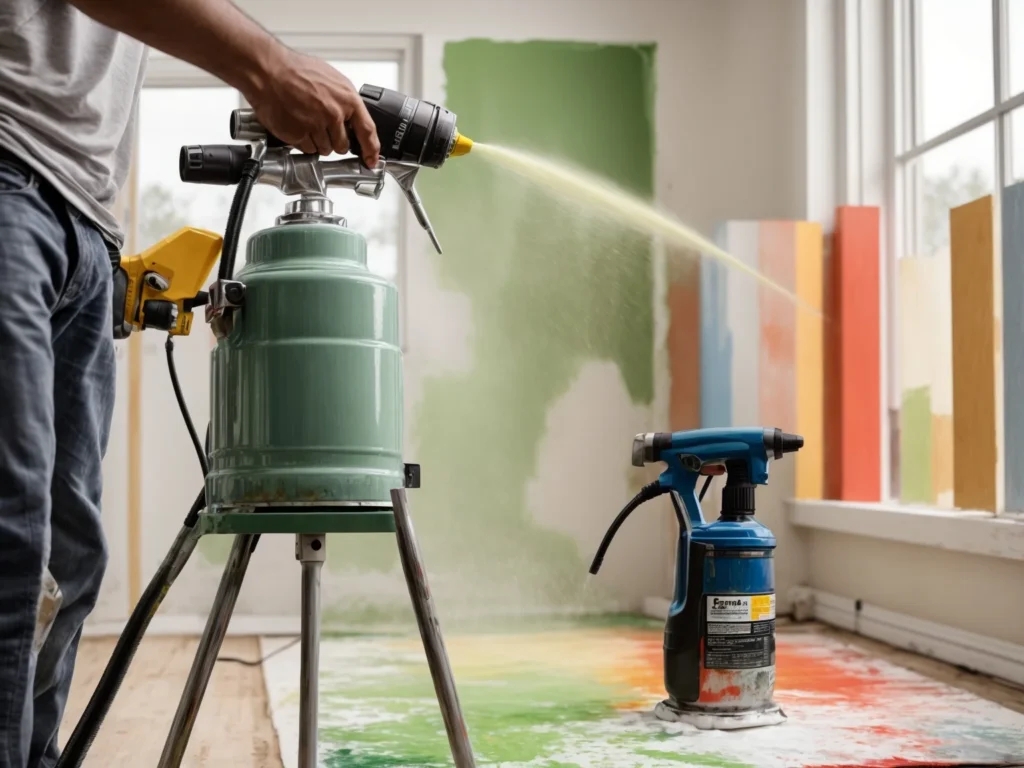
Yes, you can paint a ceramic sink, but you need to use the right type of paint. Most regular paints won’t adhere well to the non-porous ceramic surface.
Epoxy-based paints designed for tubs, tiles, and sinks are recommended. Look for products labeled specifically for bathroom and kitchen use.

With a fresh coat of specially formulated paint, flaws become invisible, color is revived, and custom designs can be created. Painting a sink is a fast weekend project that adds personality to the space and protects the sink surface. Any DIYer can master this easy upgrade.
The Benefits of Painting vs. Replacing a Ceramic Sink
Painting a ceramic sink has many advantages over replacing the entire fixture:
- Cost – High-quality paint costs $30-60 while a new sink can be $200-500 (not including installation). Paint is very budget-friendly.
- Speed – Painting takes 2-3 days total. Replacing a sink requires remodeling the countertop and plumbing which can take weeks.
- Customization – Paint opens up unlimited color options. Stock sinks come in limited colors.
- Flaw coverage – Paint conceals chips, scratches, stains, and discoloration. Replacement still shows existing countertop flaws.
- Protection – Paint forms a protective barrier against future damage. A bare sink will continue degrading over time.
- DIY simplicity – Painting is an easy weekend project. Replacement requires an experienced contractor.
For a fast and affordable sink refresh, paint triumphs over replacement every time!
Choosing the Right Paint Type for Ceramic Sinks
The key to success when painting a ceramic sink is using the appropriate paint. Standard wall paints will not properly adhere. Specialty paints formulated for high-use areas like sinks are required. There are two suitable paint options:
Epoxy Paint
Epoxy paints provide a durable, high-gloss finish. The thick consistency allows epoxy to adhere tightly and smooth over rough areas. Epoxy cures to an exceptionally hard, scratch-resistant coating.
Acrylic Urethane Enamel
Acrylic urethane paints offer a flexible, attractive finish. The acrylic base allows adherence to slick ceramic surfaces. The urethane provides toughness against scratches and moisture.
When selecting paint, consider the desired finish. Epoxy has an ultra-glossy look in bold colors. Acrylic urethane has a smooth, uniform finish. Both paints stand up well to heavy use and cleaning when applied properly.
A Closer Look at Epoxy Paint for Ceramic Sinks
Epoxy paint provides a brilliant gloss finish and rock-hard durability when used on ceramic sinks. Here are the key benefits of epoxy paint:
- Strong adhesion – Epoxy bonds tightly to smooth ceramic. The chemical reaction during curing fuses it to the sink surface.
- Scratch resistant – The hardened epoxy is highly scratch-resistant and holds up to daily use.
- Stain resistant – Epoxy resists stains from water spots, soap scum, and other household products.
- High gloss – Epoxy paints cure to a thick, glossy coating that really pops with color.
When working with epoxy paint, be sure to follow the safety guidelines. Epoxy fumes are strong, so work in a well-ventilated area. Nitrile gloves and eye protection should be worn during application.
Recommended Epoxy Paint Products:
- Rust-Oleum High Performance Epoxy (Gloss Finish)
- INSL-X Cabinet Coat Epoxy (Ultra Glossy)
- Super Paint Pail Epoxy (Gloss or Satin)
Exploring Acrylic Urethane Enamel Paints
Acrylic urethane enamel paints offer their own set of perks for ceramic sink painting:
- Flexible finish – The acrylic component creates an elastic coating that resists chipping and impact damage.
- Uniform look – Acrylic urethane dries to a smooth, consistent sheen without visible brush strokes.
- Adheres to slick surfaces – Urethane enables excellent grip on glass-like ceramic surfaces.
- Low odor – Unlike epoxy, acrylic urethane has minimal fumes during application.
While the finish is not quite as glossy as epoxy, acrylic urethane enamel paints provide long-lasting protection with a very clean look.
Recommended Acrylic Urethane Paints:
- KILZ Adhesion High-Bond Acrylic
- Rust-Oleum Cabinet Transformations All-In-One
- INSL-X Cabinet Coat Urethane Acrylic
Step-By-Step Painting Process for Ceramic Sinks
If you’re ready to tackle painting your ceramic sink, follow these step-by-step instructions for gorgeous results:
Supplies Needed
- Tub and tile cleaner or abrasive scrubbing powder
- 220 & 320 grit sandpaper
- Tack cloth
- Painter’s tape
- Epoxy primer
- Epoxy/enamel paint in desired color
- Foam roller and tray set
- Small angled paint brush
- Mineral spirits & rags (for cleanup)
- Drop cloths
- Respirator mask
Step 1 – Deep Clean the Sink
Use an abrasive cleaner and scrub brush to scour away all built-up grime, soap scum, and hard water stains. A bleach-based cleaner will also disinfect. Work all around the basin, including underneath. Rinse thoroughly after cleaning.
Step 2 – Lightly Sand Surface
Use 220 grit sandpaper to lightly scuff up the glossy factory finish. This helps the paint adhere. Focus on sanding the basin bottom and inner sides especially. Rinse away all sanding residue.
Step 3 – Tape Off Surrounding Areas
Use painter’s tape to mask off the countertop edges, faucet, drain pipes, and wall edges around the sink. This protects surfaces from drips and creates sharp paint lines.
Step 4 – Apply Epoxy Primer
Roll on a thin, even layer of epoxy primer formulated for sinks and tile. Cover all surfaces – basin, sides, underside. Allow to fully dry. Apply 2-3 coats following label directions. Sand lightly between coats with 320 grit sandpaper.
Step 5 – Paint Sink Basin
Use a small foam roller and angled brush to apply the color paint smoothly and evenly. Work in sections. Paint the underside first, then basin bottom, then the sides. Apply 2-3 thin coats allowing proper drying time between each.
Step 6 – Remove Tape and Reinstall Sink
Carefully remove all painter’s tape once the final coat has dried. Reinstall the sink by securing to the countertop. Reconnect drain pipes and supply valves. Allow paint to cure fully before use.
Step 7 – Seal and Maintain Finish
Once fully cured, apply a protective waterproof sealant. Maintain the finish by promptly fixing scratches, recoating every few years, and cleaning gently. Enjoy your beautifully painted sink!
Beyond Basic Painting: Creative Refurbishing Options
Painting a ceramic sink opens up plenty of possibilities beyond basic white. Consider these creative ideas:
- Bold colors – Make the sink a focal point with bright red, emerald, or sapphire blue.
- Two-tone – Use one color on the basin and a different shade inside to define the space.
- Faux finishes – Try a stone, marble, or textured look with specialty faux technique paints.
- Novel designs – Add borders, geometric patterns, or artwork to transform the sink into a decor feature.
Matching the sink to existing kitchen or bath decor provides a cohesive look. Wood grain sinks complement rustic styles, while solid colors pair well with modern spaces. Feel free to get creative!
Painting a Ceramic Sink VS. Refinishing Alternatives
While paint can update a ceramic sink, it isn’t the only option. Here’s how painting compares to popular refinishing alternatives:
| Method | Process | Durability | Cost |
| Painting | Clean, sand, prime, paint with specialty epoxy/enamel paints | Prone to scratching. Needs occasional recoats. | $ |
| Epoxy Resurfacing | Clean, etch, apply colored epoxy coating | Extremely durable. Lasts for years. | $$ |
| Porcelain Resurfacing | Clean, spray on porcelain particles to resurface | Very durable. Resists scratching and staining. | $$$ |
| Reglazing | Strip old finish, re-spray with glass particles | Similar durability to a new sink. | $$$ |
Maintaining and Caring for a Painted Ceramic Sink
Follow these maintenance tips to help the new paint job last:
- Allow 4-7 days curing time before heavy use of a newly painted sink.
- Avoid abrasive scrubbers and cleaners which can damage the finish over time.
- Use a soft sponge and mild dish soap for daily cleaning.
- For hard water stains, wipe with equal parts vinegar and water.
- Re-apply a fresh coat of paint periodically as needed when wear becomes noticeable.
- Use touch-up paint on any chips or scratches as soon as possible to prevent moisture damage.
With routine care and minor touch-ups, a painted ceramic sink can look freshly transformed for years!
Common Painting Mistakes to Avoid
Painting a sink seems straightforward, but some common mistakes can ruin the finish. Here are issues to avoid:
Not cleaning thoroughly – Grease, dirt and soap scum left on the surface will cause poor paint adhesion and peeling. Spend time thoroughly scouring the sink first.
Skipping sanding – Sanding deglosses the surface so paint can grip. Skipping this step often leads to chipping and peeling down the road.
Using regular wall paint – Household latex paints don’t stand up to frequent use and moisture. Only use paints formulated specifically for ceramic sinks.
Applying too thickly – Thick, globby paint is more prone to dripping, uneven drying and brush marks. Apply multiple thin coats instead.
Not allowing proper dry time – Rushing between coats can lead to tacky, gummy paint that never dries correctly. Be patient and follow dry time directions.
Forgetting the underside – Painting only the visible top surfaces will lead to peeling. Paint must be applied to the underside and basin bottom too.
Dragging tools over drying paint – This ripples and ruins the smooth finish. Work in sections and don’t go back over paint that has started drying.
Using harsh cleaners too soon – Abrasives and acids can damage the fresh paint. Use only gentle cleaners for the first 2 weeks after painting.
Not repairing scratches – Fixing chips and scratches as they happen will preserve the finish and prevent further damage.
Avoid these common missteps, and your sink paint job will turn out beautifully and last for years to come!
Frequently Asked Questions
How long does it take to paint a ceramic sink?
Plan on the project taking 1-3 days from start to finish:
- Day 1 – Cleaning, sanding, priming
- Day 2 – First coats of color paint
- Day 3 – Final color coats, sealing, installing
Actual painting time may only be a few hours. But allowing materials to dry in between steps fully extends the project timeline. Rushing the process can ruin the paint job.
Is there a specific temperature the room should be?
Ideally the room should remain between 50-90°F while painting. Temperatures outside this range can negatively impact results:
- Too cold – Paint dries more slowly and may not cure properly.
- Too hot – Paint dries too rapidly and can crack or bubble.
Check paint directions for the manufacturer’s specific recommended temperature range. Maintain a comfortable room temp for best results.
How do I get paint out of the sink drain?
Avoid washing paint directly down the drain during the project. Thoroughly wipe the roller or brush before rinsing.
If paint does get into the drain lines, flush with hot water while carefully working a drain snake to clear any clogs. Avoid harsh chemicals – they can interact with latex and epoxy paints.
Can the sink be used between coats?
It’s best to avoid using the sink at all until the paint is fully cured – usually at least 24-48 hours after the final coat. Running water too soon can cause paint to bubble or peel.
Plan your project so the sink can remain unused as the paint dries. Turn off water supply valves if needed. Cover with cardboard while drying.
How should I clean a freshly painted sink?
For the first two weeks, only wipe with a soft sponge and mild soap. Avoid abrasive pads, powders, and acidic cleaners which can damage the fresh paint.
After the paint has fully cured, you can gradually use stronger cleaners if needed. But continued gentle cleaning is ideal to maintain the painted finish.
Will paint stick to an old existing sink finish?
Paint often won’t adhere well to aged oil-based enamel finishes. Sanding helps, but full stripping may be required. Test adhesion on an inconspicuous spot first.
Paint bonds best to bare ceramic that has been properly sanded and primed. Removing the old finish is advised whenever possible.
Can I just paint over rust spots on my sink?
Rust must be removed using sandpaper, steel wool, or etching solutions before painting. Leaving rust under new paint will allow the corrosion to continue spreading.
Properly prep and clean any rusted areas to create a solid surface for the paint to adhere well. Address underlying issues first.
Conclusion
Painting a ceramic sink yourself is an achievable project that can give an outdated kitchen or bath a budget-friendly makeover. With the right preparation, materials, and painting techniques, even DIY beginners can achieve dramatic, long-lasting results.
The key is starting with a thoroughly cleaned and sanded surface, applying specialty epoxy paints in thin coats, and allowing ample drying time between steps. Maintaining the finish with gentle cleaning and prompt repairs will keep your sink looking freshly painted for years to come.
While painted sinks require some occasional maintenance, they provide a satisfying upgrade at a fraction of the cost of a full replacement. With a few days, less than $100, and some elbow grease, you can give your sink and space an affordable facelift.


