Spray paint is a convenient way to quickly add color to various surfaces. However, you may eventually want to change the color or update the look. Painting over spray paint is possible with the right preparation and techniques. This comprehensive guide will provide key considerations for successfully painting over spray painted surfaces.

Painting Over Spray Paint
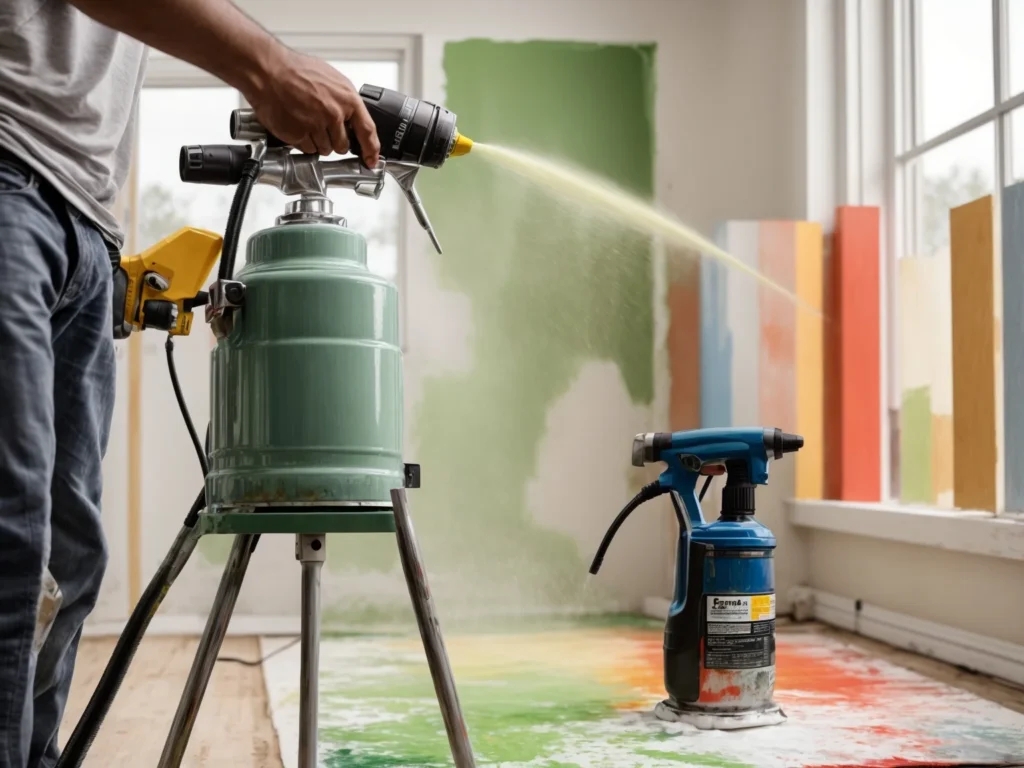
Spray paint, such as from an aerosol can, is popular for DIY projects and decorating. It allows you to easily and evenly coat wood, metal, plastic, and wicker surfaces. However, spray paint may not always be a permanent solution.
There are a few reasons you may need to paint over a spray painted surface:
- Changing colors – If you used spray paint for a temporary look or no longer like the color, brush painting allows switching to a new hue.
- Refreshing faded paint – Spray paint can fade over time due to sun exposure or wear and tear. Brush painting renews the look.
- Covering imperfections – Drips, bumps, or uneven coverage are common with spray paint. New paint evens out the surface.
- Improving durability – While spray paint is convenient, brush painted finishes are often more durable.
The keys to success when painting over spray paint are proper surface preparation and using the right paint products. With some planning and effort, you can achieve great results.
Importance of Surface Preparation and Paint Selection
When painting over spray paint, taking time to prepare the surface and choosing compatible paints will ensure proper adhesion and quality results. Rushing in without taking these steps often leads to chipping, peeling, or cracking of the new paint coat.
Surface Preparation
Thorough surface prep removes contaminants and creates a profile that the new paint can properly grip. Steps include:
- Cleaning and degreasing – Remove dirt, grease, oil and other residues with a degreasing cleaner and rinse well. Let dry fully.
- Sanding – Lightly sand with 220-grit or higher sandpaper to rough up the glossy spray paint. This helps the new paint adhere.
- Smoothing imperfections – Fill in any drips, bumps or rough areas with spackle or primer for a smooth finish.
- Applying primer – A primer designed for adhesion provides a uniform base layer for the new paint.
Paint Selection
Choosing new paint compatible with the original spray paint is also key for success:
- Acrylic or latex paint works well for most surfaces and offers good adhesion and durability.
- For plastics, metals, or oil-based spray paint, use a specialty bonding primer and paint.
- Apply paint in thin coats – thick coats are more likely to crack or peel.
Proper prep and paints prevent failures like new paint chipping or peeling off in sheets. Investing this effort up front is worth the long-lasting results.
Surface Preparation
Preparing the spray painted surface is one of the most important steps before painting over it. Proper prep removes any contaminants and creates a textured profile for the new paint to adhere to.
Cleaning and Degreasing
Thoroughly clean and degrease the surface first with an ammonia-based or other degreasing cleaner. This step is critical – any oils, dirt or residues left on the surface will prevent proper adhesion.
For smooth, non-porous surfaces like metal or plastic, wipe on the degreaser and let it sit for a few minutes before rinsing and wiping clean. For more porous surfaces like wood, use a stiff scrub brush to work in the degreaser and capture any grime in the grain.
Rinse surfaces thoroughly with clean water and allow to dry before painting fully. Wiping with rubbing alcohol after degreasing can help remove any traces left behind.
Sanding for Adhesion
Once the surface is degreased, lightly sand to roughen it up. This helps provide a mechanical profile for the new paint to grip.
Use a fine grit sandpaper such as 220-grit. Be careful not to sand away all of the spray paint – just scuff up the glossy surface.
On contoured surfaces, use a fine sanding sponge instead of sandpaper. Sand in different directions to create cross-hatch scratches. Thoroughly wipe away all sanding dust.
Dealing with Imperfections
Spray paint often has imperfections like bumps, drips or uneven texture. Fix these prior to painting for a smooth finished look:
- Drips or bumps – Let them fully cure, then sand down until smooth and level with the surrounding surface.
- Rough texture – Apply spackle or lightweight filler to even out the surface, then sand smooth when dry.
- Low spots – Fill with additional coats of primer until flush with surrounding areas.
Proper prep removes any surface defects so the new paint looks great.
Primer Application
Priming over spray paint before painting is essential to ensure proper adhesion. The right primer creates a uniform surface for the new paint.
Role of Bonding Primer
Primer designed for adhesion, often called bonding or anchoring primer, is key when painting over slick or glossy surfaces like spray paint. It contains additional binders and additives to grip tightly.
Bonding primer soaks into the surface and establishes both a chemical and mechanical bond. This prevents the new paint from peeling or flaking off.
Compared to regular primer, bonding primer sticks better to glossy and hard-to-paint surfaces. It’s formulated to tackle challenging painting projects like painting over spray paint or oil-based coatings.
Primer Selection
Choosing the right primer for the surface is important:
- Use a latex- or water-based bonding primer for wood, drywall, or masonry. This is suitable for most situations.
- Use a solvent-based bonding primer for metals, plastics, or oil-based spray paints. These have better adhesion on slick, non-porous surfaces.
- For heavy stains, consider a stain-blocking primer to prevent bleed-through.
Applying 1-2 coats of primer evens out the surface and prevents absorption into porous substrates. This helps the new paint go on smoothly.
Paint Selection
When choosing paint for over spray paint, the new coating must be compatible. Oil and latex-based paints don’t bond well to each other.
Acrylic or Latex Paint
For most situations, a high-quality acrylic or latex paint works well over spray paint. Latex paint offers good adhesion, durability and flexibility. Avoid bargain brands as they may contain less binder.
Latex paint suits wood, drywall, plaster, cement, brick and other common porous surfaces. Use paint with a satin, eggshell or matte finish to help cover imperfections.
Thin the first coat of latex paint with 10% water. This helps it penetrate and bond well. Follow with unthinned coats.
Specialized Paints
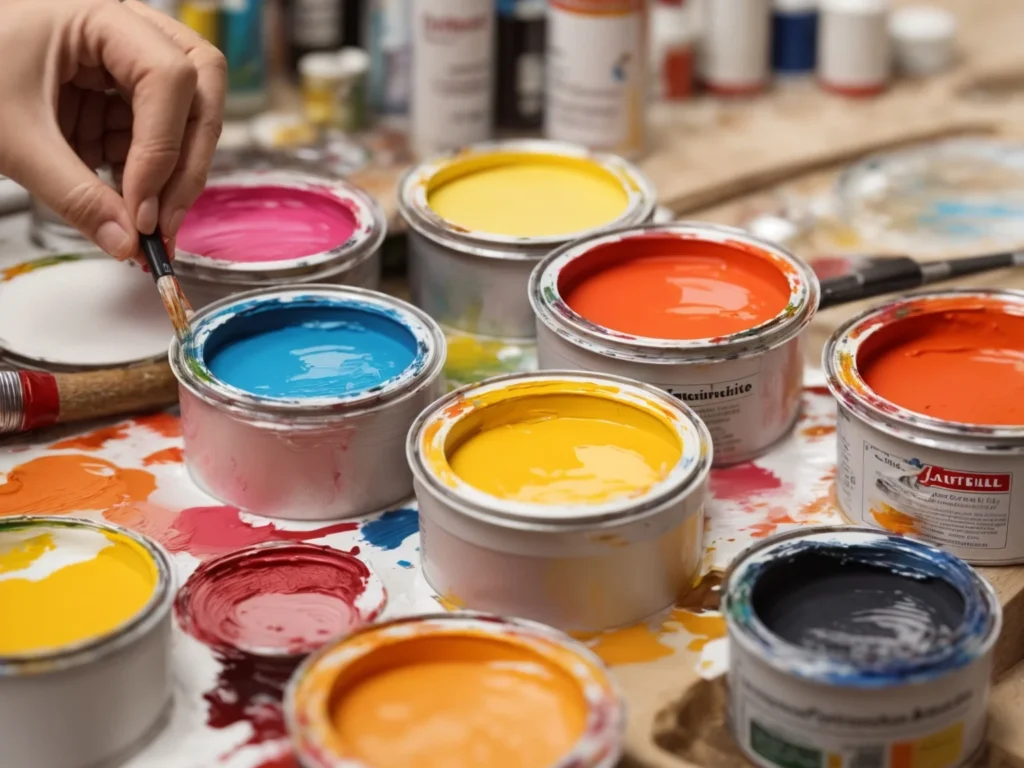
Use a specialised bonding paint designed to adhere to tricky surfaces for non-porous surfaces like metal, plastic or oil-based spray paints. Examples include:
- Acrylic enamel – Harder and more durable than regular acrylic. Good for metal, plastic, wicker.
- Epoxy-based paint – Extreme adhesion and tough finish for metal, tile, and masonry.
- Automotive paint – Formulated for metal and plastic car parts and household items.
Thin Coat Application
Applying new paint in thin coats instead of thick layers when painting over spray paint. Thin coats avoid cracking or peeling as the paint flexes.
Follow the manufacturer’s coverage recommendations. Over-spreading paint makes it dry too quickly, reducing bonding. Proper thickness prevents paint failure.
Typically 2-3 thin coats are needed for full coverage and durability. Allow proper drying time between coats.
Painting Techniques
Use proper painting techniques when applying new paint over spray paint for a smooth, lasting finish:
Drying Time Consideration
Follow the manufacturer’s instructions for drying time between coats. This allows each coat to cure so the next coat adheres properly fully.
If paint is applied too soon, the coats can peel away in sheets. Don’t rush the process.
Cool, humid conditions may require longer dry times. Check that paint is fully cured by pressing on it with your fingernail.
Optional Sanding Between Coats
Lightly sanding between coats of paint helps create a smooth finish. Use very fine (220-grit or higher) sandpaper or sponge.
Sand just enough to rough up the surface. Wipe or vacuum away dust before adding the next coat.
Finish with a topcoat without sanding for a glossy, smooth surface.
Protective Topcoat Application
For added durability and appearance on furniture or high-wear surfaces, apply a clear topcoat over the final coat of paint:
- Polyurethane – Provides the toughest, most water-resistant surface. Use oil-based over latex paint.
- Acrylic – Adds moderate protection. Use water-based over latex paint.
- Shellac – Classic topcoat good for wood trim. Use dewaxed shellac as a sealer coat first.
Apply topcoats in thin, even coats. Lightly sand and wipe clean between coats.
A finish coat of polyurethane or other topcoat gives a glossy, smooth surface and protects the painted finish. Take time with the final step for great results.
Cleanup and Maintenance
Use proper cleanup and care to maintain the freshly painted surface looking its best:
Proper Tool Cleanup
Clean brushes, rollers and other painting tools well before the paint dries using the solvent recommended by the manufacturer. This keeps them usable for future jobs.
Wash them with a mild detergent and warm water to clean latex paint tools. For oil-based paints, use the appropriate mineral spirits or solvent.
Store cleaned brushes with the bristles facing up to maintain their shape.
Maintaining the Painted Surface
Allow at least 2 weeks for paint to fully cure before cleaning it. After that:
- For interior walls, use a soft sponge or microfiber cloth with mild soap and warm water to spot clean.
- On furniture or cabinets, wipe down with a soft lint-free cloth and a small amount of wood polish.
- Avoid abrasive cleaners, scrub pads or stiff brushes. Use gentle motions.
- Dust frequently and touch up any nicks or scratches to prevent damage.
Proper maintenance keeps your freshly painted surfaces looking like new for years.
Additional Considerations
Painting over spray paint brings some unique factors to consider for top results:
Painting Over Different Types of Spray Paint
The original spray paint finish determines the preparation and paint needed:
- Oil-based spray paint – Use a solvent-based bonding primer and paint. Latex won’t adhere.
- Water-based spray paint – A latex bonding primer and paint is suitable in most cases.
- Metallic spray paint – May require multiple coats to cover metallic particles fully.
Always test for compatibility on a small area first.
Challenges with Glossy Surfaces
The shinier the original spray paint, the more challenging it can be for new paint to bond to it. Follow these tips:
- Use an etching primer or lightly scuff with sandpaper to create a surface profile.
- Opt for a satin, eggshell, or matte finish paint. These hide imperfections better than gloss.
- Apply thin coats to prevent cracking and peeling.
Environmental Factors
Painting in very hot or humid conditions can hinder proper drying and adhesion. Avoid painting over spray paint when:
- Temperatures are over 85°F or below 50°F.
- Humidity levels exceed 85%.
Paint during the recommended temperature range and check forecasts to avoid rain right after painting. Proper environmental conditions prevent paint bonding issues.
Conclusion
Painting over spray-painted surfaces is achievable with the right prep work, painting products, and techniques. Following this complete guide will help ensure your paint job is a long-lasting success:
- Properly clean and prepare surfaces to remove any contaminants and create a textured profile.
- Use the appropriate primer and paint for each surface. Bonding primers and paints designed for adhesion are key.
- Apply paint in thin, even coats, allowing proper drying time between each.
- Finish with a protective clear topcoat for added durability and a polished look.
With some effort and patience, you can achieve flawless results painting over spray paint. The finished look will add new life to your surfaces with a durable and beautiful finish.
