Flex Seal is a popular sealant known for creating waterproof, flexible barriers on surfaces. It comes in spray, liquid, and glue formulations. A common question is whether Flex Seal can be painted over after application. The answer is yes—with proper preparation and technique.

Key Takeaways
- Clean and scuff Flex Seal before painting for optimal adhesion.
- Allow full curing before application of paint.
- Acrylic, latex and urethane paints work best over cured Flex Seal.
- Painting over Flex Seal Liquid requires extra preparation.
- Painting reduces longevity of Flex Seal over time.
- Removing cured Flex Seal completely before painting is extremely difficult.
An Overview of Flex Seal Products
Flex Seal is available in three main types:
Flex Seal Spray
- Rubberized aerosol spray coating
- Seals out water, moisture, leaks
- Applies as liquid, dries to flexible finish
- Use on metal, wood, concrete, more
Flex Seal Liquid
- Thick, pourable sealant
- Flows into cracks and gaps
- Creates waterproof seals on gutters, pipes, ducts
- Stops leaks on many materials
Flex Seal Glue
- Permanently bonds surfaces
- Superior adhesive strength
- Ideal for sealing seams, repairing leaks
- Bonds metal, wood, tile, plastic, more
Each Flex Seal variant has unique properties suited for different applications. But all three can be painted over with proper preparation.
Paint Compatibility Considerations
Not all paints work equally well over cured Flex Seal products. The best options include:
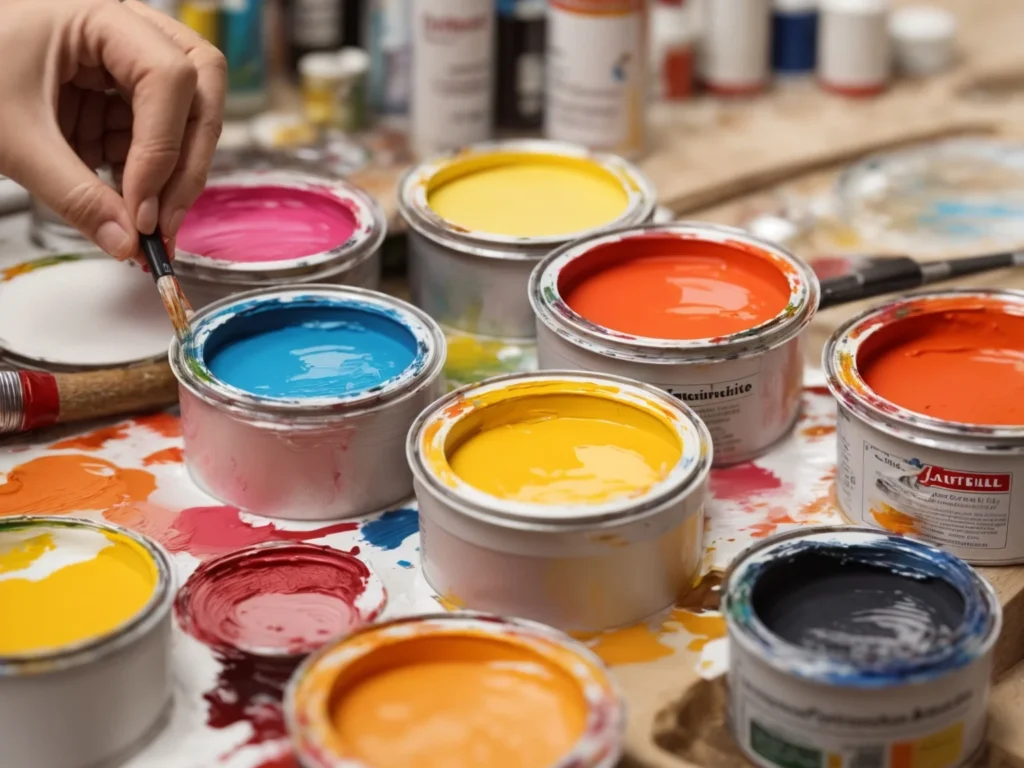
- Acrylic Paints – Standard flexible acrylics bond well if applied properly over Flex Seal. Ensure paint contains a bonding primer.
- Latex Paints – Acrylic latex paints are ideal for interior and exterior use on Flex Seal. The elastic latex allows for expansion and contraction.
- Urethane Paints – Single and two-part urethanes provide a durable, high-gloss finish. They resist weathering, abrasion, and chemicals.
Avoid oil-based enamels, spray paints, and alkyd paints as they may react poorly with Flex Seal. Always test paint a small hidden area first.
Prepping Flex Seal for Painting
Successful painting over Flex Seal relies on proper surface preparation:
- Allow the full curing time before painting (24-72 hours based on product).
- Clean thoroughly with isopropyl alcohol to remove any oil, grease, dirt, or debris.
- Lightly scuff the surface with 220 grit sandpaper to improve paint adhesion. Avoid removing the Flex Seal layer completely.
- Apply a compatible primer to the surface if needed to improve paint bonding.
Painting Over Flex Seal Types
Each Flex Seal product requires slightly different painting techniques:
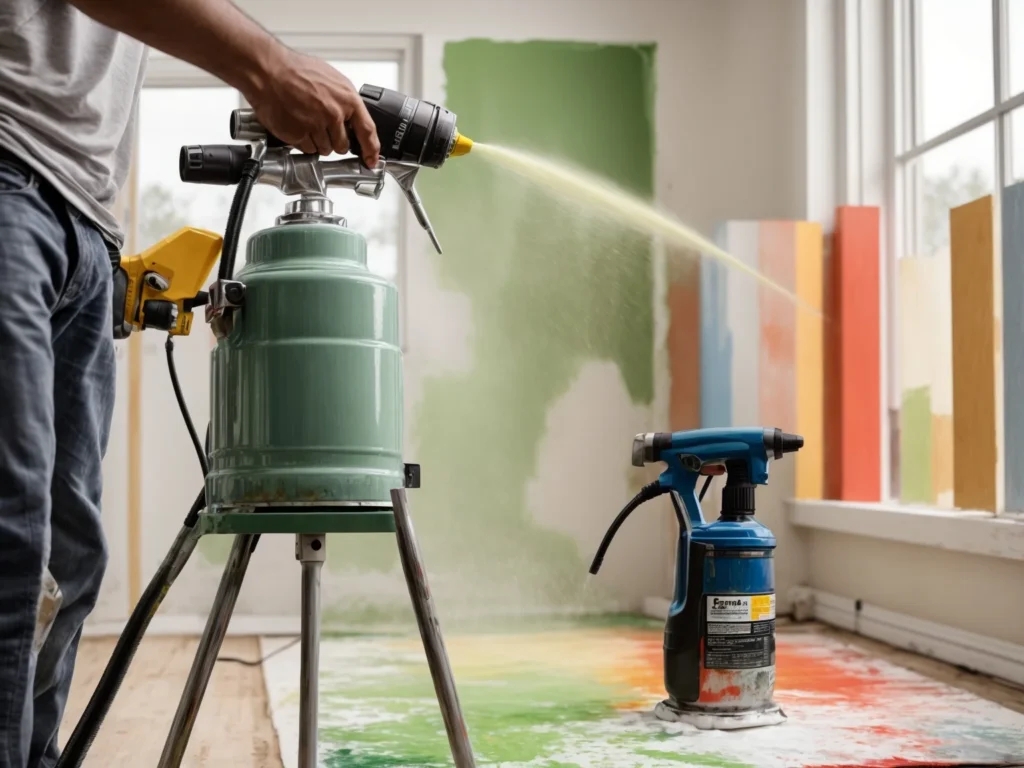
Painting Over Flex Seal Spray
- Wait 72 hours for full curing before painting
- Scuff surface lightly before painting
- Use acrylic or spray paints for flexibility
- Apply thin coats to prevent cracking or peeling
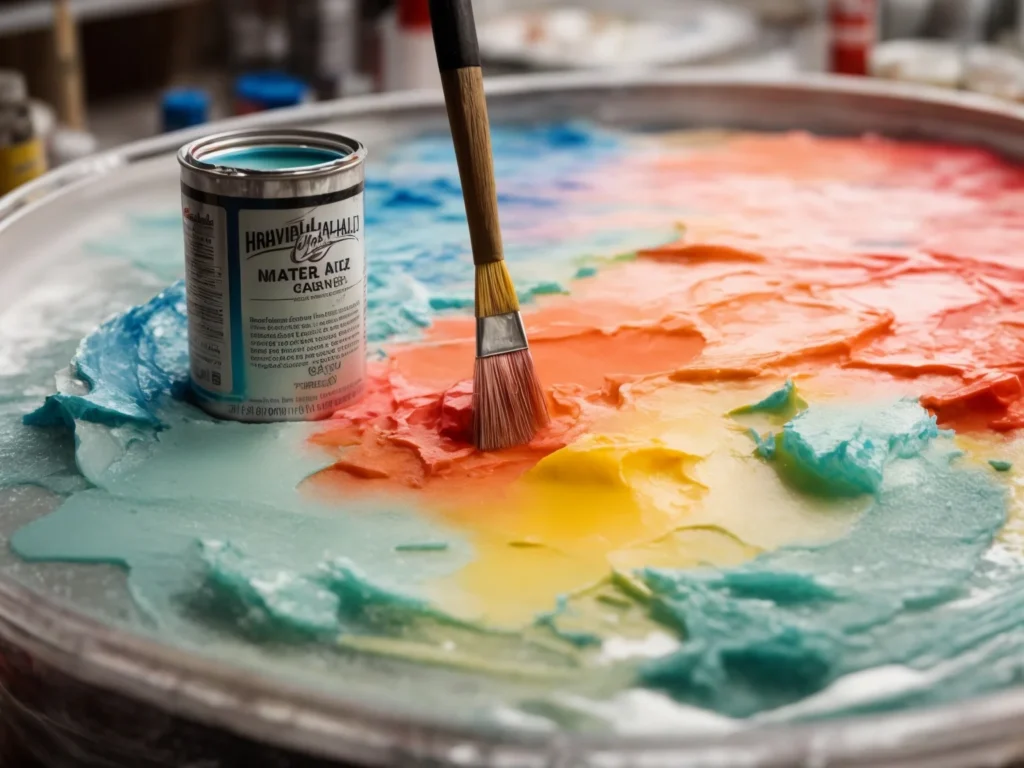
Painting Over Flex Seal Liquid
- Allow 24-48 hours for full curing before painting
- Clean and sand the surface thoroughly before priming
- Priming recommended for better adhesion
- Use elastic paints like acrylic latex or urethane
- Apply light coats without overbrushing
Painting Over Flex Seal Glue
- Allow 72 hour cure time before painting
- Clean and scuff surface lightly before painting
- Most acrylic and latex paints adhere well
- Avoid paints that are more rigid than the glue
- Brush paint on smoothly without overworking it
Special Tips and Considerations
Additional advice for painting over Flex Seal includes:
- Prevent common mistakes like inadequate prep, impatient painting, or using thick inflexible paints.
- Painting may reduce Flex Seal’s longevity. Limit layers and recoat as needed.
- Get creative! Flex Seal provides an interesting canvas for painting techniques like sponging, rag rolling, stippling, antiquing, and more.
Removing Flex Seal Before Painting
Removing cured Flex Seal entirely before painting is very difficult:
- Once fully cured, Flex Seal bonds tenaciously to surfaces. Scraping or peeling damages most materials.
- Abrasives like sanding may work but are tedious and unlikely to remove Flex Seal from every pore.
- Solvents like mineral spirits can slowly dissolve Flex Seal over time but leave residue. Proper ventilation is essential.
- Heat application with a hot air gun may soften Flex Seal for removal but risks burning surfaces.
For best results, paint over Flex Seal rather than attempt full removal. Always test small areas first if trying to fully remove.
Choosing the Right Paint for Flex Seal
While standard acrylic, latex, and urethane paints work best, consider these factors when selecting a paint:
Flexibility – The paint should be at least as flexible as the cured Flex Seal material. Rigid paints risk cracking or peeling.
Adhesion – Paints with bonding primers or etch primers stick best to Flex Seal’s rubberized texture.
Performance – For outdoor use, choose paints designed to resist weathering, UV rays, and water.
Sheen – Higher sheen paints like gloss enamel accentuate imperfections. Opt for satin, eggshell, or matte finishes.
Compatibility – Always verify the paint manufacturer approves use over rubberized coatings like Flex Seal.
Cost – Premium elastomeric paints provide maximum flexibility but at a higher price point. Balance performance and budget.
Curing Time – Flex Seal may continue curing up to 72 hours. Use paints with shorter drying times once fully cured.
Testing – Try paint samples on inconspicuous Flex Seal areas first. Evaluate adhesion after 24 hours.
Step-by-Step Preparation Process
Follow these key steps to prep Flex Seal for the best paint adhesion:
Cleaning
- Allow the full curing time before prepping Flex Seal for paint.
- Wipe away any dust, grease, wax, salt, oil, soap film, or other contaminants with isopropyl alcohol.
- Use additional cleaners like trisodium phosphate for heavy grime. Rinse thoroughly.
- Smooth any leftover adhesive residue or boogers with a plastic scraper.
Sanding
- Lightly scuff the entire Flex Seal surface with 220-400 grit sandpaper.
- Avoid completely removing the Flex Seal layer. Scuff just enough for paint grip.
- On Flex Seal Glue, take care not to expose the substrate underneath.
- Remove all sanding dust with tack cloth.
Spot Repairs
- Fill any pinholes, cracks, gaps, or imperfections with Flex Seal Crackshot or appropriate sealant. Let cure fully.
- Smooth flaws by spot sanding or scraping. Blow away dust.
Priming
- For Flex Seal Liquid or bare substrate exposure, prime with a bonding primer like XIM or Stix.
- Alternatively, prime bare areas only then paint entire surface.
- Allow primer to fully dry before painting. Refer to manufacturer’s instructions.
Once prepped, the Flex Seal surface is ready for paint application.
Paint Application Techniques
Use these techniques when applying paint over cured Flex Seal:
- Carefully follow the paint manufacturer’s instructions for use, drying time, thinning, and application.
- Opt for quality nylon or polyester brushes suited for latex paints. Avoid stiff bristle brushes.
- Apply paint in thin, even coats without overbrushing. Thick coats risk cracking.
- Use a foam roller for large, flat areas. Avoid excessive pressure.
- Maintain a wet edge and overlap strokes to prevent lap marks, especially on Flex Seal Glue seams.
- Work from top to bottom on vertical surfaces. Minimize drips.
- Allow proper drying between coats according to manufacturer guidelines.
- Two to three thin coats provide better coverage and durability than one thick coat.
- Inspect each coat for flaws, voids, or misses. Touch up if needed.
- Paint finishes like satin, matte, and flat help hide imperfections in the Flex Seal layer.
- High humidity, low temperatures, or poor ventilation increase drying time. Adjust accordingly.
- When working outdoors, avoid painting in direct sunlight or if rain is expected.
- Use drop cloths, masking tape, or edging tools keep paint only on intended surfaces.
- Follow all safety precautions including PPE, ventilation, and fire prevention when painting.
Proper technique leads to a smooth, consistent painted finish over Flex Seal. Remember that surface prep is key – any flaws or contamination show through the paint. Taking your time leads to quality long-lasting results.
Maintaining and Touching Up Painted Flex Seal
To maximize the life of painted Flex Seal:
- Allow the full curing time before putting the surface into service. Avoid abrasion or impact during this period.
- Check for premature paint failures like cracking, peeling, blisters, or loss of adhesion. Address these issues immediately.
- Reapply paint as needed to cover exposed Flex Seal or primer. Catch touch-ups early.
- For exterior surfaces, apply finish coats yearly to maintain water and UV resistance as the paint naturally erodes over time.
- Avoid using harsh cleaners, abrasives, or chemicals on painted Flex Seal as they can damage the finish.
- For immersible applications, monitor leakage and repaint at the first sign of breakthrough or corrosion.
- Test adhesion annually by applying and removing masking tape over the paint. If the tape pulls any coating away, repaint.
- Expect to fully repaint painted Flex Seal every 3-5 years depending on exposure and use.
Options for Removing Flex Seal Before Painting
While not recommended, it is possible to fully remove cured Flex Seal before painting:
Abrasive Removal
- Use a rotary sander or wire brush attachment on an angle grinder to grind away Flex Seal. Work slowly to prevent damage.
- Hand sanding with 60-80 grit paper can remove thin Flex Seal layers with patience and elbow grease.
- Scraping tools may aid removal once the Flex Seal finish is compromised.
- Be prepared to deal with residue in any remaining pores.
Chemical Removal
- Apply xylene, mineral spirits, MEK, or acetone and allow time to soften and dissolve Flex Seal.
- Check compatibility and ventilate properly when using solvents. Avoid skin and eye contact.
- Pressure wash or scrub with an abrasive pad to remove the liquefied Flex Seal residue.
Heat Removal
- Use a heat gun on high setting to soften Flex Seal for scraping removal.
- Take extreme care not to ignite surfaces or burn yourself.
- Have an ABC fire extinguisher on hand in case the Flex Seal ignites.
While messy and labor-intensive, removing Flex Seal prior to painting is possible. Again, painting over it is often the better solution.
Frequently Asked Questions
Can you paint over flex coat?
Yes, Flex Seal’s Flex Shot Rubberized Coating can be painted over using the same recommendations as standard Flex Seal. Proper prep work is key.
How long will Flex Seal last?
Uncoated Flex Seal can last 1-5 years or more on suitable surfaces before reapplication is needed. Painting over Flex Seal may reduce its longevity over time.
Can Flex Seal be sanded and painted?
Light sanding provides better grip for paint over Flex Seal. But avoid sanding away the entire Flex Seal layer which compromises its waterproofing abilities.
Can Flex Seal be removed?
Flex Seal is designed as a permanent solution. Once fully cured, removing it entirely is very challenging and usually damages the underlying surface.
Final Thoughts
With appropriate preparation and paint selection, Flex Seal can be successfully painted over for both functional and decorative outcomes. Proper curing time, surface cleaning, scuffing, and compatible paint choices help ensure good adhesion and performance. Painting over Flex Seal Spray and Glue provide the best results compared to the Liquid formula. With some care and creativity, Flex Seal transforms from just an endpoint sealant into the unique start of painted projects.


