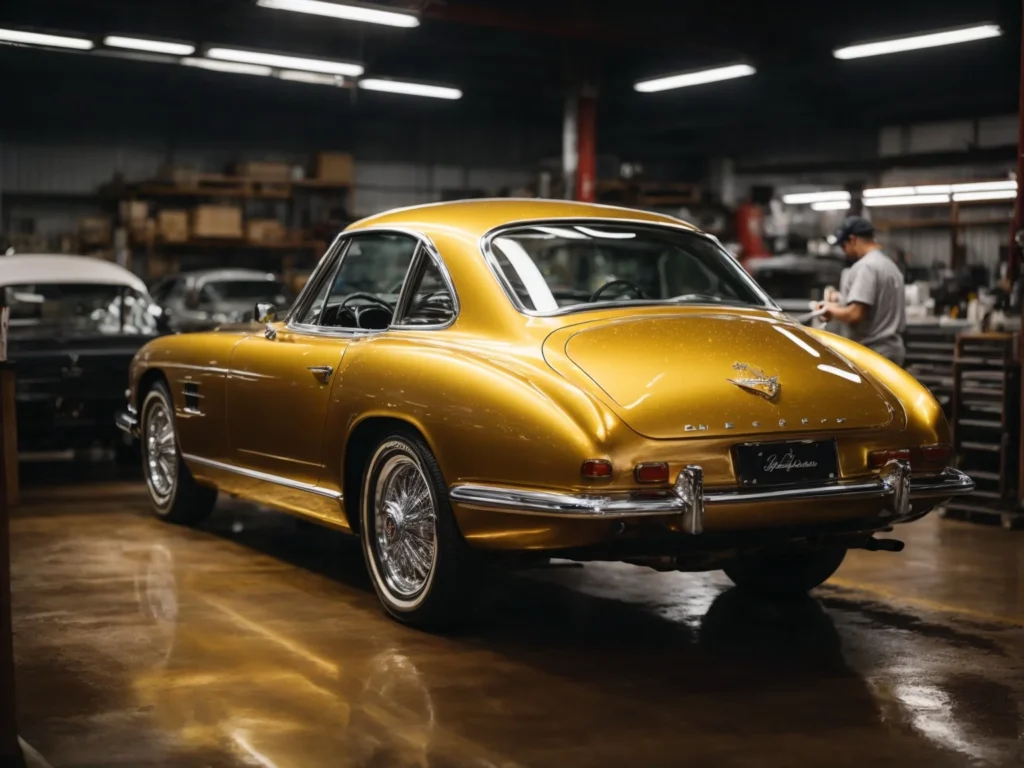
Single stage metallic paints can give a vehicle a beautiful, eye-catching finish. The small metal flakes in the paint reflect light to provide extra sparkle and depth to the color. However, working with and buffing these delicate metallic paints requires careful techniques to avoid damaging the finish.

Avoiding Problems with Single Stage Metallic Paint Jobs
When working with single stage metallic paints, the goal is to achieve a flawless finish without buffing or polishing the paint afterward. This avoids disturbing the metallic flakes or thinning the paint layer. With care, a near-perfect finish can be attained straight from the spray gun.
Here are some key tips for applying single stage metallic paint:
- Follow the manufacturer’s mixing and spraying instructions – The paint should be mixed well to disperse the metallic flakes evenly. Recommended spray techniques like gun distance, air pressure and overlap should be followed.
- Apply enough coats for full coverage – At least 2-3 medium wet coats are usually needed to cover the surface and achieve proper color depth completely. Insufficient paint can cause problems like blotchiness.
- Avoid paint runs and sags – Apply the paint as even, smooth coats without flooding the surface. Paint buildup can interfere with the metallic effect.
- Use high quality application tools – A good spray gun and compressor set up will provide a more consistent finish. New air hoses and a clean gun are also important.
- Manage paint viscosity – The paint should flow nicely through the gun. Thin carefully with manufacturer approved thinners if needed.
- Prepare surfaces properly – Sand and clean the surface so paint adheres well. Apply recommended primers where needed.
- Spray in a dust-free area – Paint defects are often caused by particles landing in the paint. Clean your spray area thoroughly.
- Allow proper flash times between coats – Rushing the process can lead to problems like solvent popping in the finish.
With good application techniques, single stage metallic paint can provide stunning results straight from the gun, eliminating the risks of buffing the finish afterward.
The Risks of Buffing Single Stage Metallic Paint
Though buffing a new paint job to smooth imperfections is standard with most paint types, it is not recommended with delicate single stage metallic finishes. The metal flakes in the paint complicate the buffing process and risks damaging the finish in these ways:
- Disturbing the metallic flakes – Buffing forces can shift and rearrange the metallic particles, creating an uneven finish. The aligned flakes provide the bright reflective effect, so moving them scatters the light unevenly.
- Thinning the paint layer – The friction of buffing slowly erodes the paint film thickness. With a single stage metallic that has no clearcoat, thinning the paint further exposes the metal flakes.
- Burning through paint defects – Imperfections like runs or sags can get buffed completely through the paint, requiring extensive touch up and repainting.
- Swirl marks and scratches – Aggressive buffing to remove defects can create new swirls that also interfere with the metallic flake alignment and appearance.
- Dulling the finish – Friction from buffing slightly dulls the gloss level. Without a protective clearcoat, the finish on a single stage metallic will steadily get dulled with repeated buffing.
For these reasons, most painters advise against doing any extensive color sanding or buffing on single stage metallic paint jobs. At most, only the absolute minimum should be done, or problems with the finish are likely.
Techniques for Safely Buffing Single Stage Metallics
Though risky, light buffing may safely improve some minor imperfections in single stage metallic paint if done very carefully. Here are some tips:
- Use the least aggressive buffing method possible – Start with a polishing glaze or light cleaner wax rather than heavy cut compounds. Never wet sand single stage metallic paint.
- Work by hand if possible – Machine buffing applies higher heat and force to the paint which can burn through defects quicker. Hand application allows better control.
- Use a soft buffing pad – Choose a fine finished foam, microfiber or wool pad rather than stiff coarse material to minimize paint removal.
- Keep buffing time short – Work in small areas, frequently changing pads to prevent overheating the paint.
- Apply light pressure – Allow the polish to do the work rather than bearing down heavily.
- Frequently check your work – Stop often to examine results and feel for paint thinning or flaws developing.
- Stop immediately if problems appear – Discontinue buffing if you see paint peeling, flake disturbance or color changes rather than trying to continue fixing it.
With extreme care using these precautions, minor swirls and imperfections may sometimes be improved on single stage metallics without severe damage. However, no buffing at all is definitely the safest approach.
Options for Repairing Flaws in Single Stage Metallics
Due to the risks of buffing, paint flaws in single stage metallics often need to simply be accepted or fully repainted rather than attempting to buff out. Here are your options if paint defects occur:
- Leave as-is – If flaws like orange peel or minor dust particles are not too severe, it may be best to just leave them alone rather than risk buffing the finish.
- Lightly re-spray problem areas – Using careful touch up techniques, the flawed sections can be feathered and resprayed to blend repairs.
- Apply clearcoat – A thin overall layer of clear can be sprayed to help protect and smooth the paint, allowing safer buffing.
- Partial repaint – For more severe flaws, it may be necessary to sand and repaint whole panels or sections to match the original finish.
- Full repaint – In some cases of runs, sags or blotchy coverage, the only recourse is to completely re-spray the car for an even finish.
With extra care taken in the application process, paint defects in single stage metallics can often be avoided in the first place. But if issues occur, avoid cutting and buffing the paint without considering other options first.
Maintaining a Single Stage Metallic Paint Finish
Once an acceptable single stage metallic paint job is achieved, whether straight from the spray gun or with only minimal buffing, the focus turns to maintaining the finish by:
- Washing gently – Use the two bucket method with a mild car wash soap and soft materials that will not mar the paint.
- Limiting buffing – Occasional light buffing with a fine polish may help remove minor contamination but avoid heavy cutting compounds.
- Choosing waxes carefully – Look for mild carnauba-based waxes suitable for delicate surfaces rather than abrasive cleaners.
- Removing contamination quickly – Tree sap, bird droppings, fuel spills etc should be cleaned off immediately before they etch the unprotected paint.
- Applying protective coatings – Paint sealants or ceramic coatings can provide a sacrificial barrier layer on top of single stage paint.
- Touching up scratches – Carefully fix light scratches and stone chips to prevent exposing bare metal that can lead to corrosion.
With some extra care and prudent maintenance habits, a beautiful single stage metallic paint job can be preserved in show-quality condition for many years. Avoiding unnecessary buffing remains key.
Options for Adding Clearcoat to Single Stage Metallic Paint
Though initially applied without clearcoat, it is possible to add a layer of clear on top of existing single stage metallic paint. This provides protection for buffing and polishing if needed. Here are two options:
Full Clearcoat Respray
This involves sanding and scuffing the original paint to prepare the surface for clearcoat adhesion, then spraying multiple coats of clear gloss across the entire vehicle. This allows more aggressive buffing and compounding if desired.
Spot Clearcoating
Rather than an overall clearcoat, some painters simply apply spot clearcoats over imperfections like dust particles or brush touch ups. The clear smooths and protects just the affected areas for cleaner buffing.
Either method requires proper preparation and adhesion techniques for the clearcoat to bond successfully over the existing paint. The original paint should be fully cured first before applying clearcoat.
When adding clearcoat to single stage metallic paint, here are some important steps:
Surface Preparation
- Wash and degrease the entire vehicle thoroughly
- Sand or scuff the surface using 600-800 grit to provide texture for the clearcoat to adhere to
- Clean again to remove all sanding debris
- Wipe down multiple times with a tack cloth just before spraying
Applying Clearcoat
- Mix clearcoat according to manufacturer instructions
- Spray light mist tack coats first to maximize adhesion
- Apply 2-3 full wet coats for proper coverage, allowing proper flash time between coats
- Avoid runs or heavy build up that require sanding later
- Allow the clearcoat to fully cure for several days before compounding
Buffing and Compounding
- Start buffing gently using the least aggressive combination of pad and polish
- Work in small sections to limit heat buildup in the clearcoat
- Maintain a high gloss finish by switching to finer polishing compounds and glazes
- Hand buffing or machine polishing may be used once protected by clearcoat
Blending Edges
If spot clearcoating flaws, blend the edges by feathering the clearcoat out onto the existing paint surrounding the repair area. This helps hide the transition line.
Adding clearcoat over single stage metallic paint allows more flexibility for achieving a perfect finish through sanding and buffing if needed. But care must still be taken not to cut through the clear and damage the base color underneath.
Should You Avoid Single Stage Metallic Paint?
Given the delicacy and difficulty working with and repairing single stage metallic paints, a question arises – should they be avoided entirely in favor of a more durable basecoat/clearcoat system?
There are good arguments on both sides:
Reasons to Avoid Single Stage Metallic
- Very unforgiving of any paint flaws or imperfections
- Cannot be sanded or buffed aggressively to make repairs
- Difficult to touch up stone chips and scratches
- Requires ultra-precise application techniques
- Finish deteriorates faster without clearcoat protection
- Loses gloss quicker from washing and environmental exposure
Reasons to Use Single Stage Metallic
- Provides stunning metallic visual effects in one application step
- Simpler process without clearcoat spraying
- Enhances the deepness and motion of metallic flake
- Allows custom paint creativity and effects
- Lower cost paint job compared to basecoat/clearcoat
For hobbyist painters, single stage paints are attractive for their simplicity, low cost, and ability to achieve interesting custom looks. But the risks may outweigh the rewards. Professionals often prefer the protection and repairability of basecoat/clearcoat for actual customers.
Either finish can look amazing when masterfully applied. But understanding the limitations of single stage metallics is important to decide if it fits your needs and skill level.
Key Takeaways for Buffing Single Stage Metallic Paint
Working with delicate single stage metallic paints introduces challenges not present with typical solid color paints. Here are some key tips to remember:
- Strive for a flawless application to avoid buffing altogether
- Wet sanding or compounding is never recommended and will likely damage the finish
- Light buffing is risky and may still cause problems – often best avoided
- Repair imperfections through touch up spraying or recoating rather than buffing
- Add clearcoat if extensive buffing and compounding is needed
- Handle single stage metallics gently during washing and maintenance
Understanding these special requirements for buffing and caring for single stage metallic paint leads to the best chance of achieving and maintaining a stunning finish. With extra care and precaution, your custom paint job can sparkle like new for years to come.


